Upcycled storage box / ottoman – progression photos

Hi again fellow followers! My latest blog post is progression photos of a upcycled storage box / ottoman. This is the one I’m most pleased with, hope you like it too! 🙂

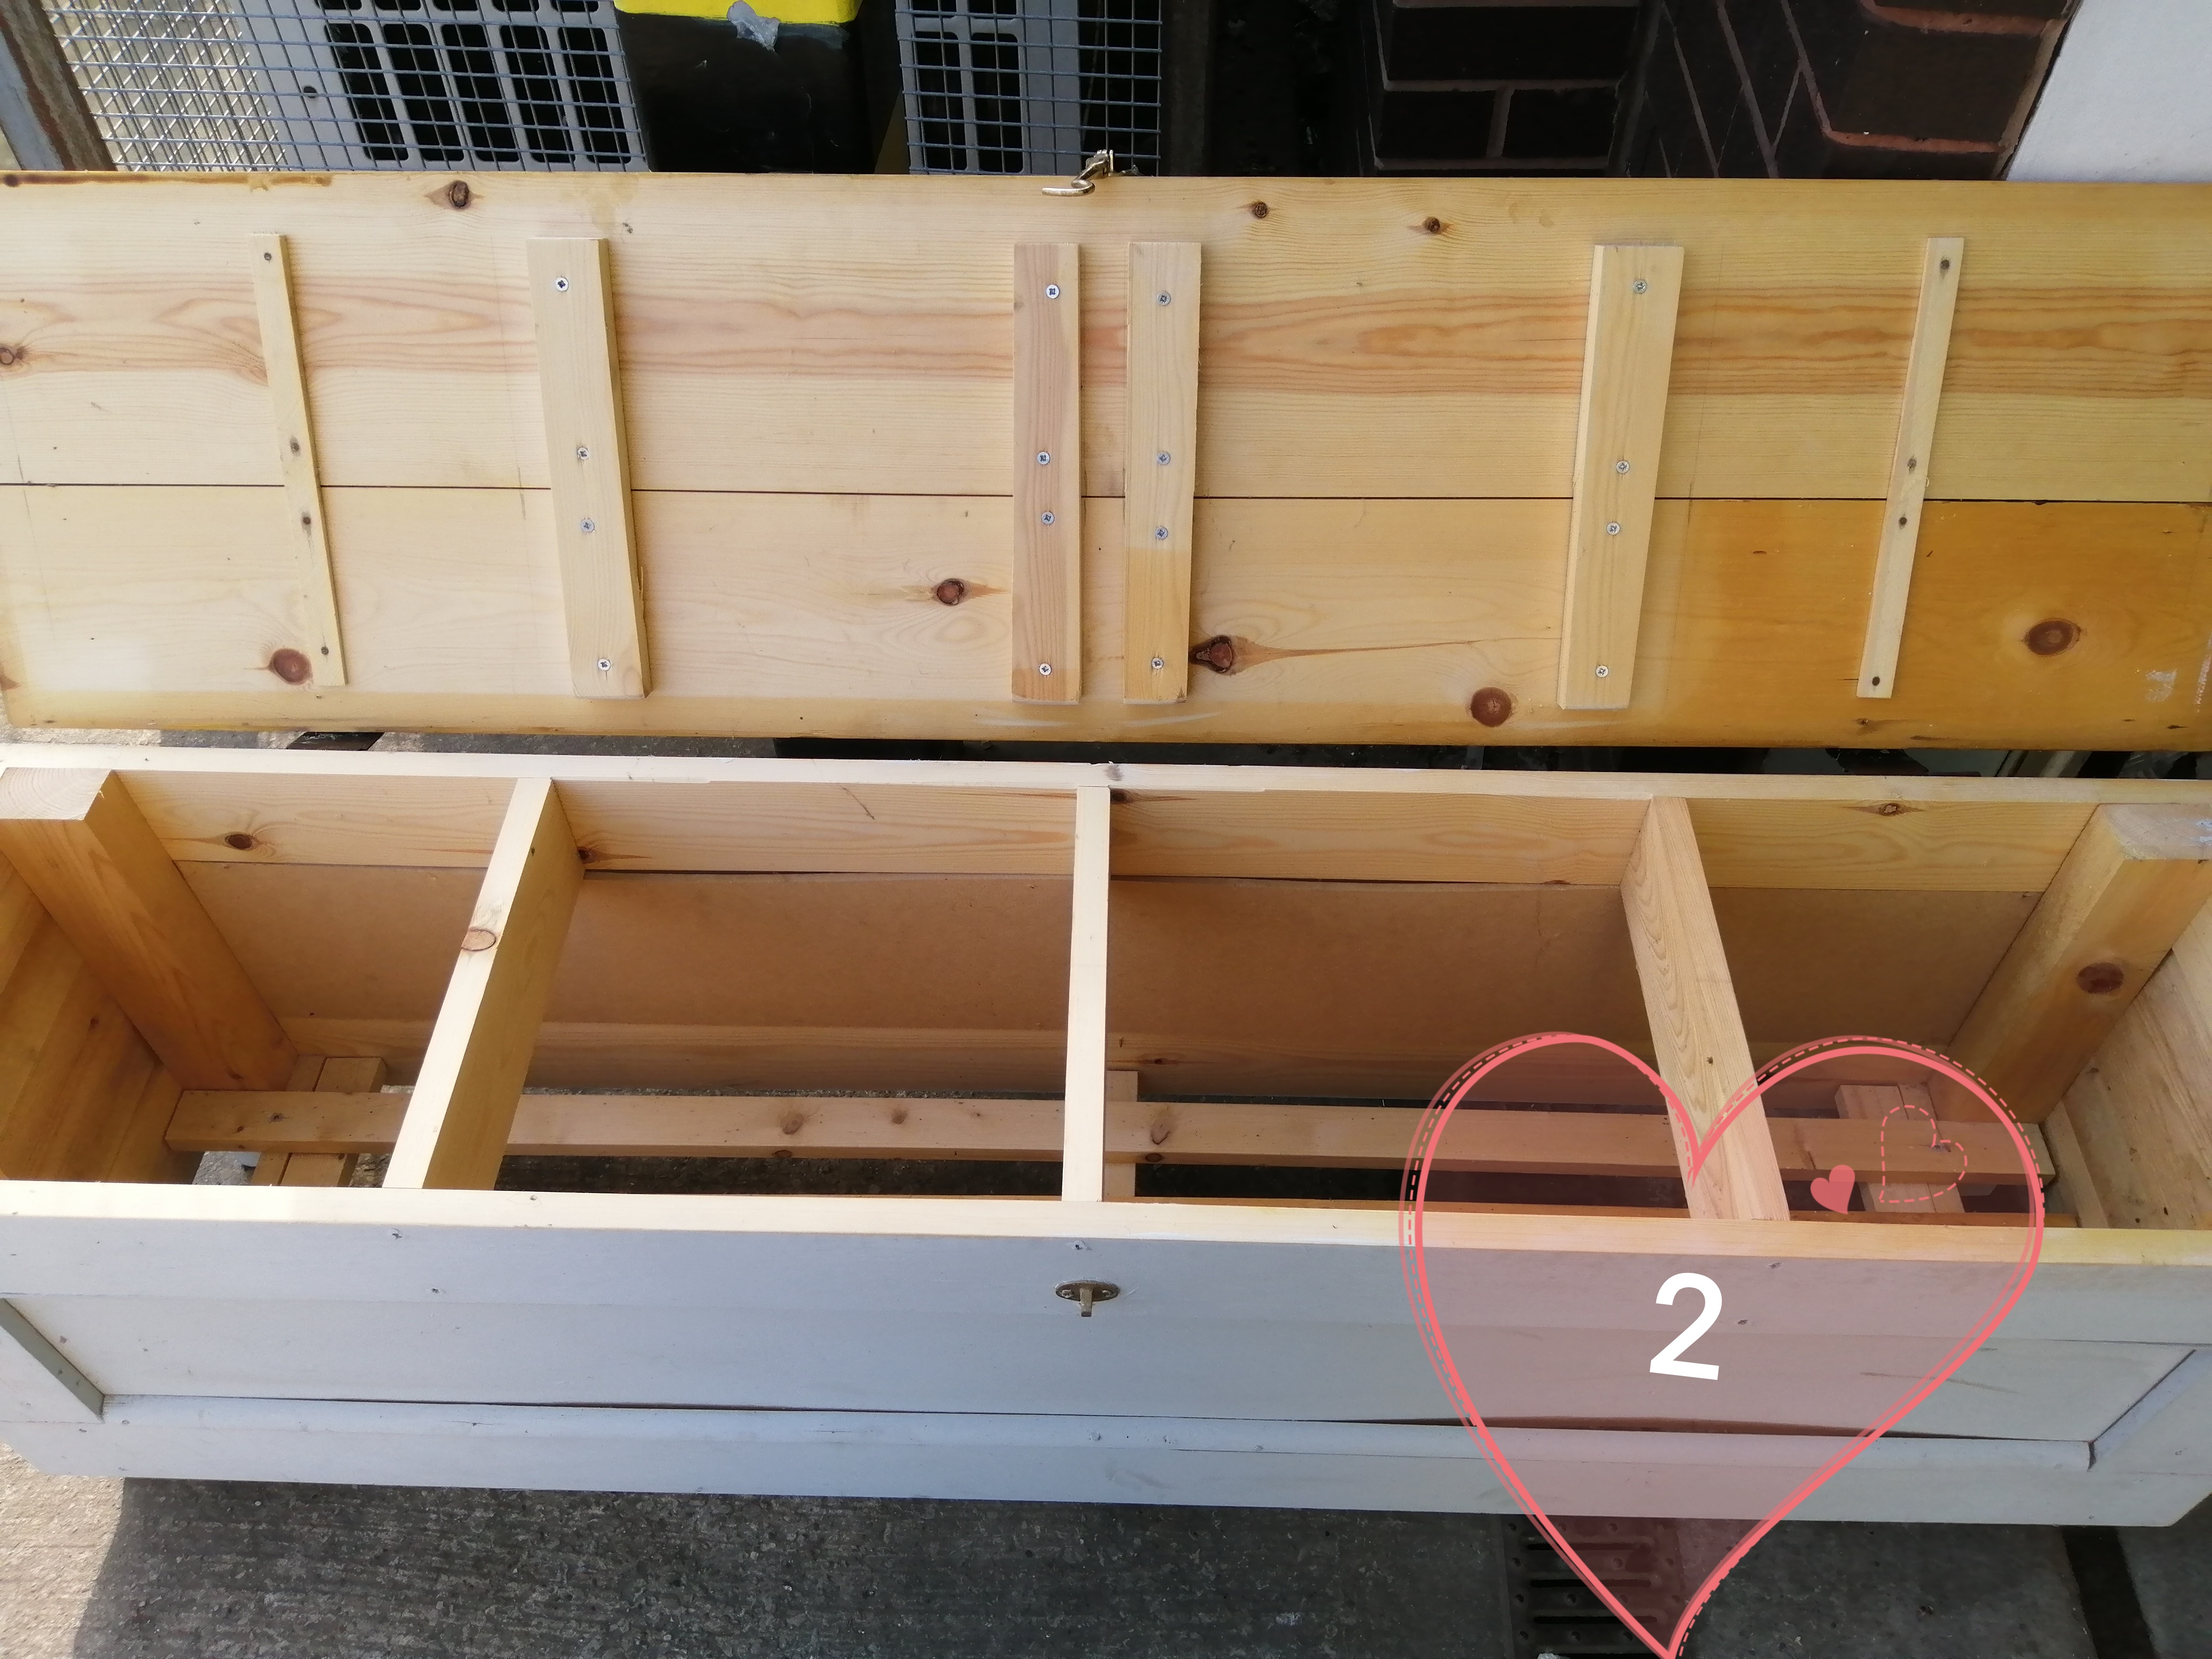
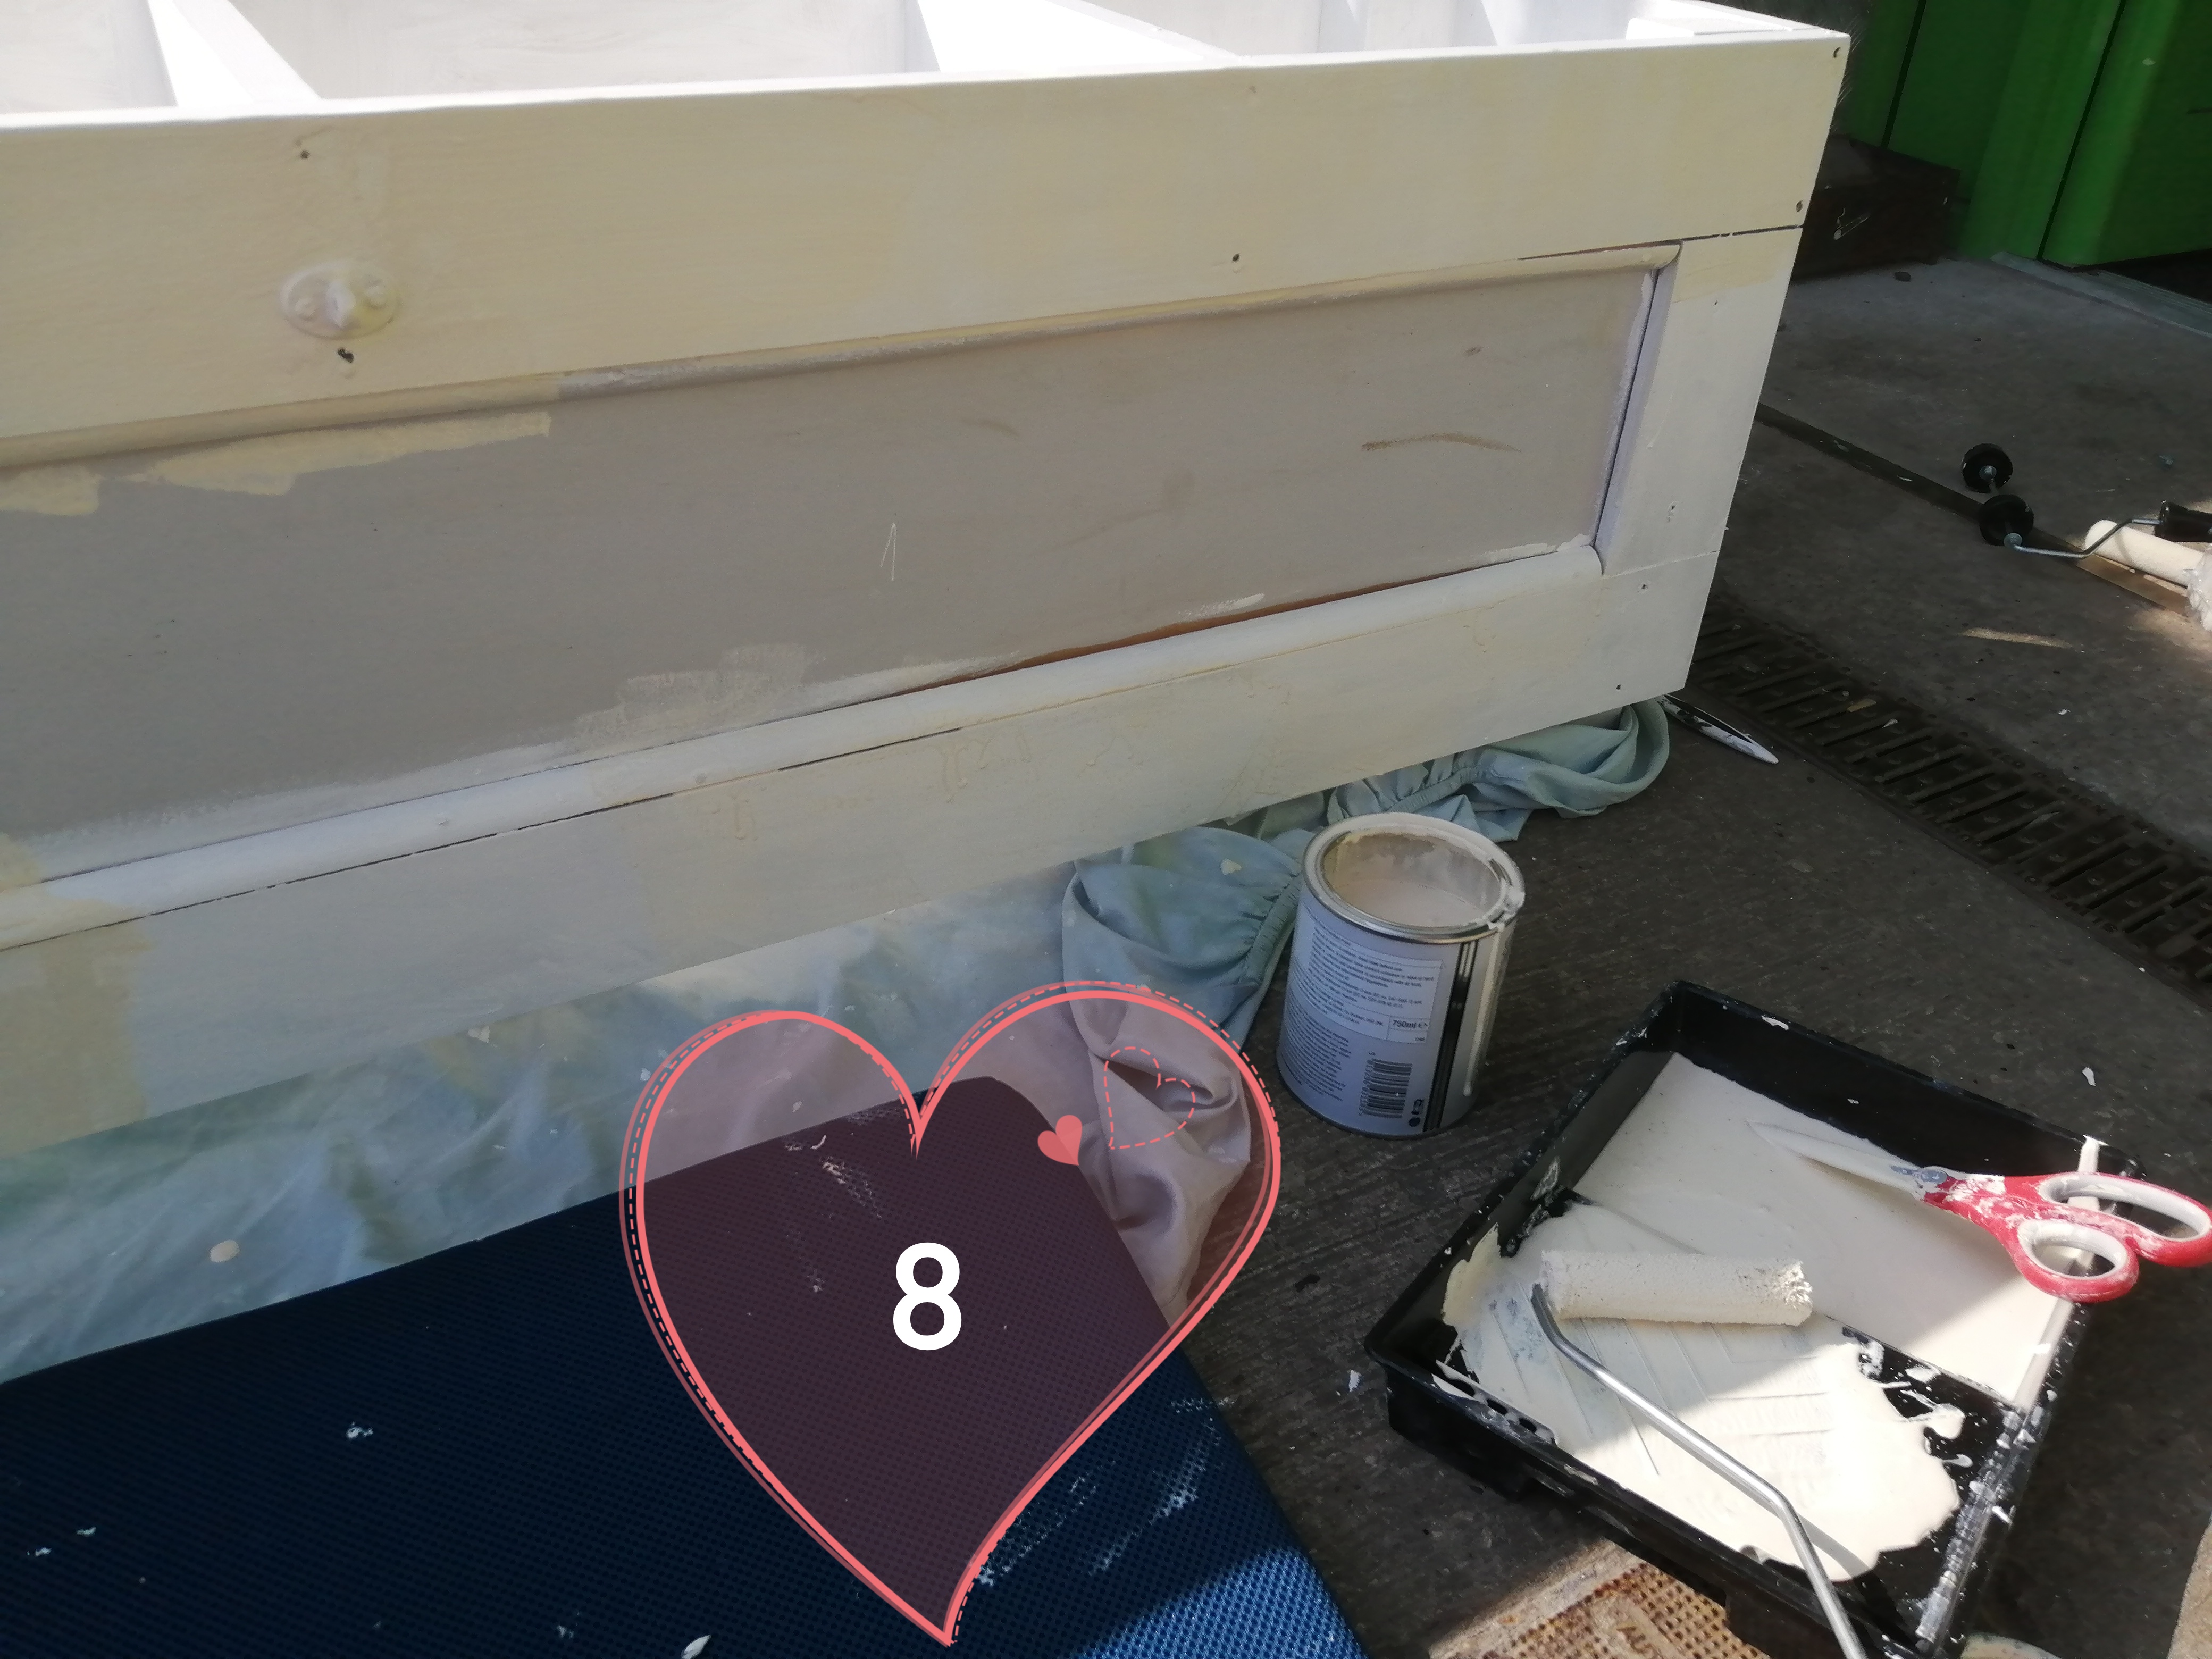
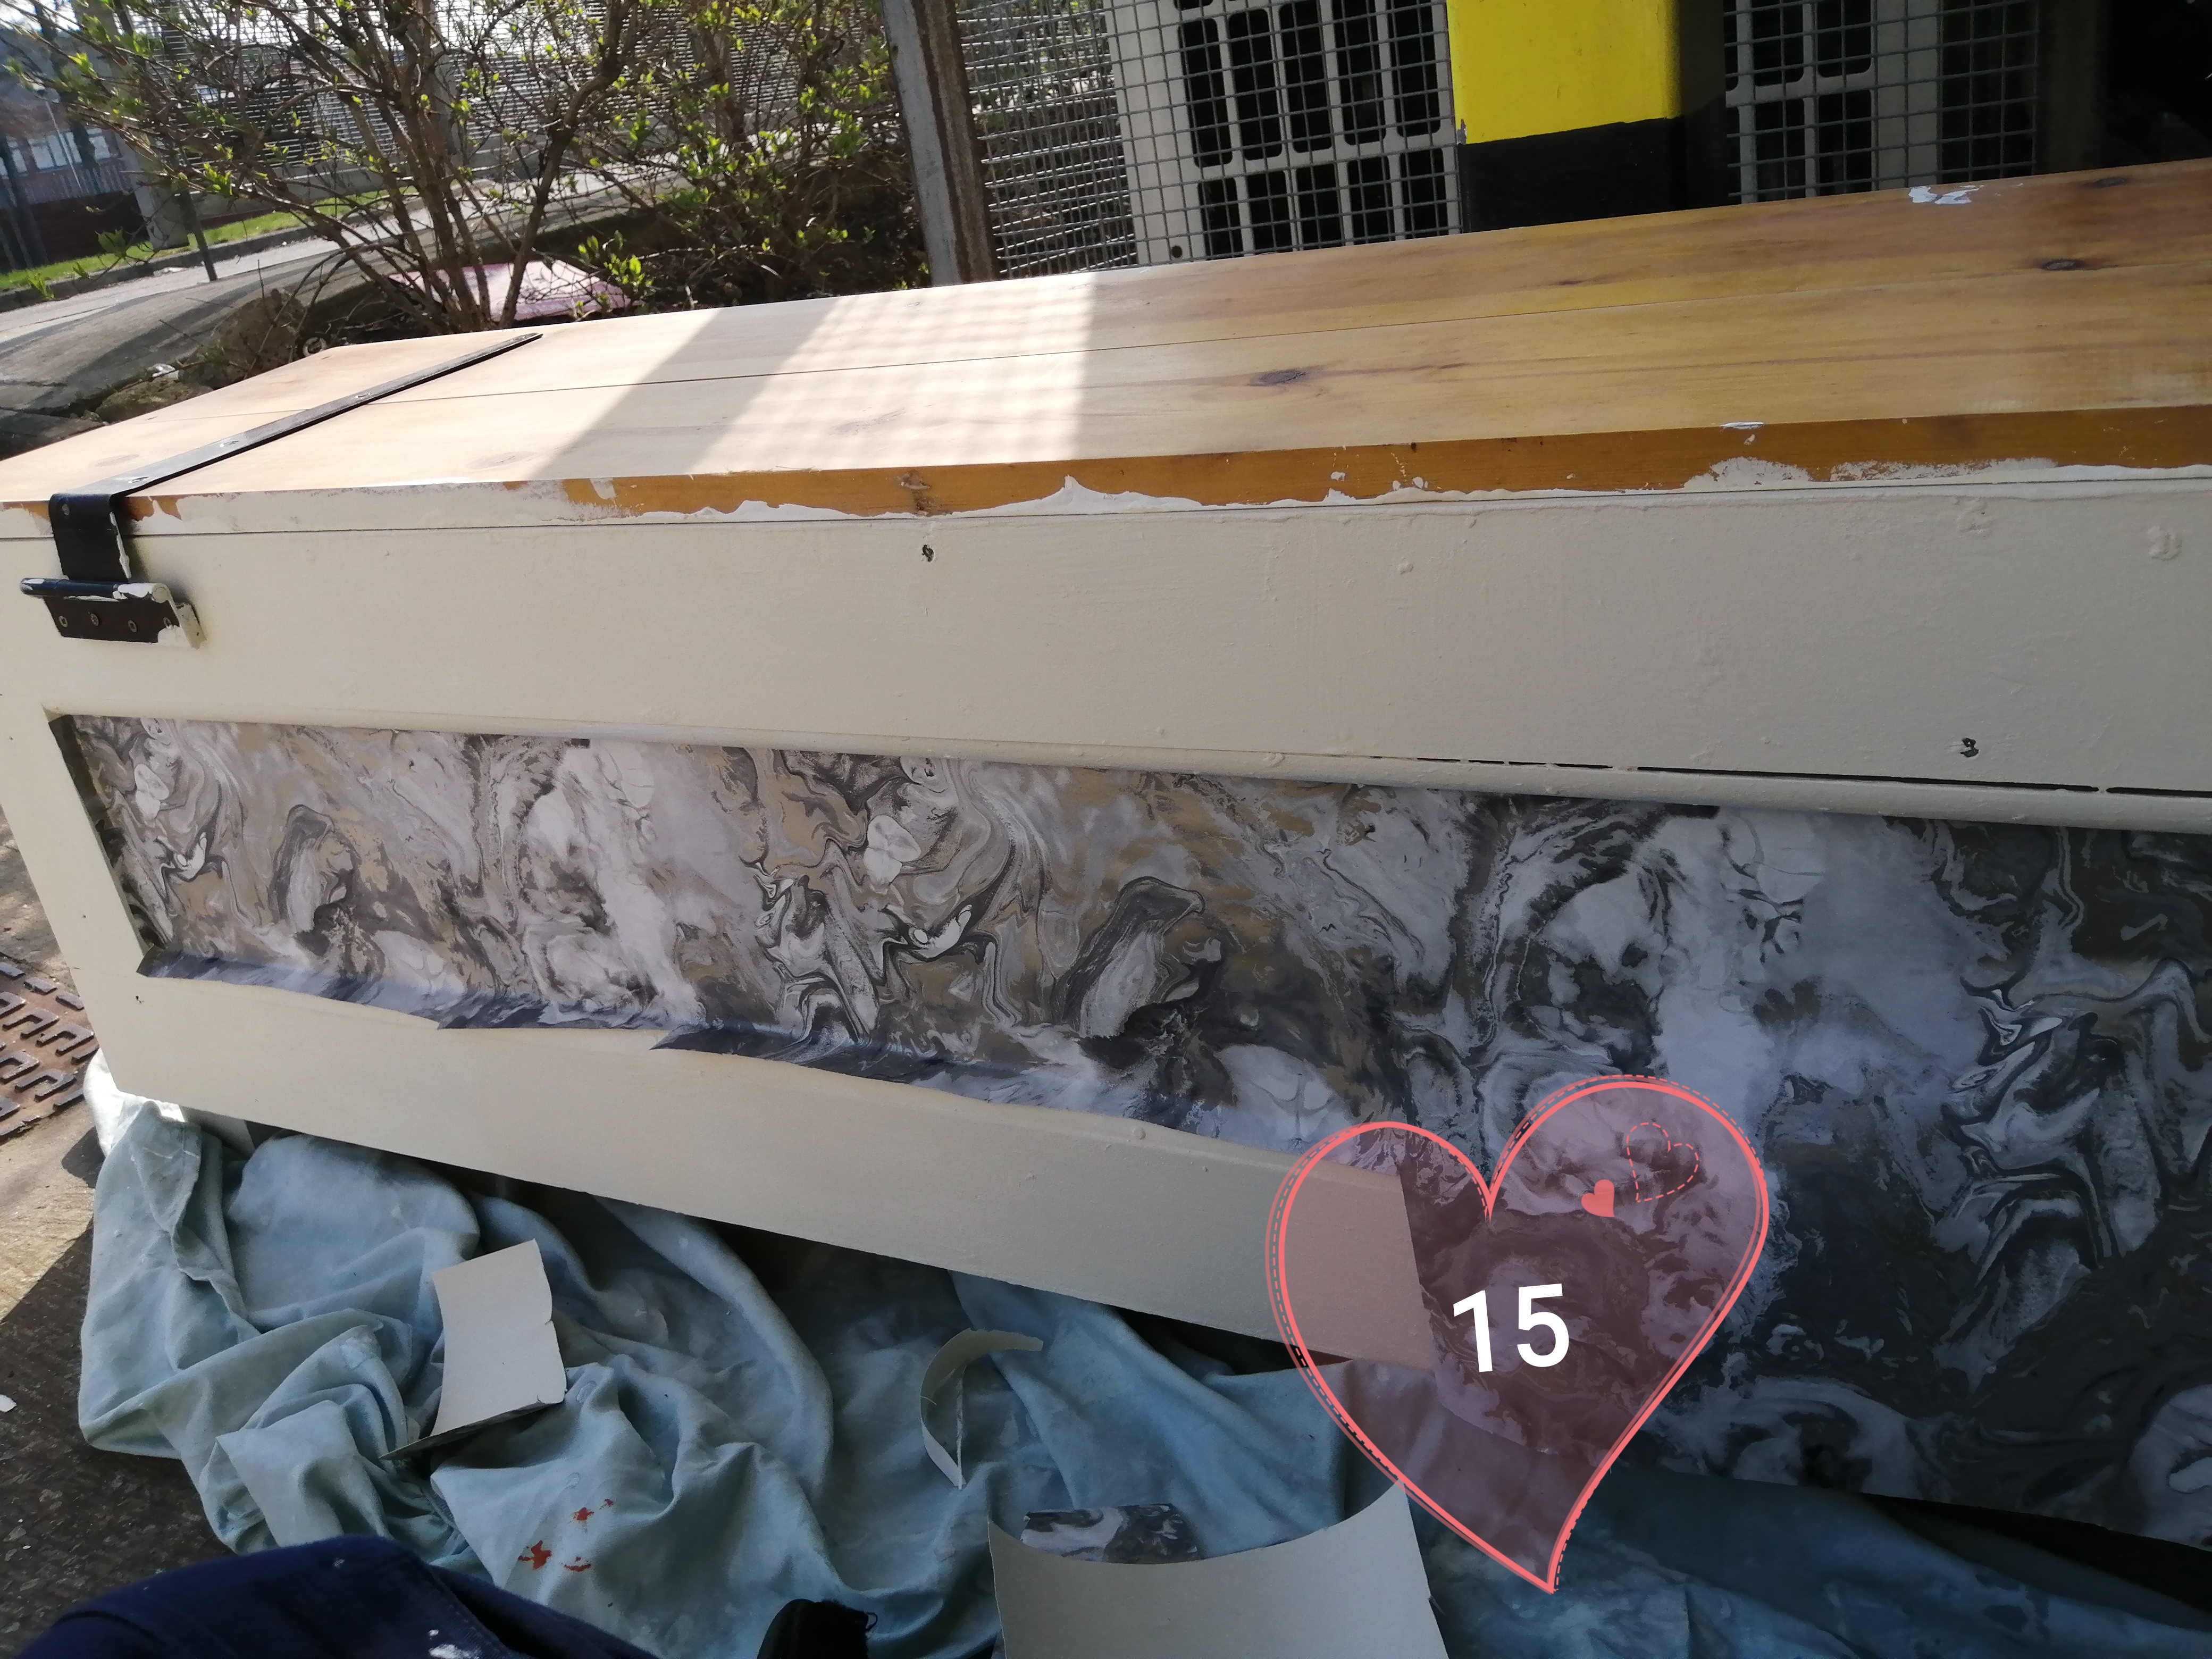
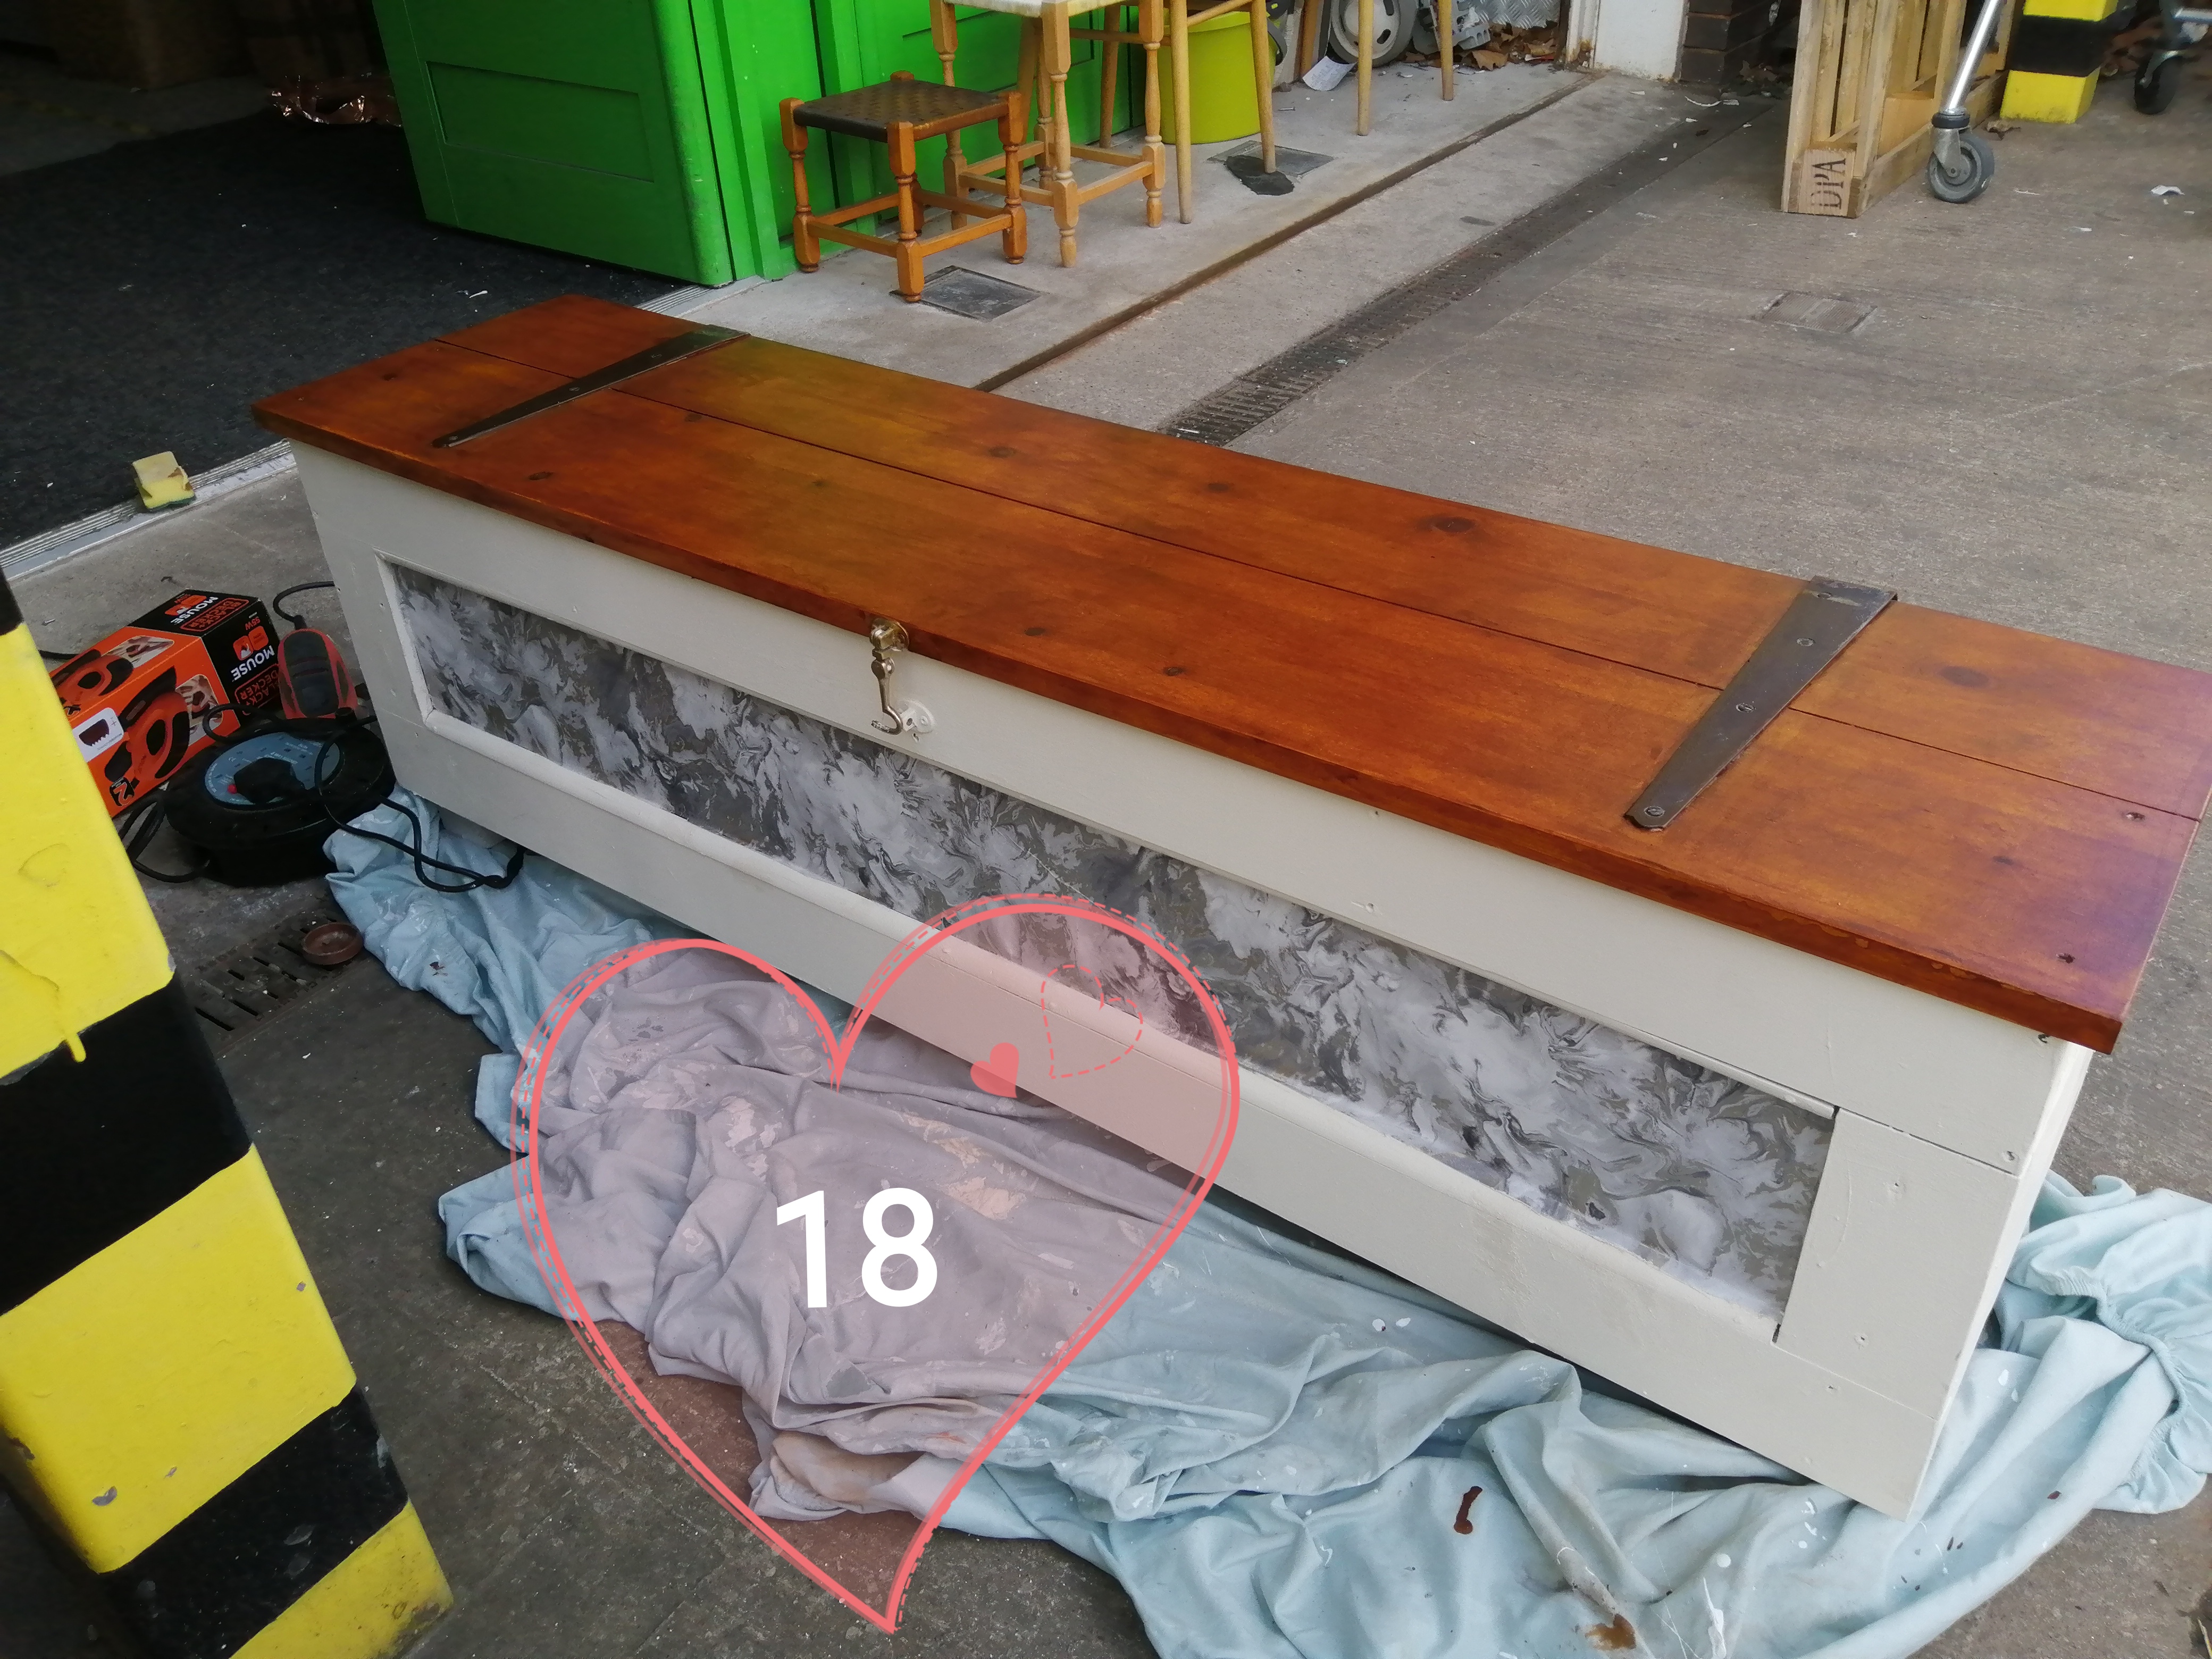
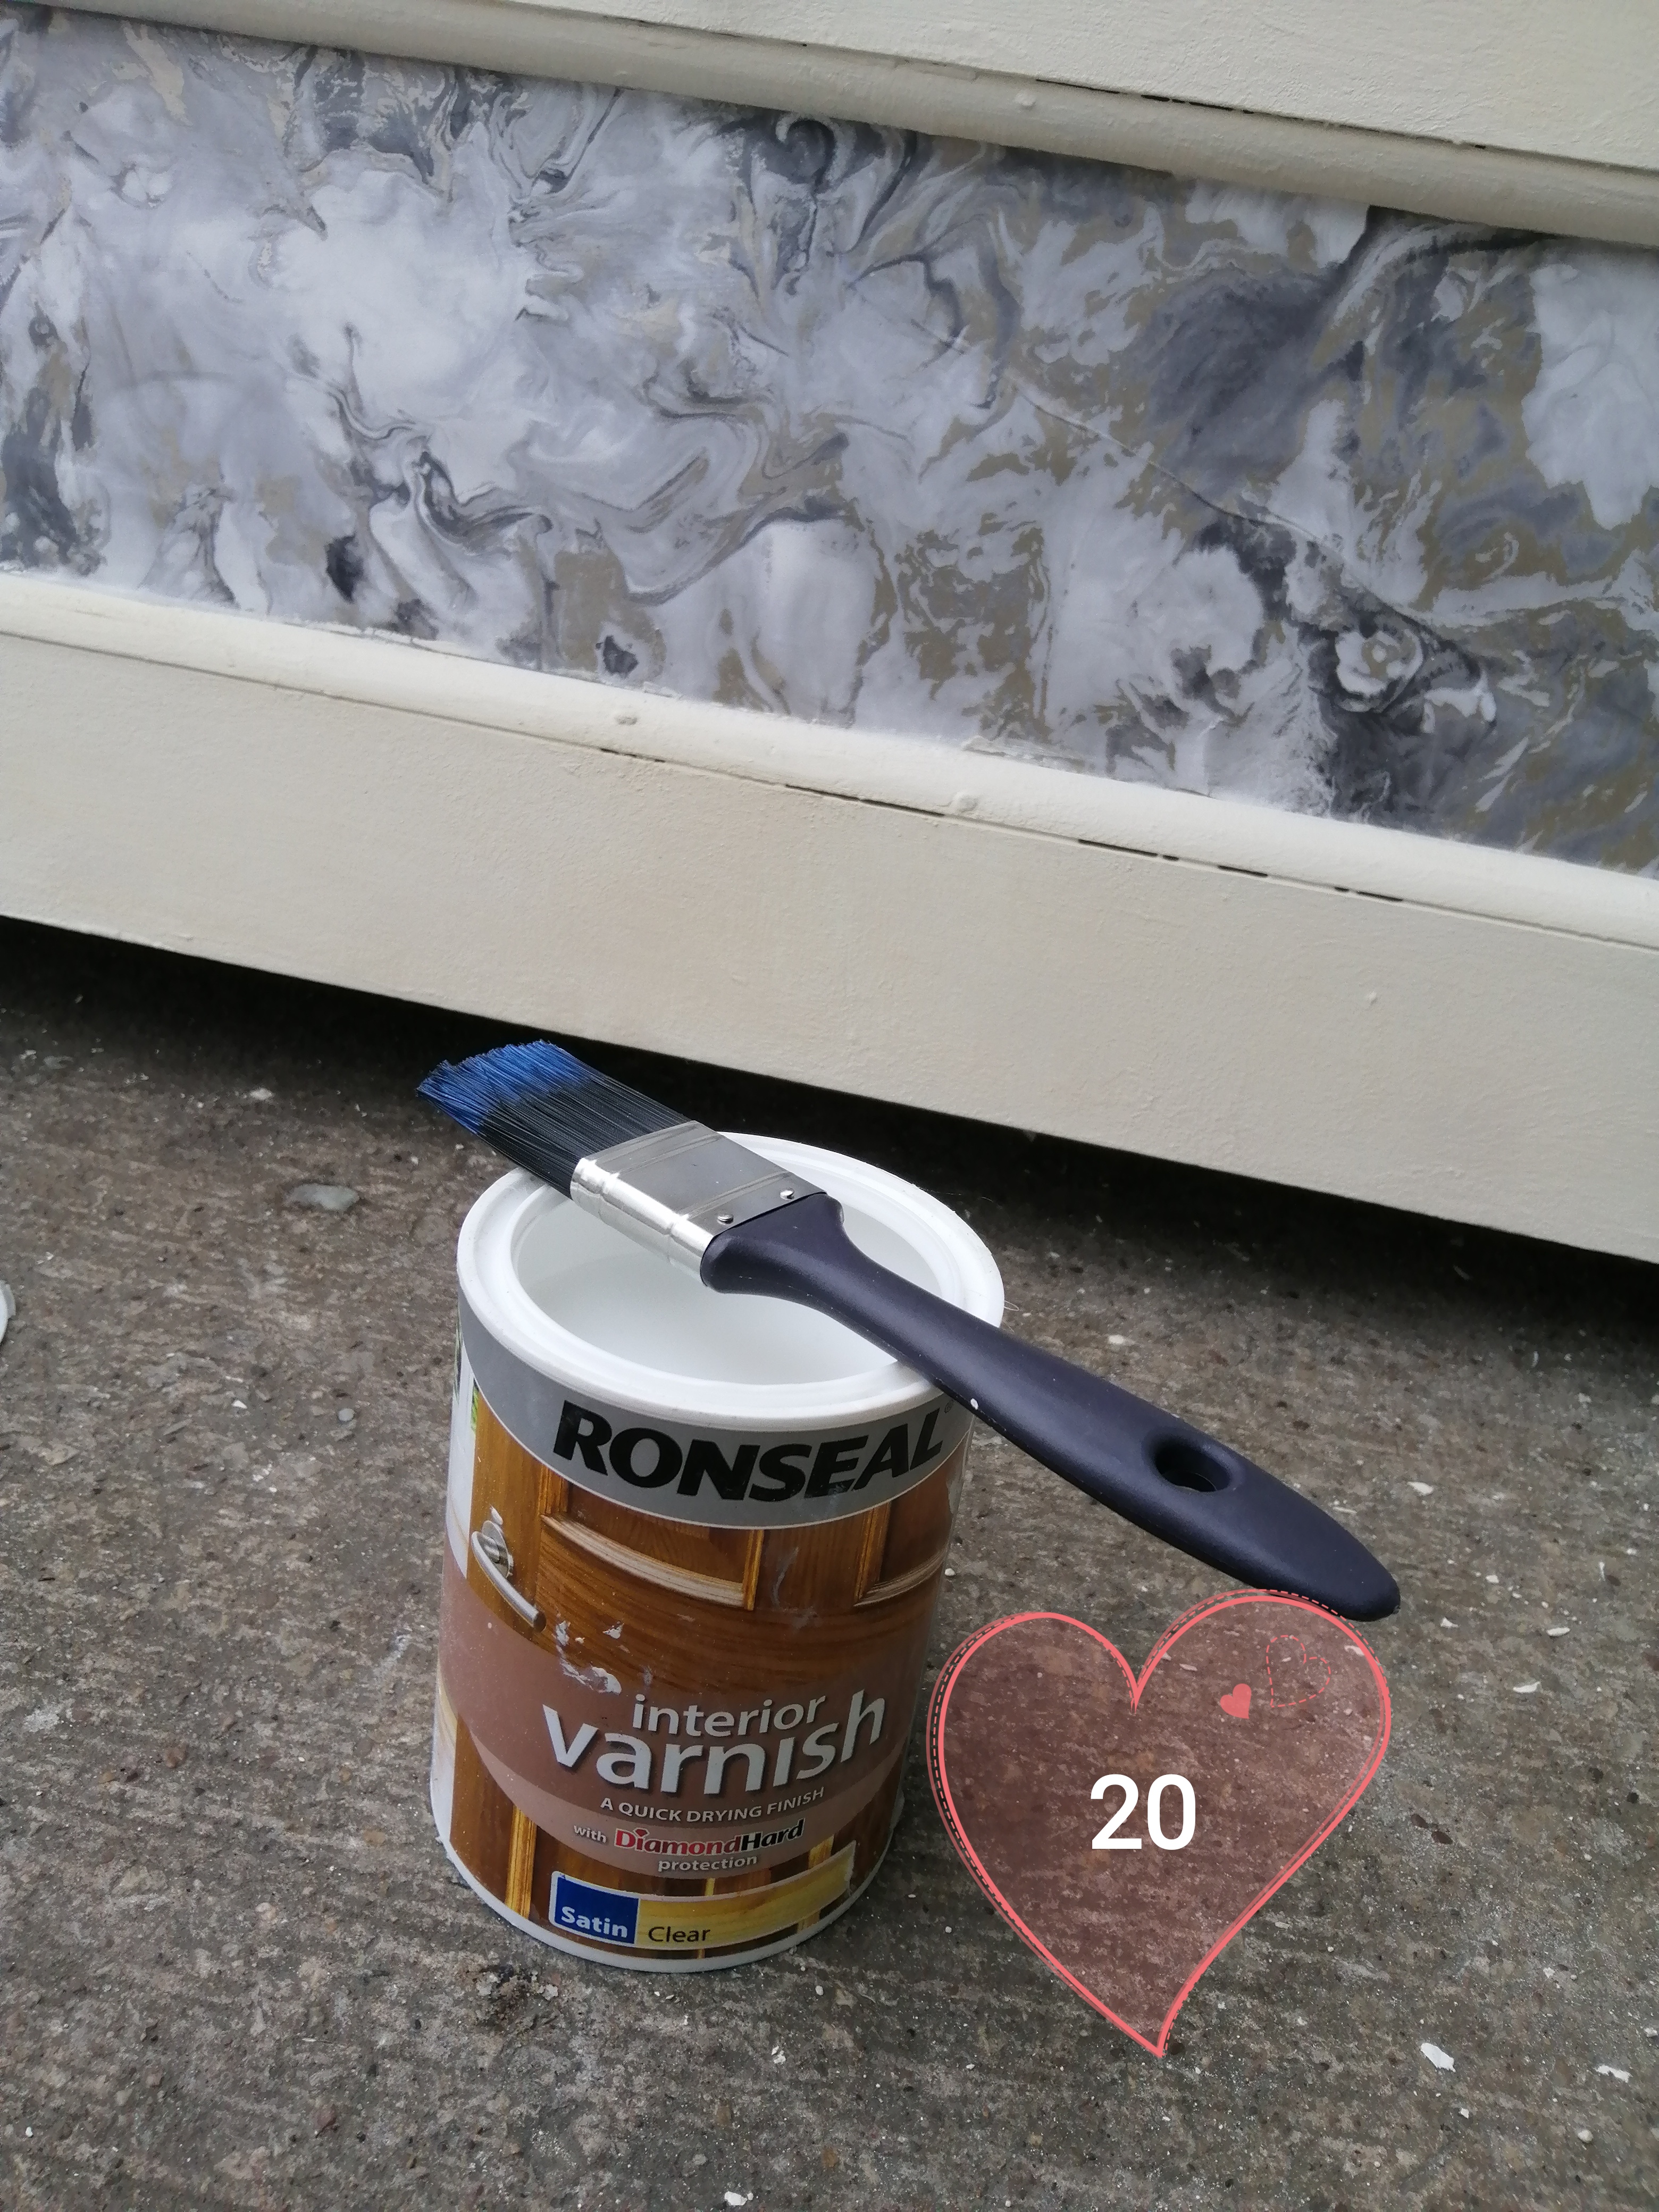
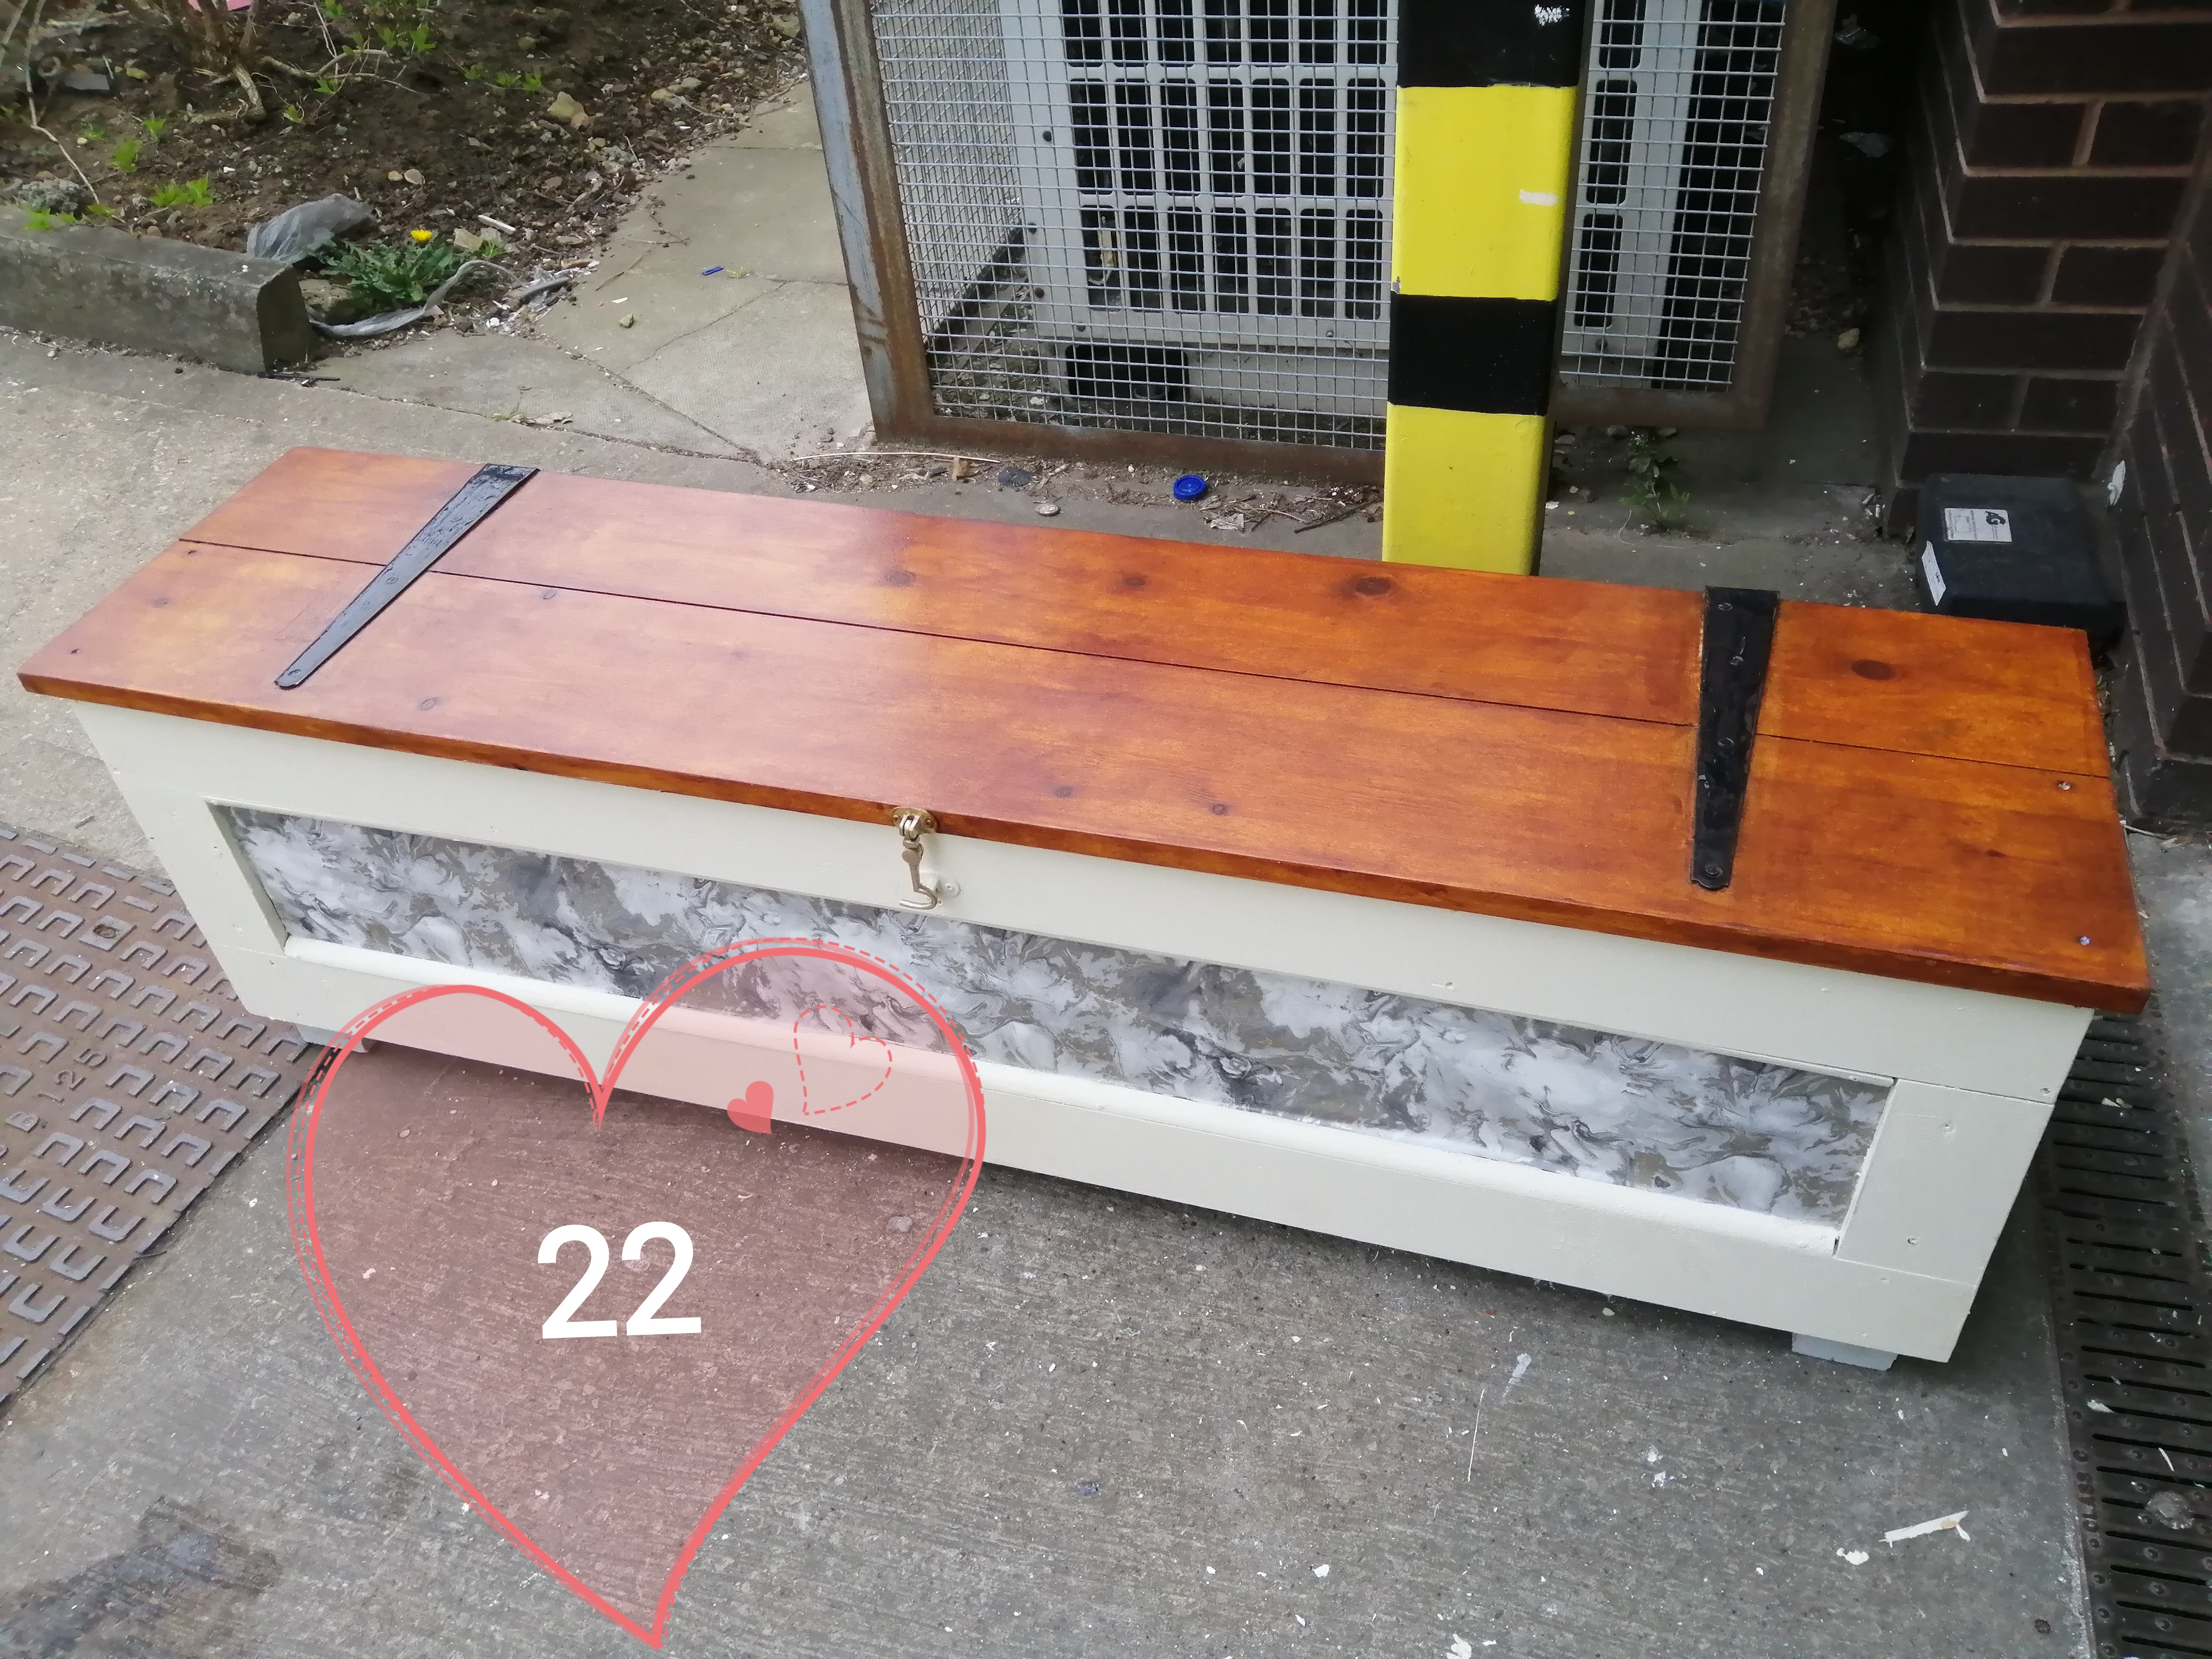
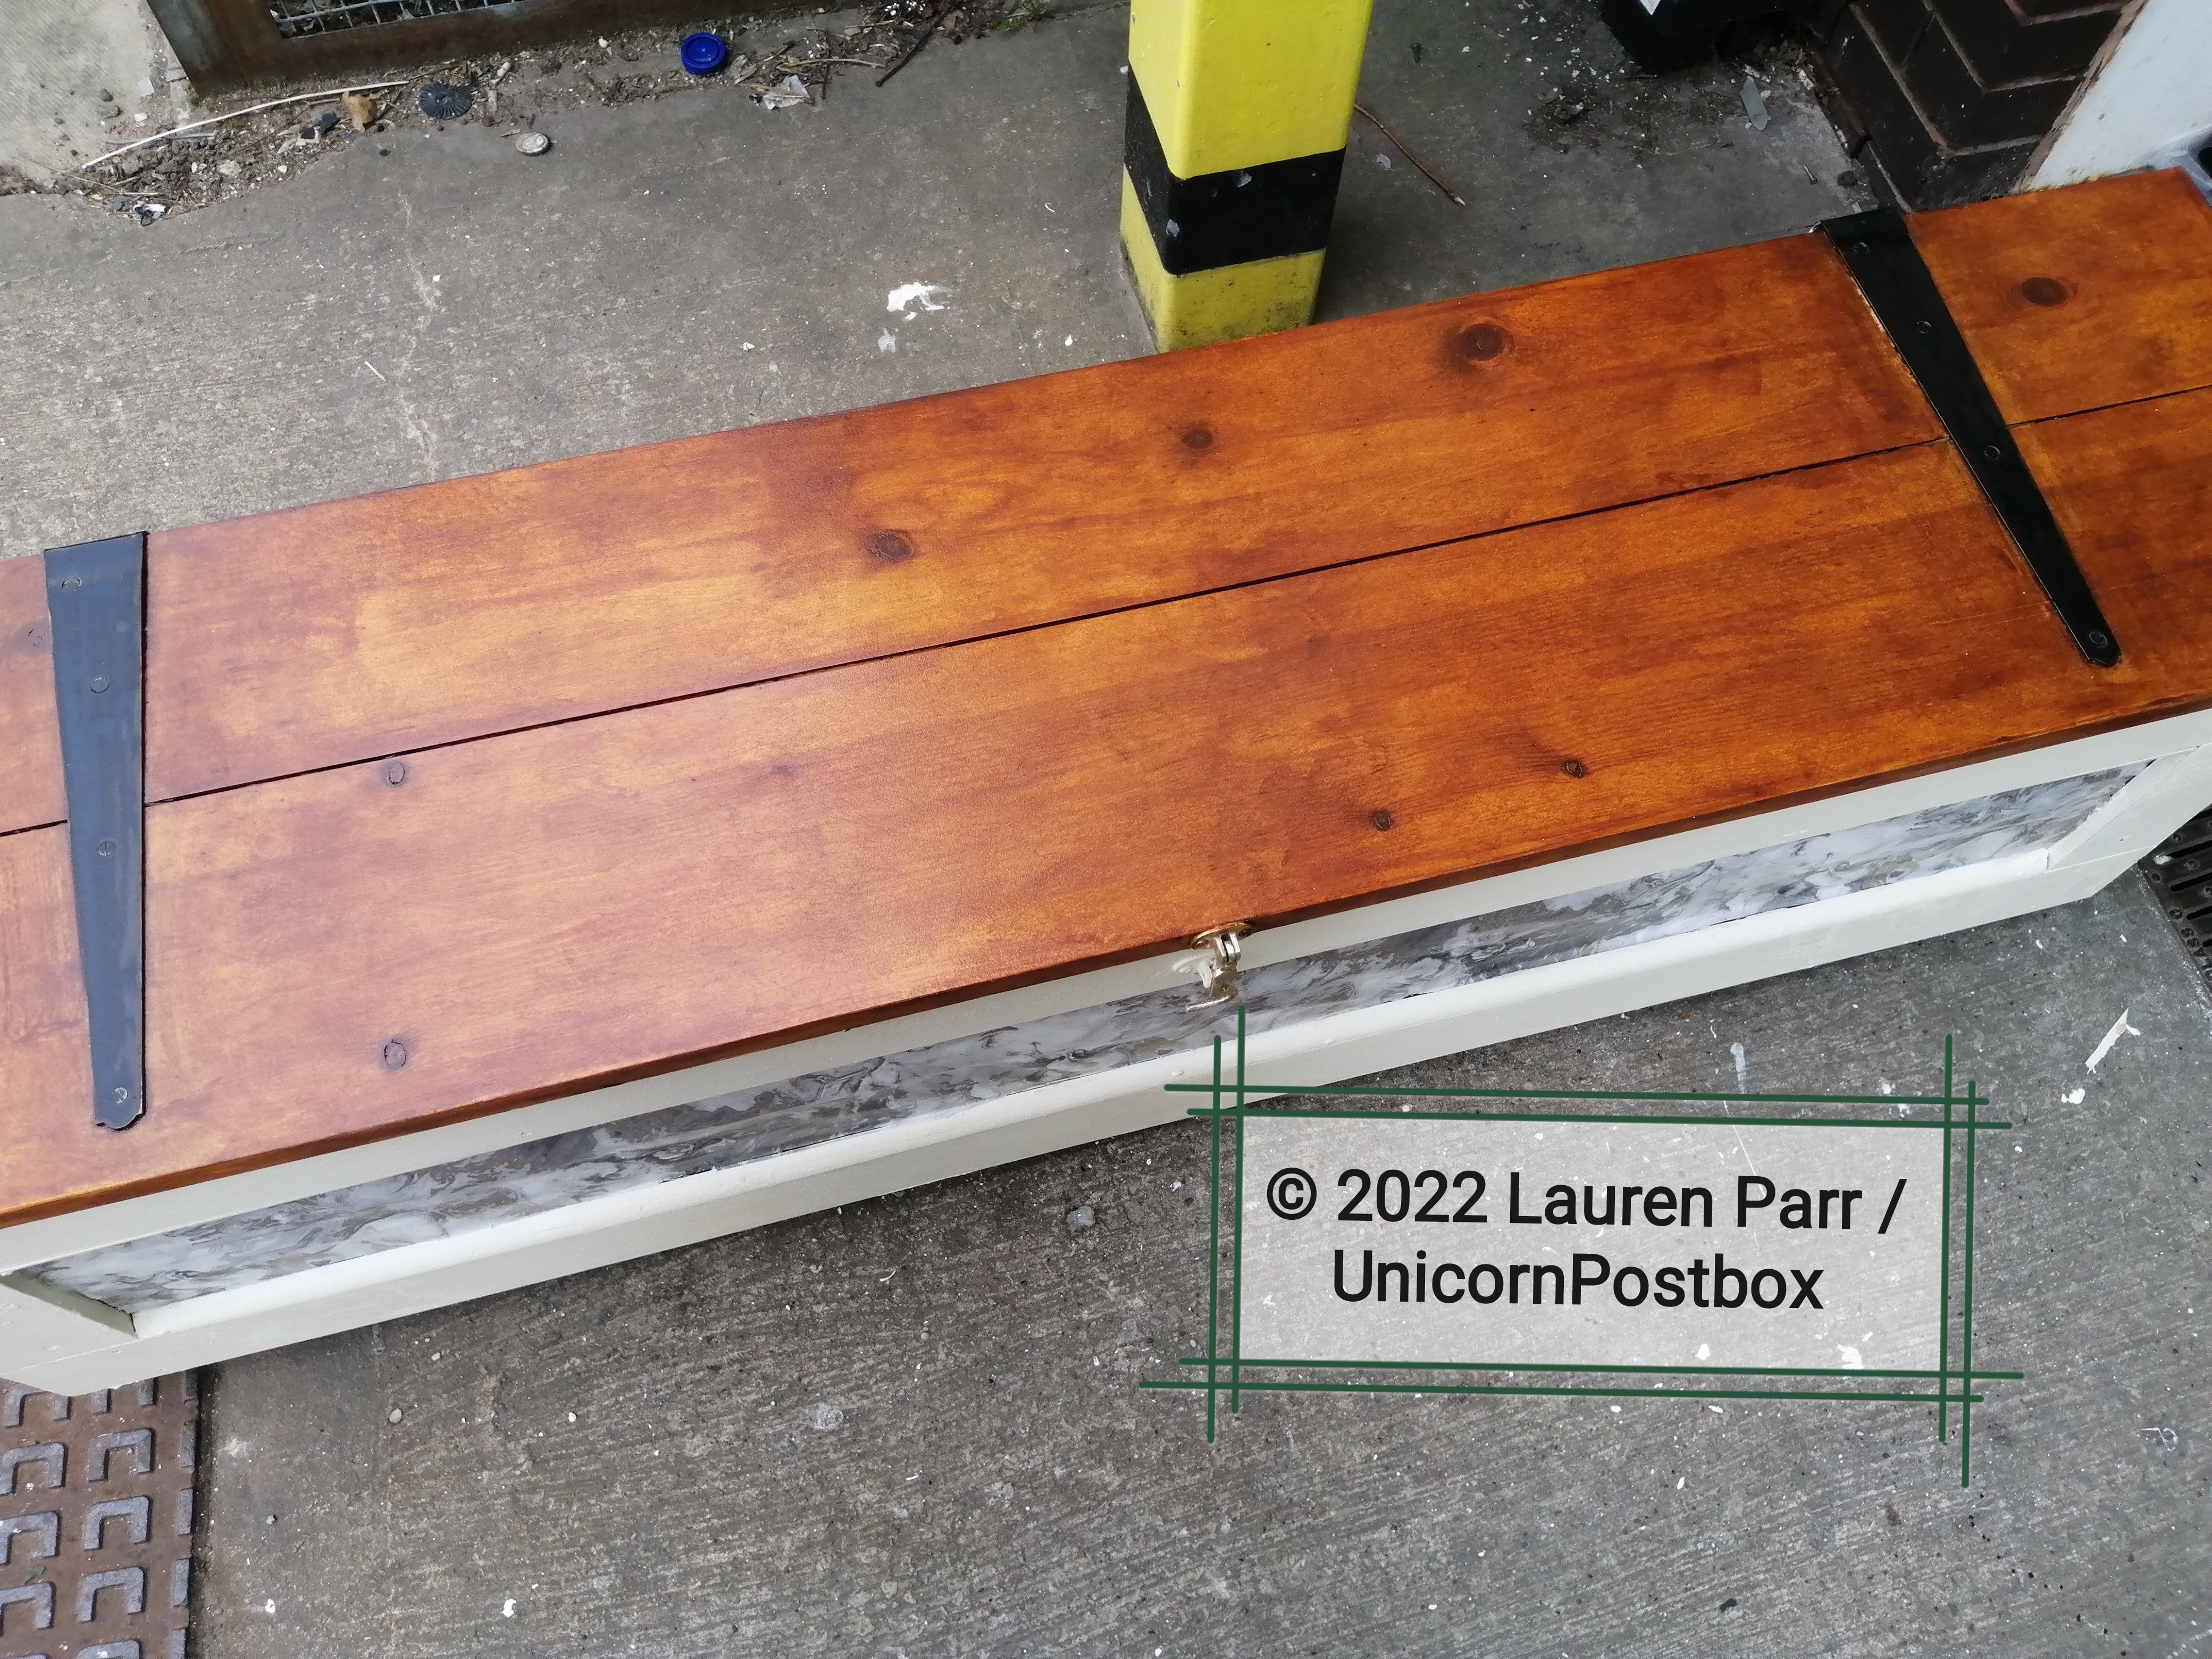
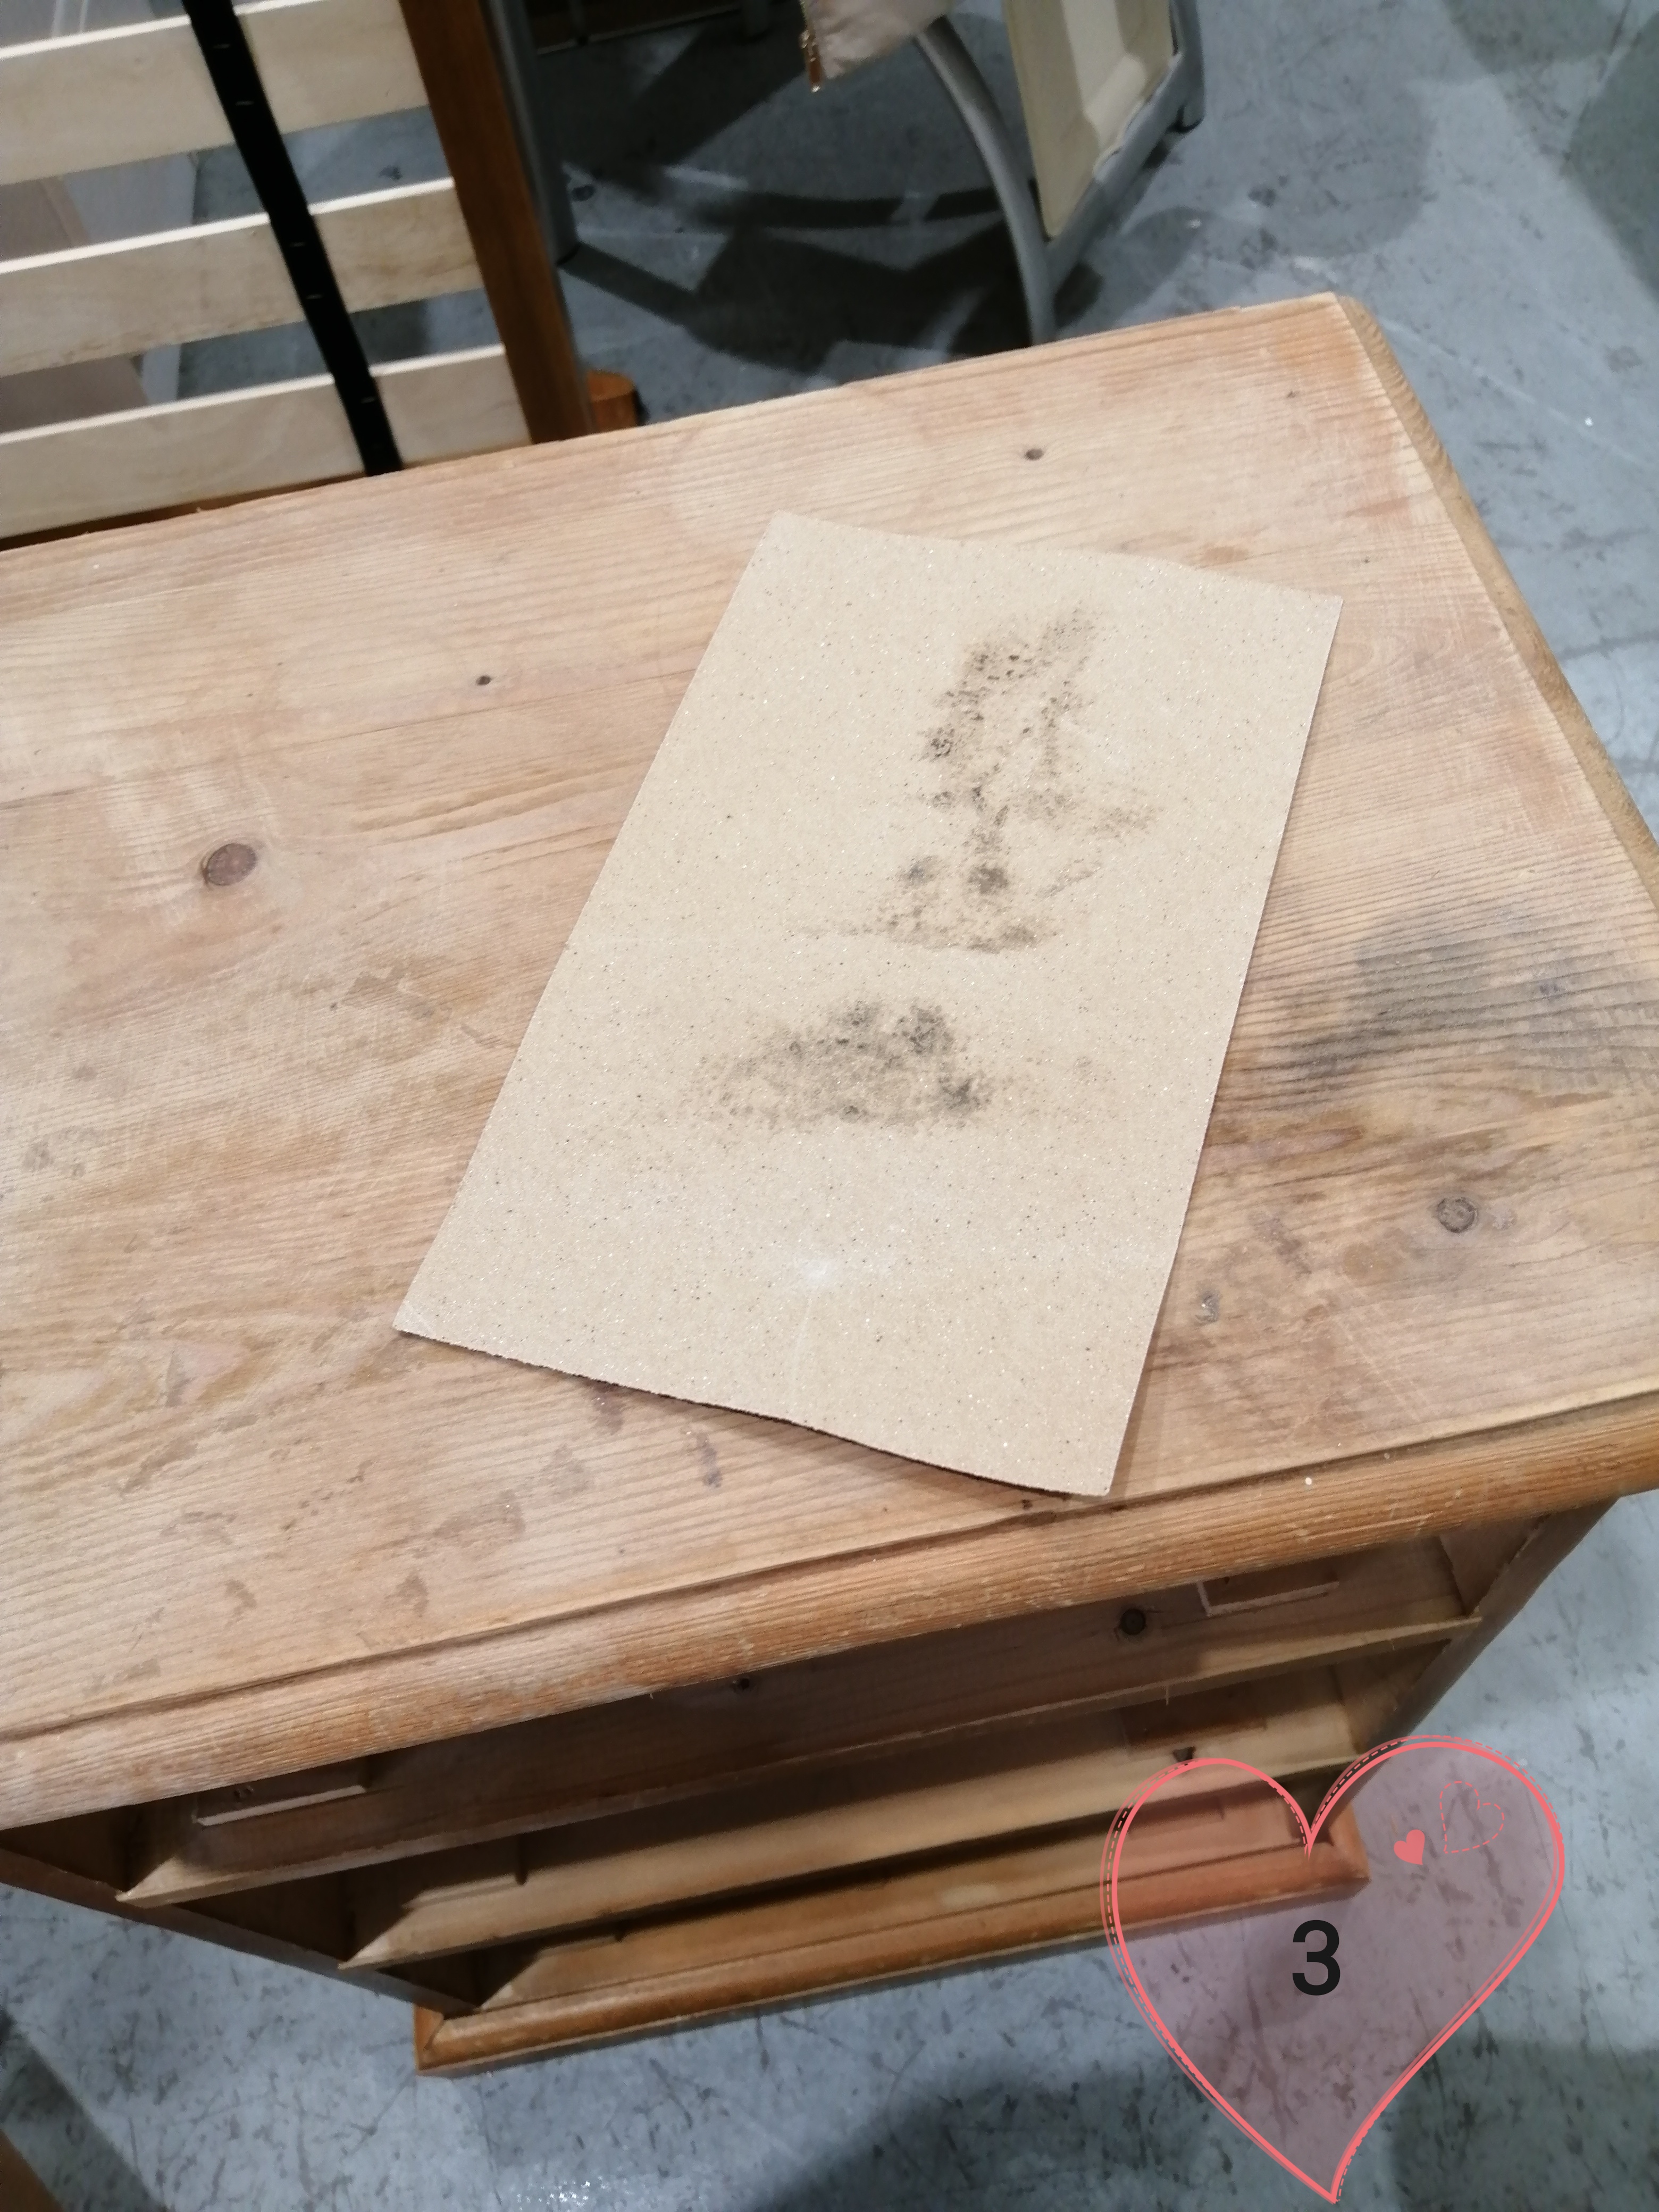
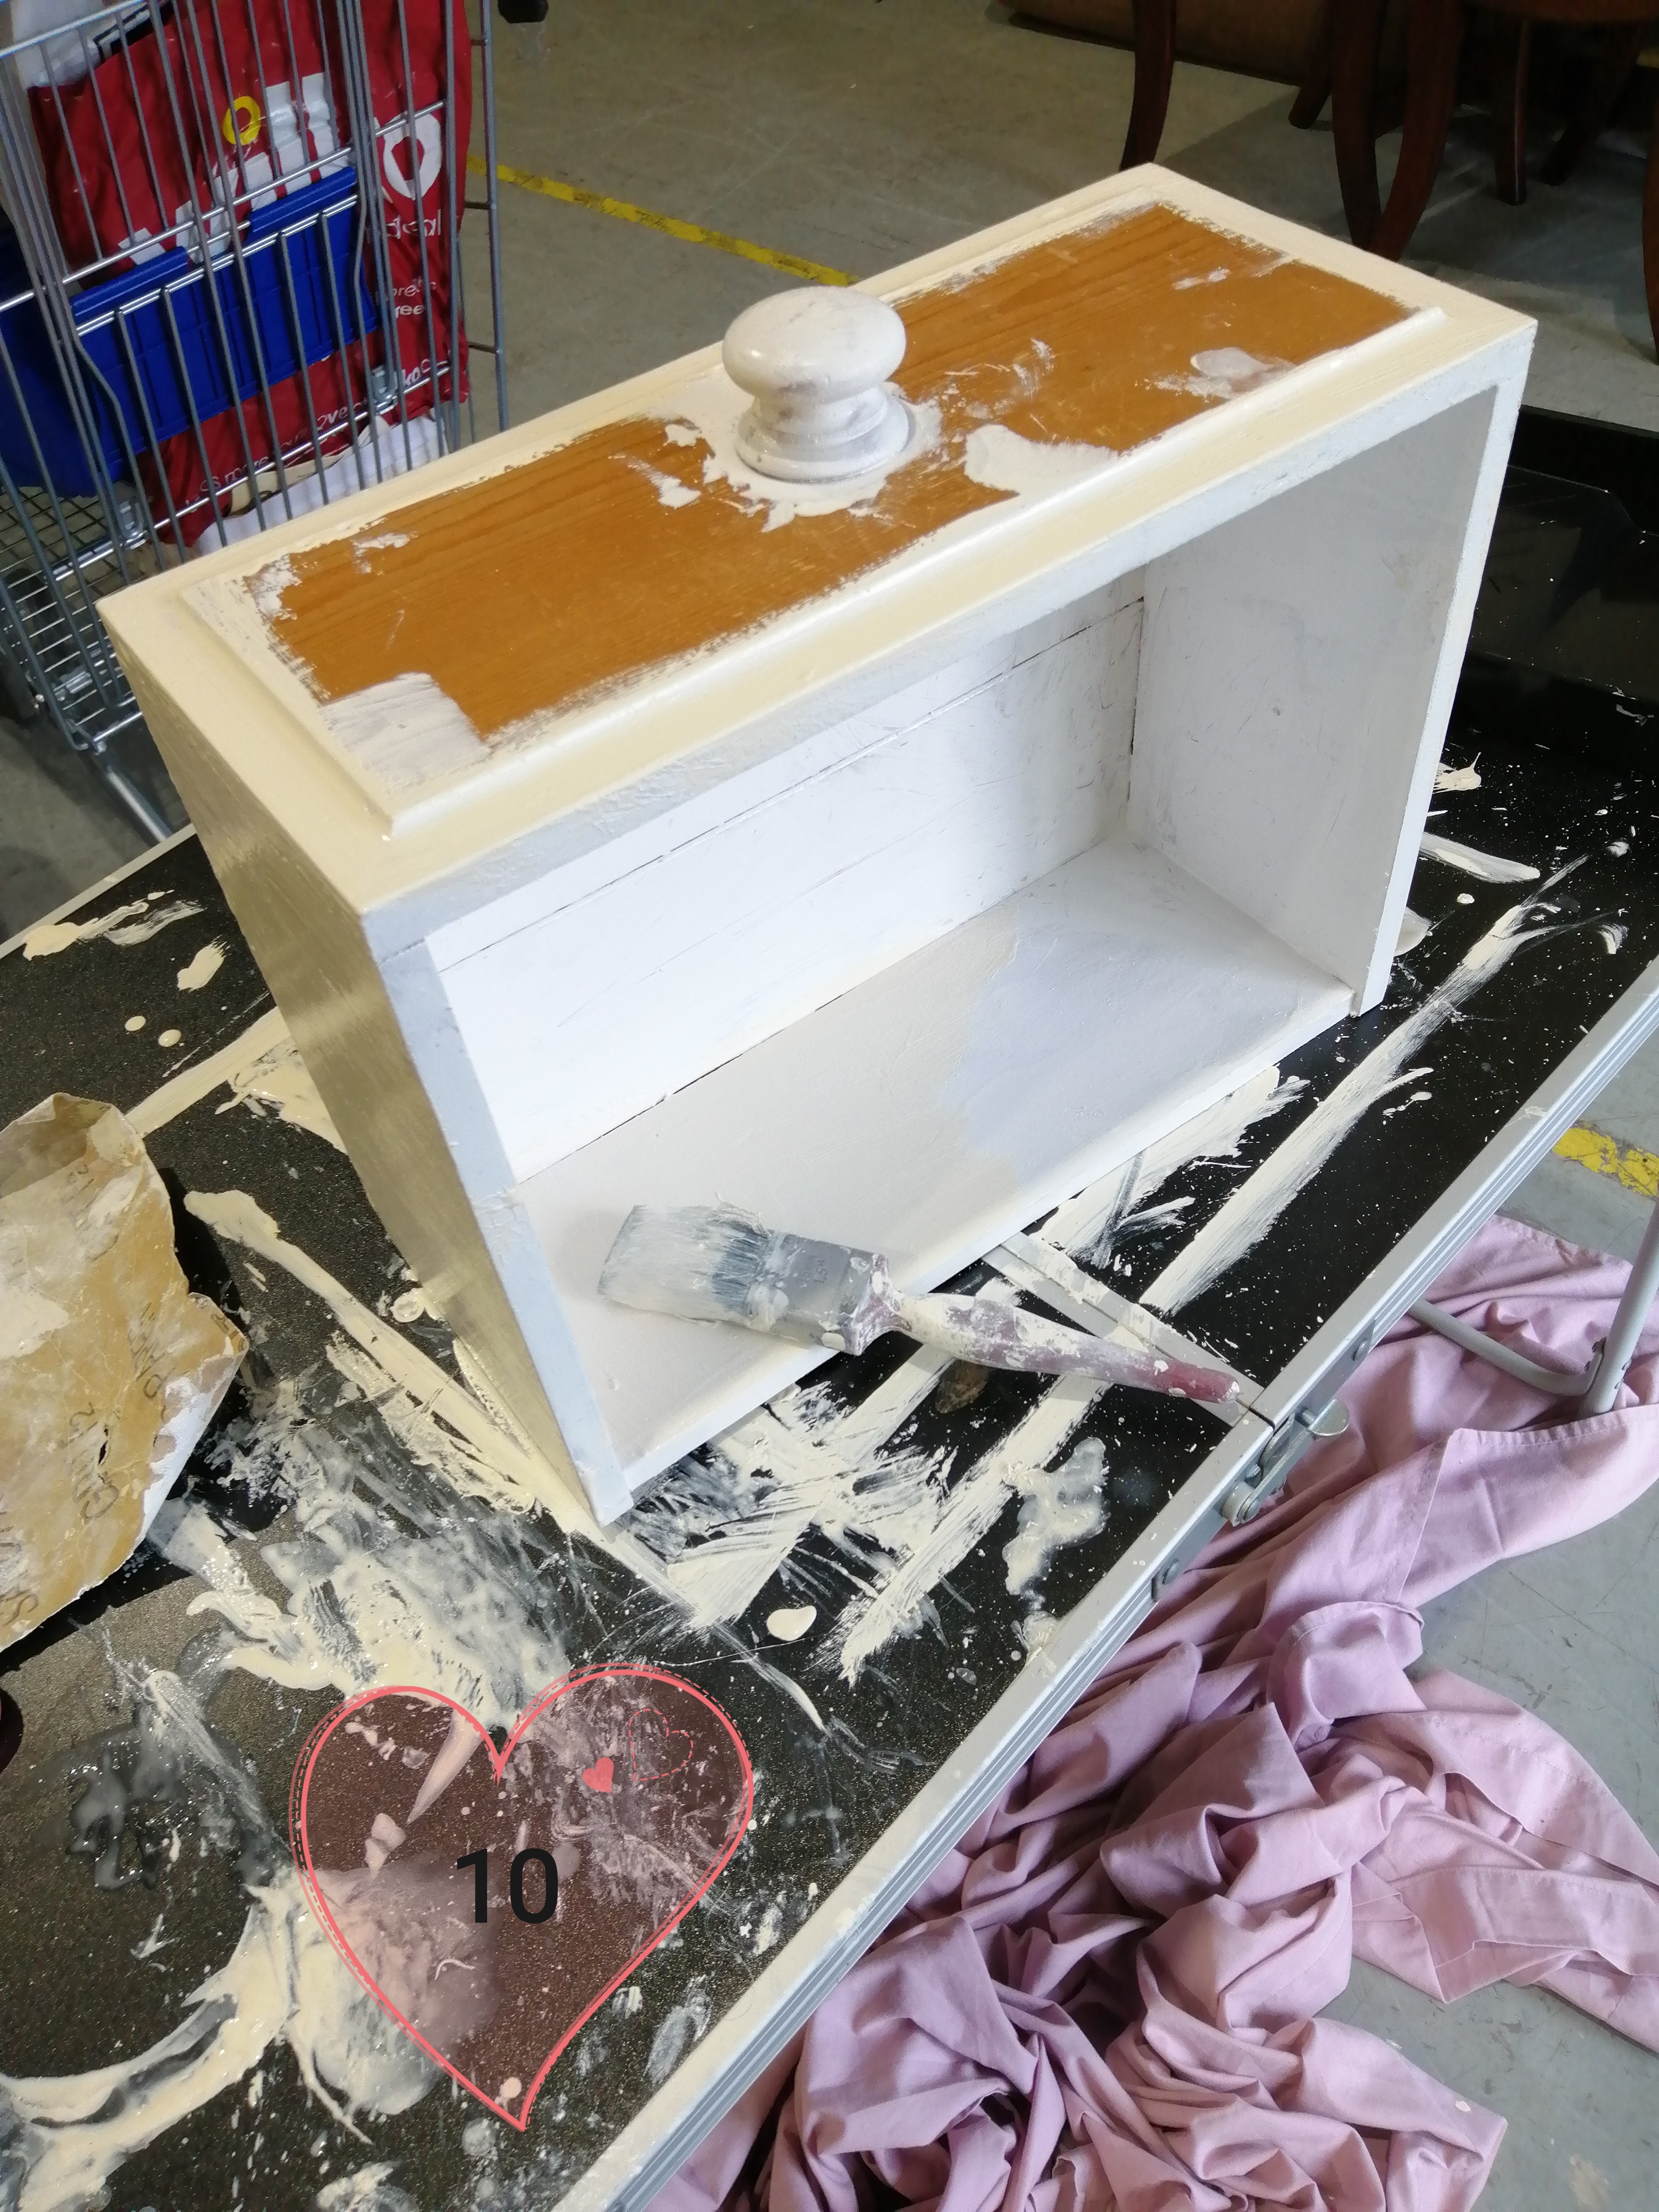
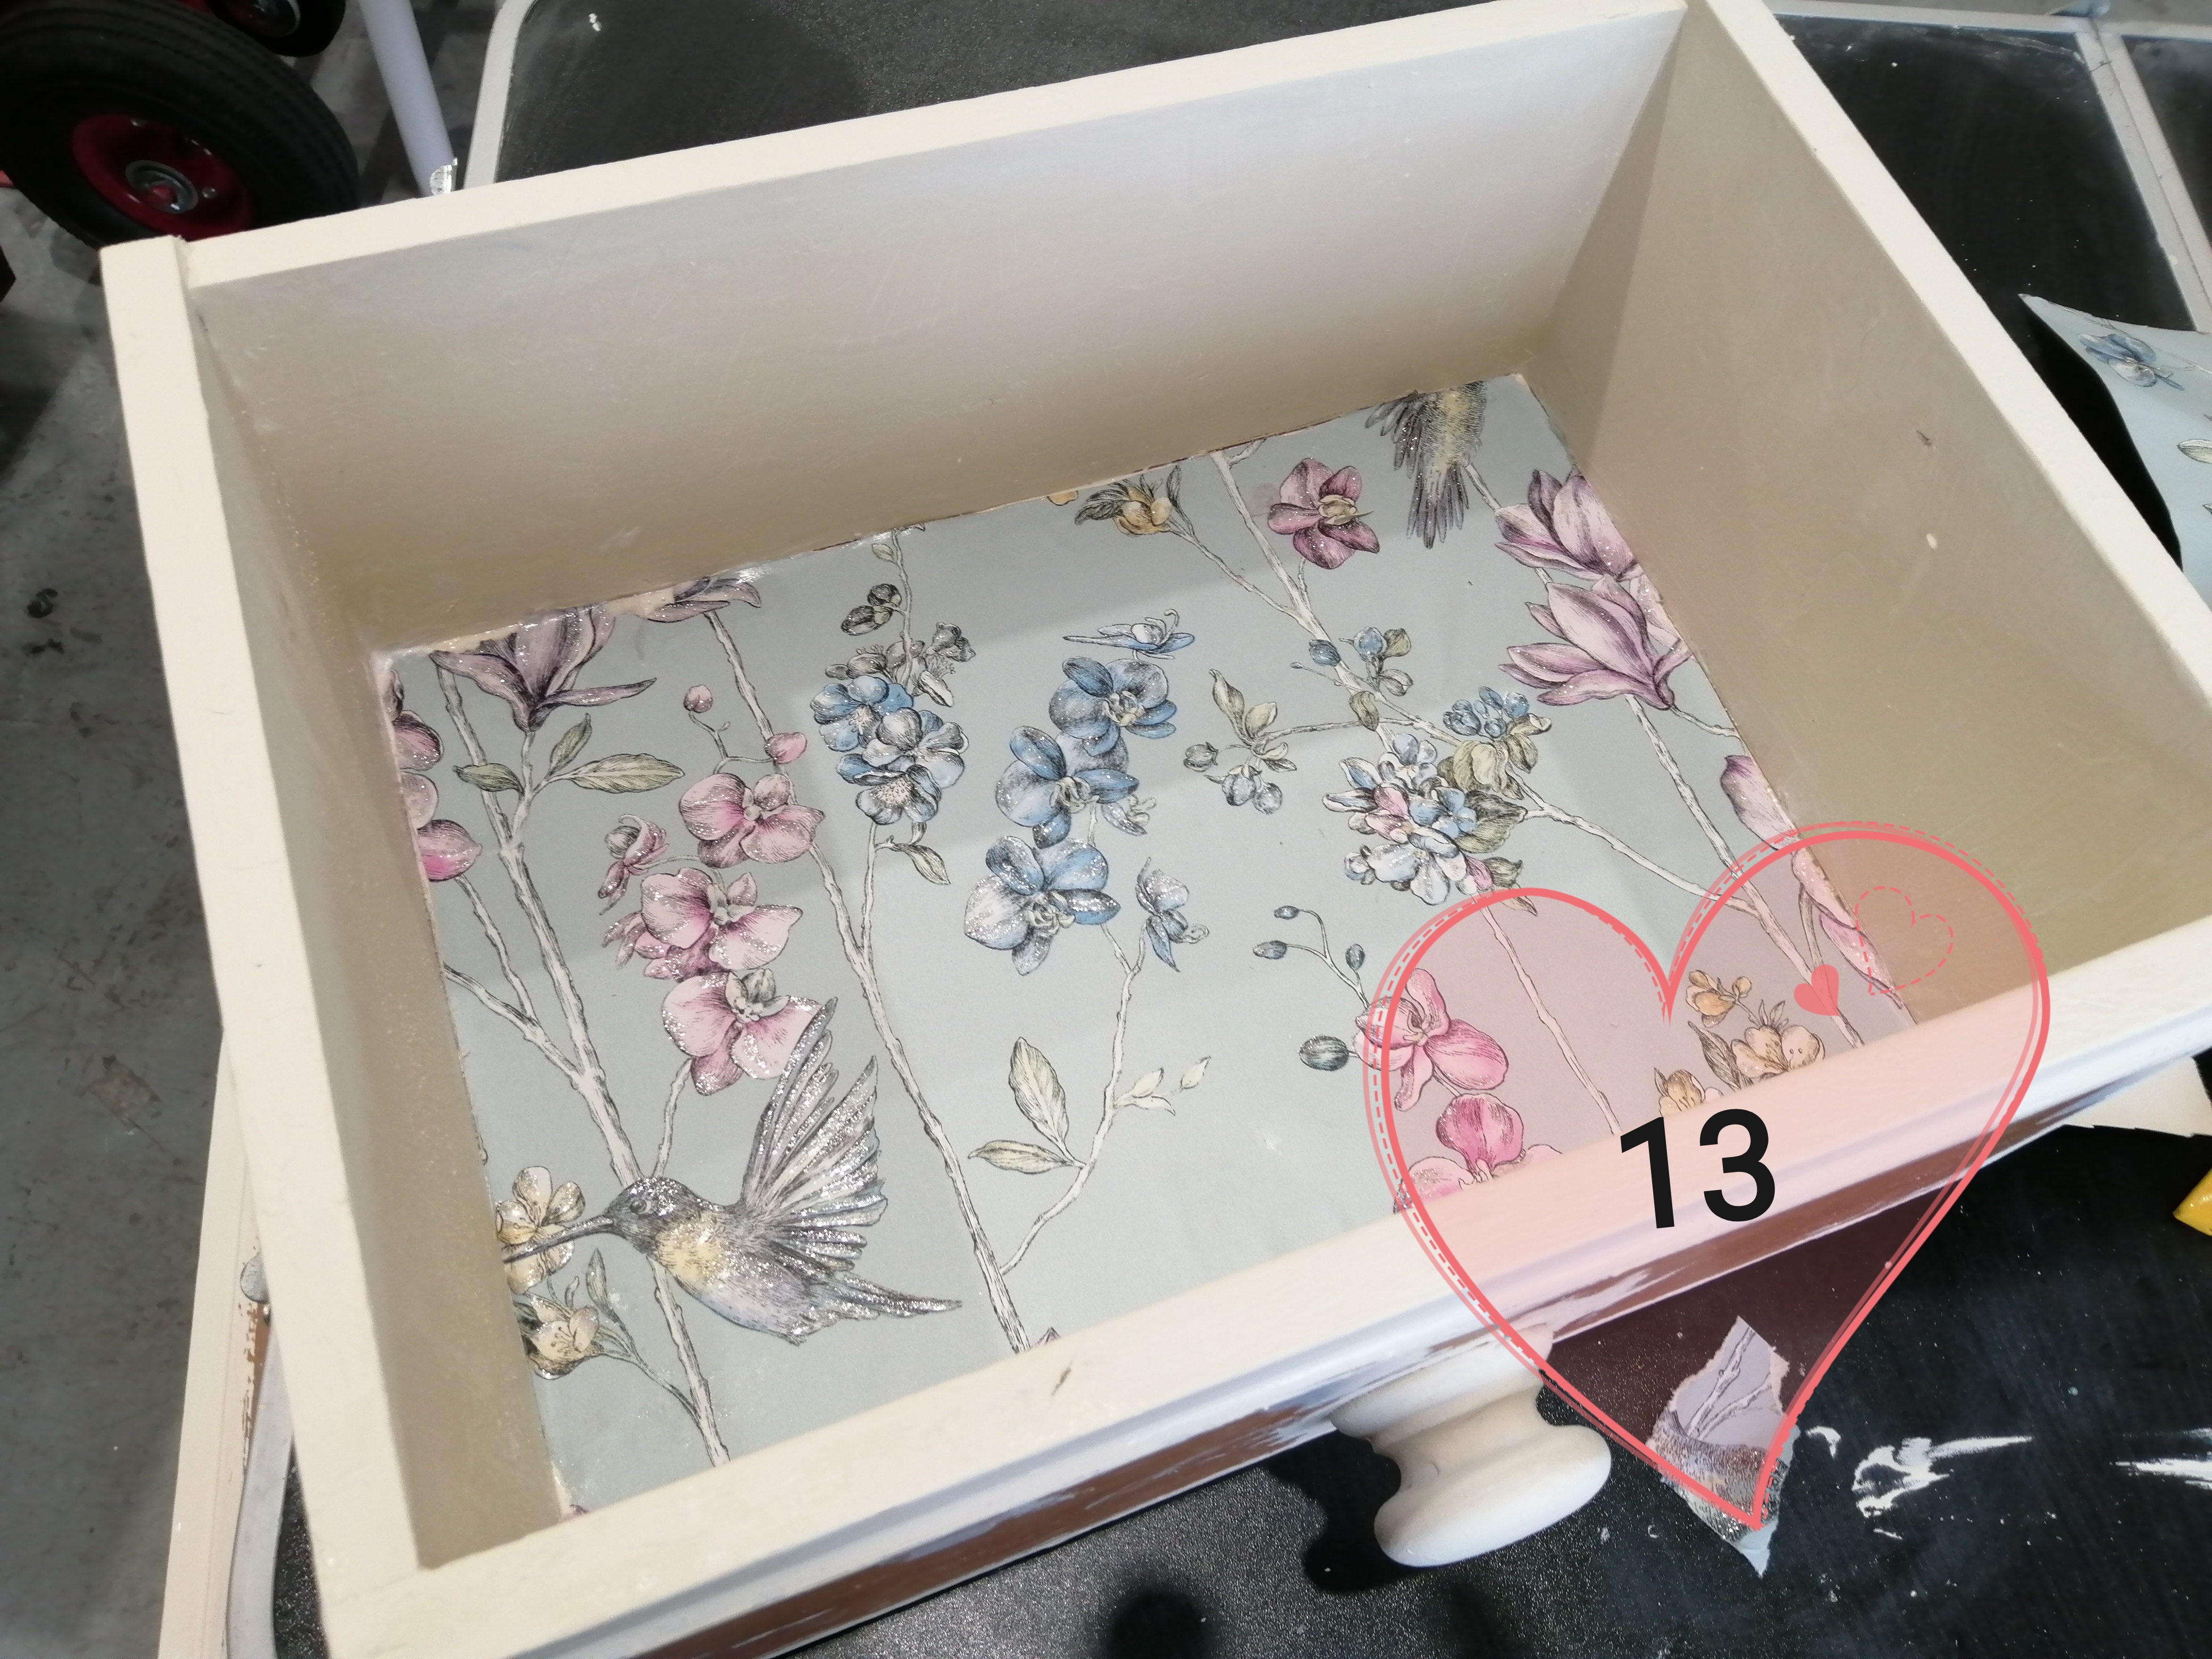
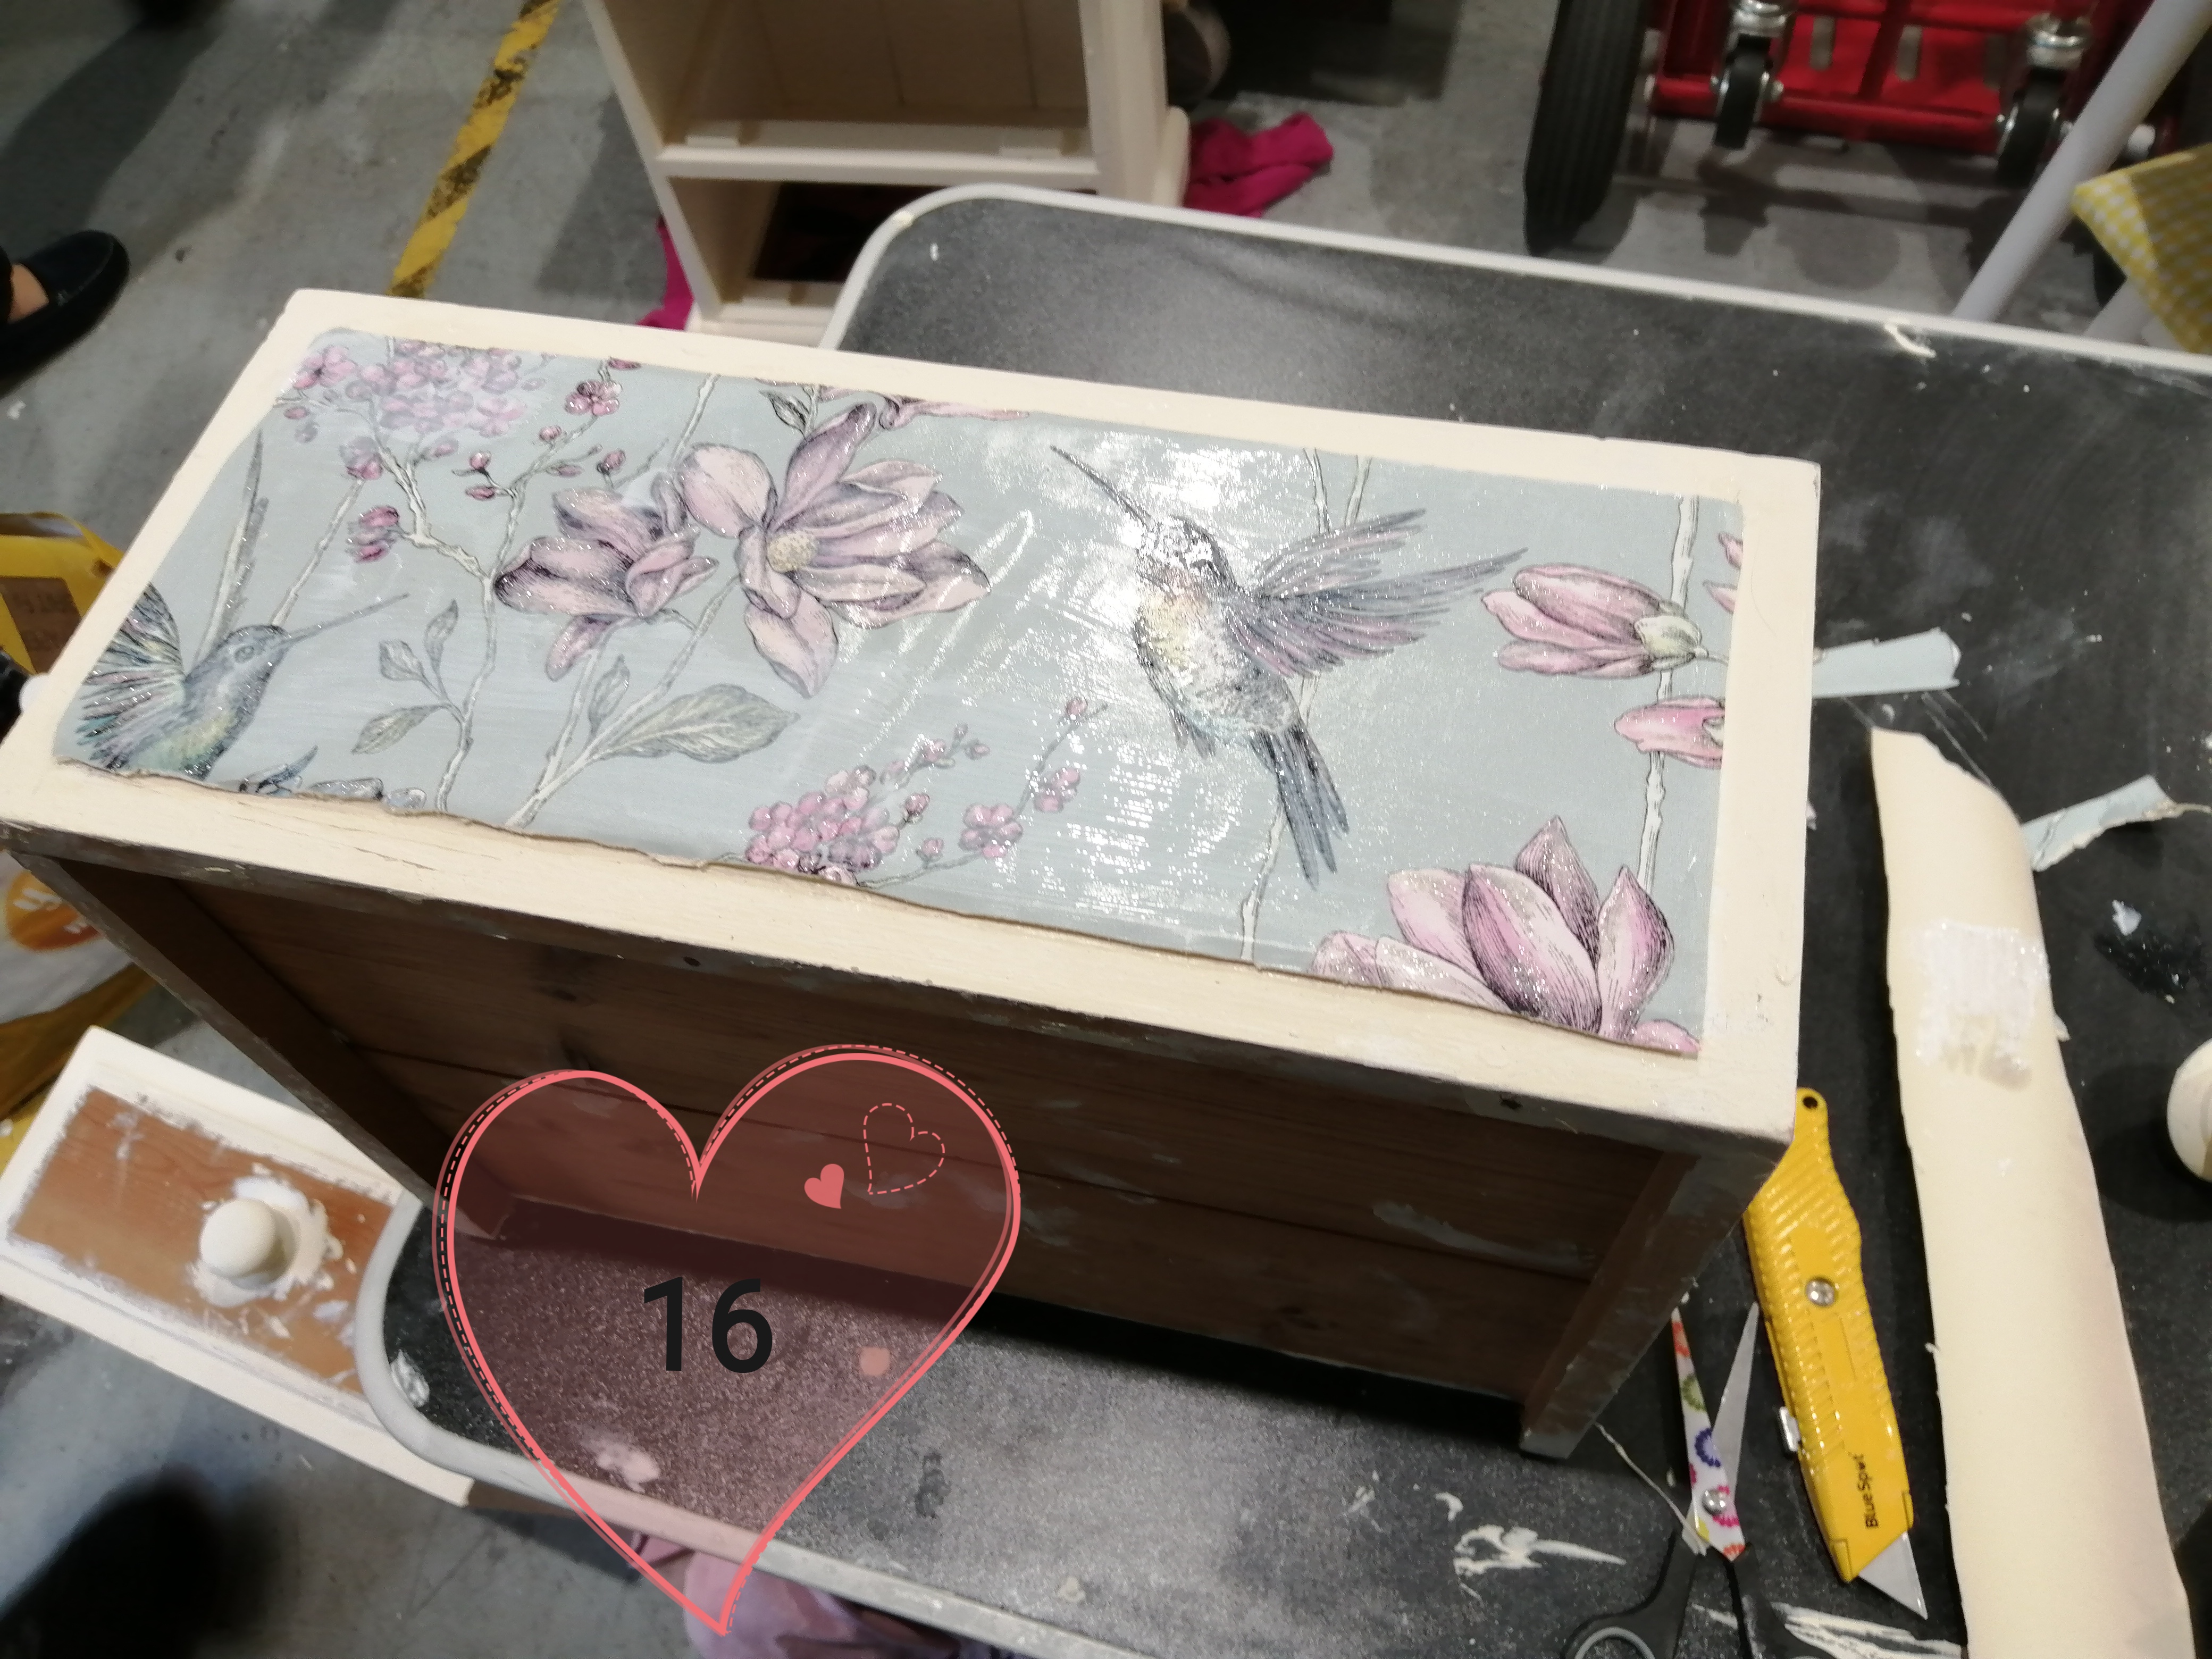
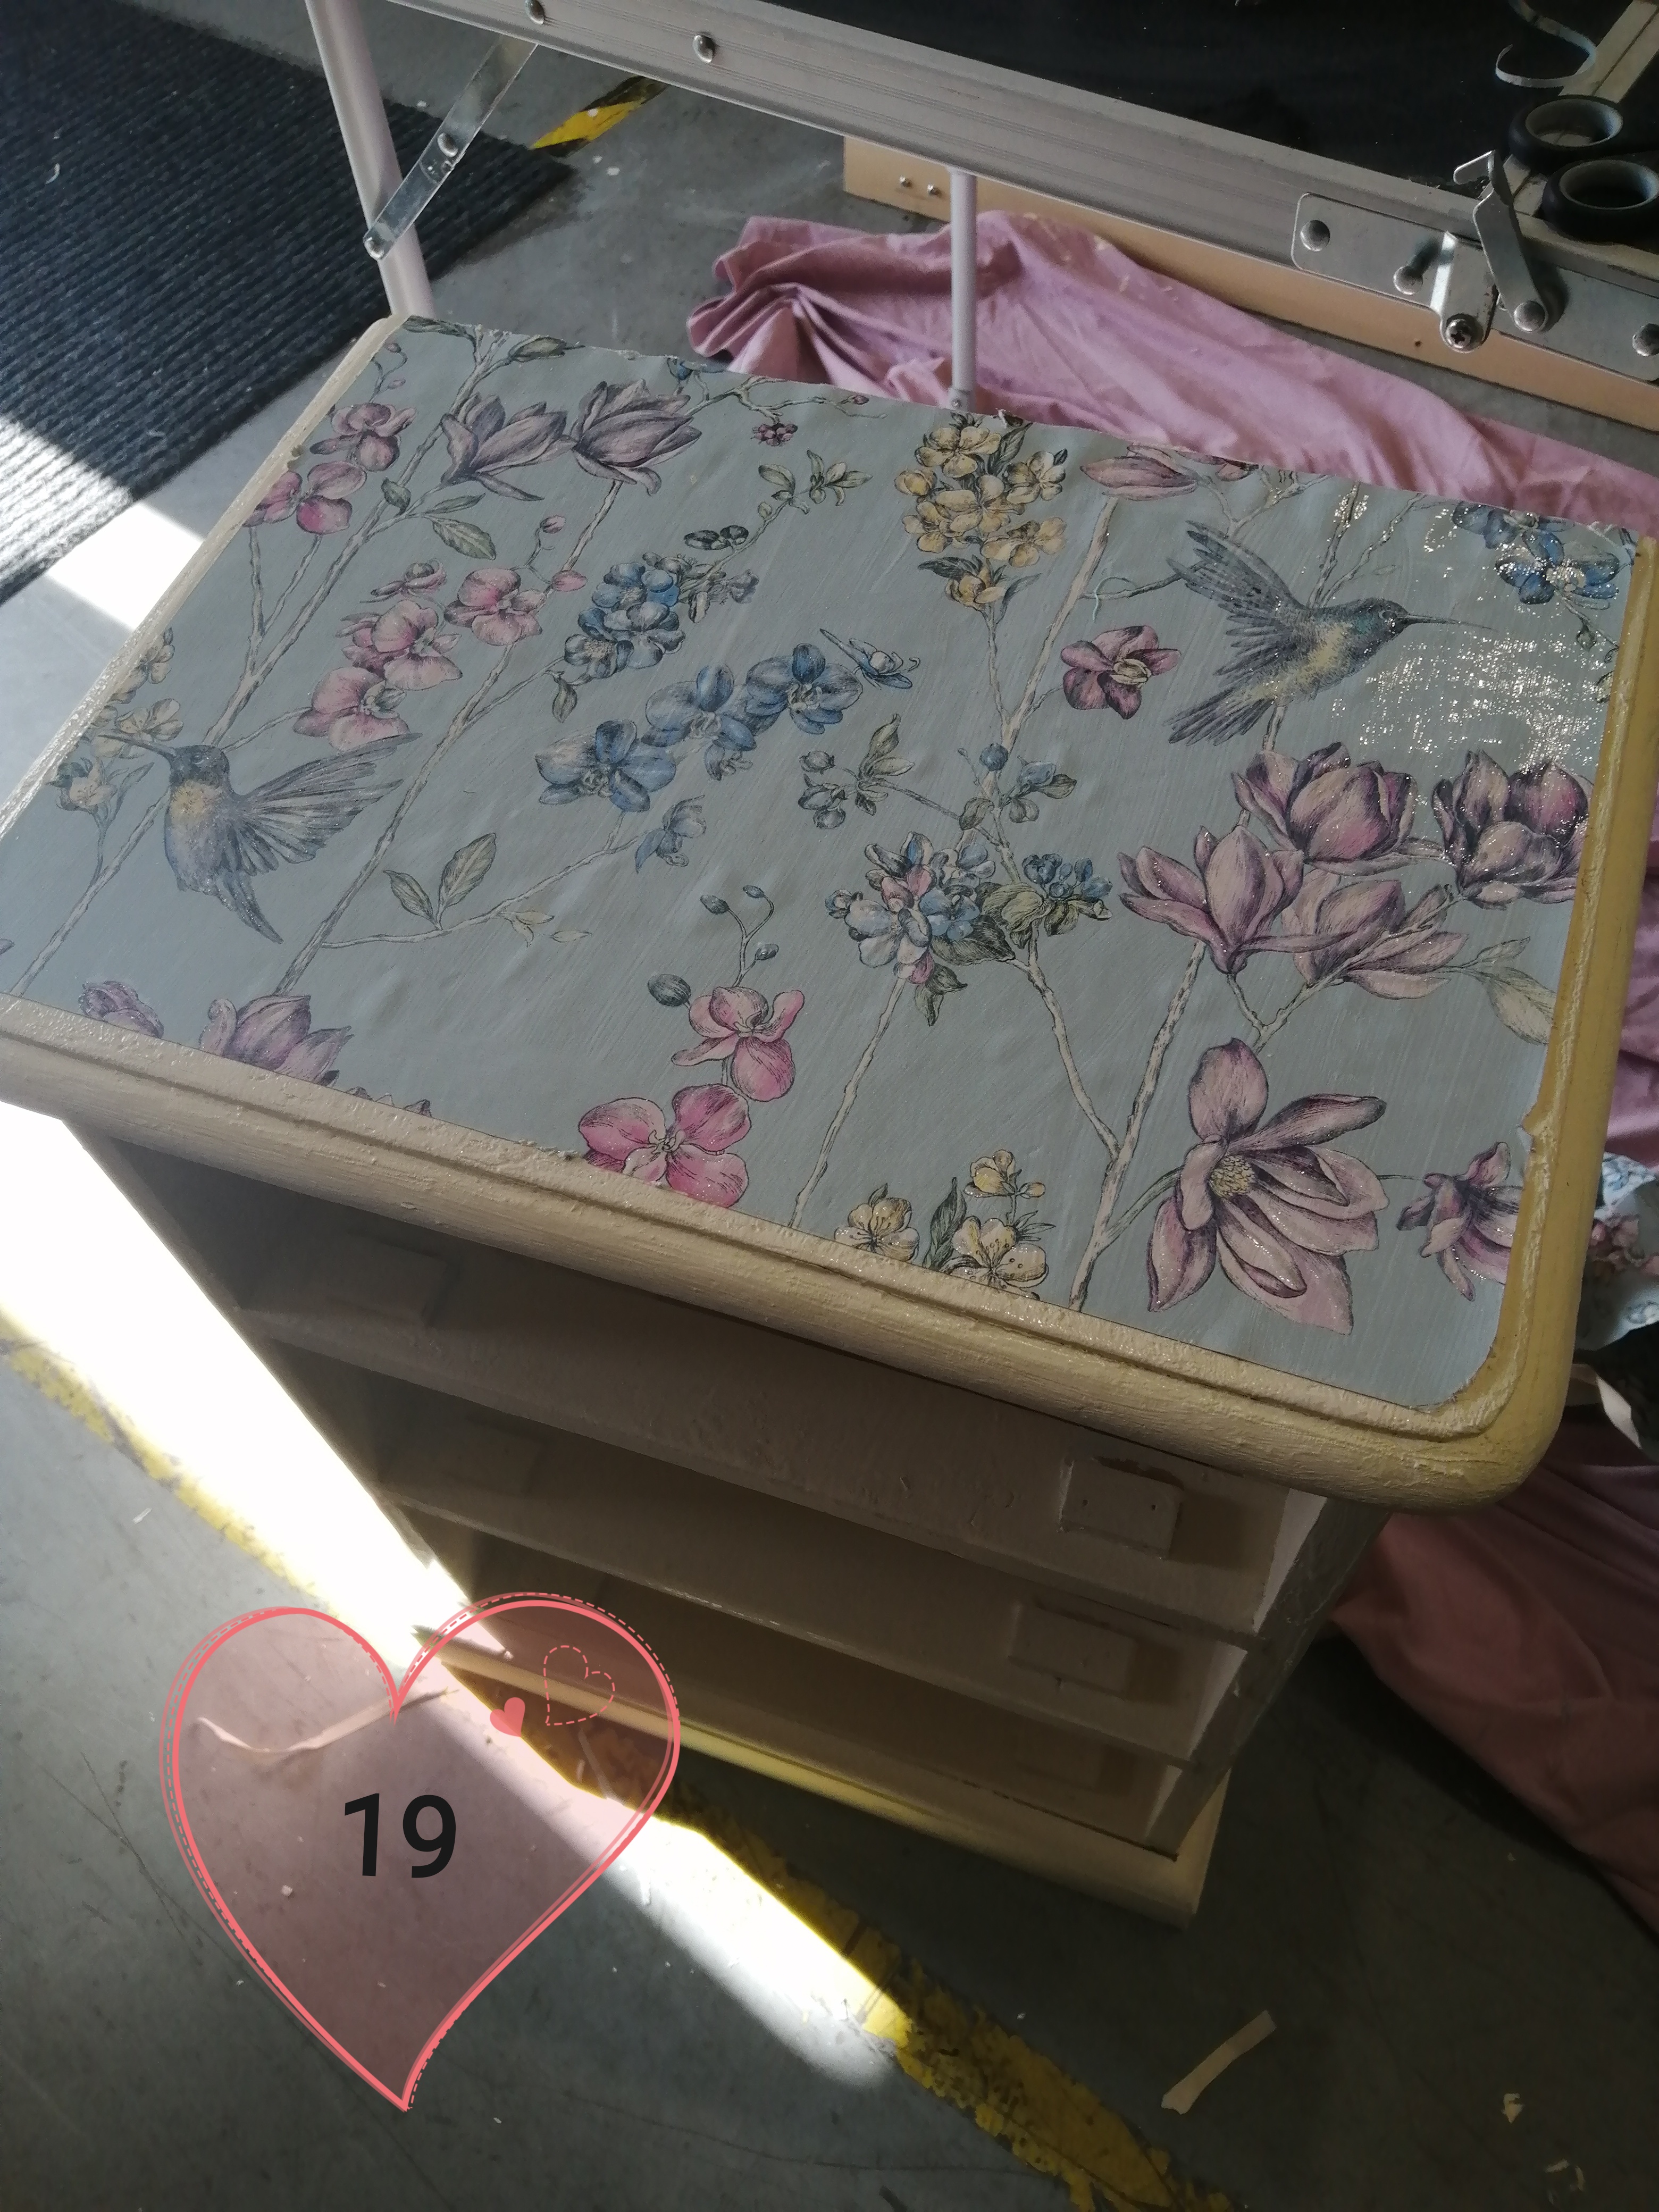
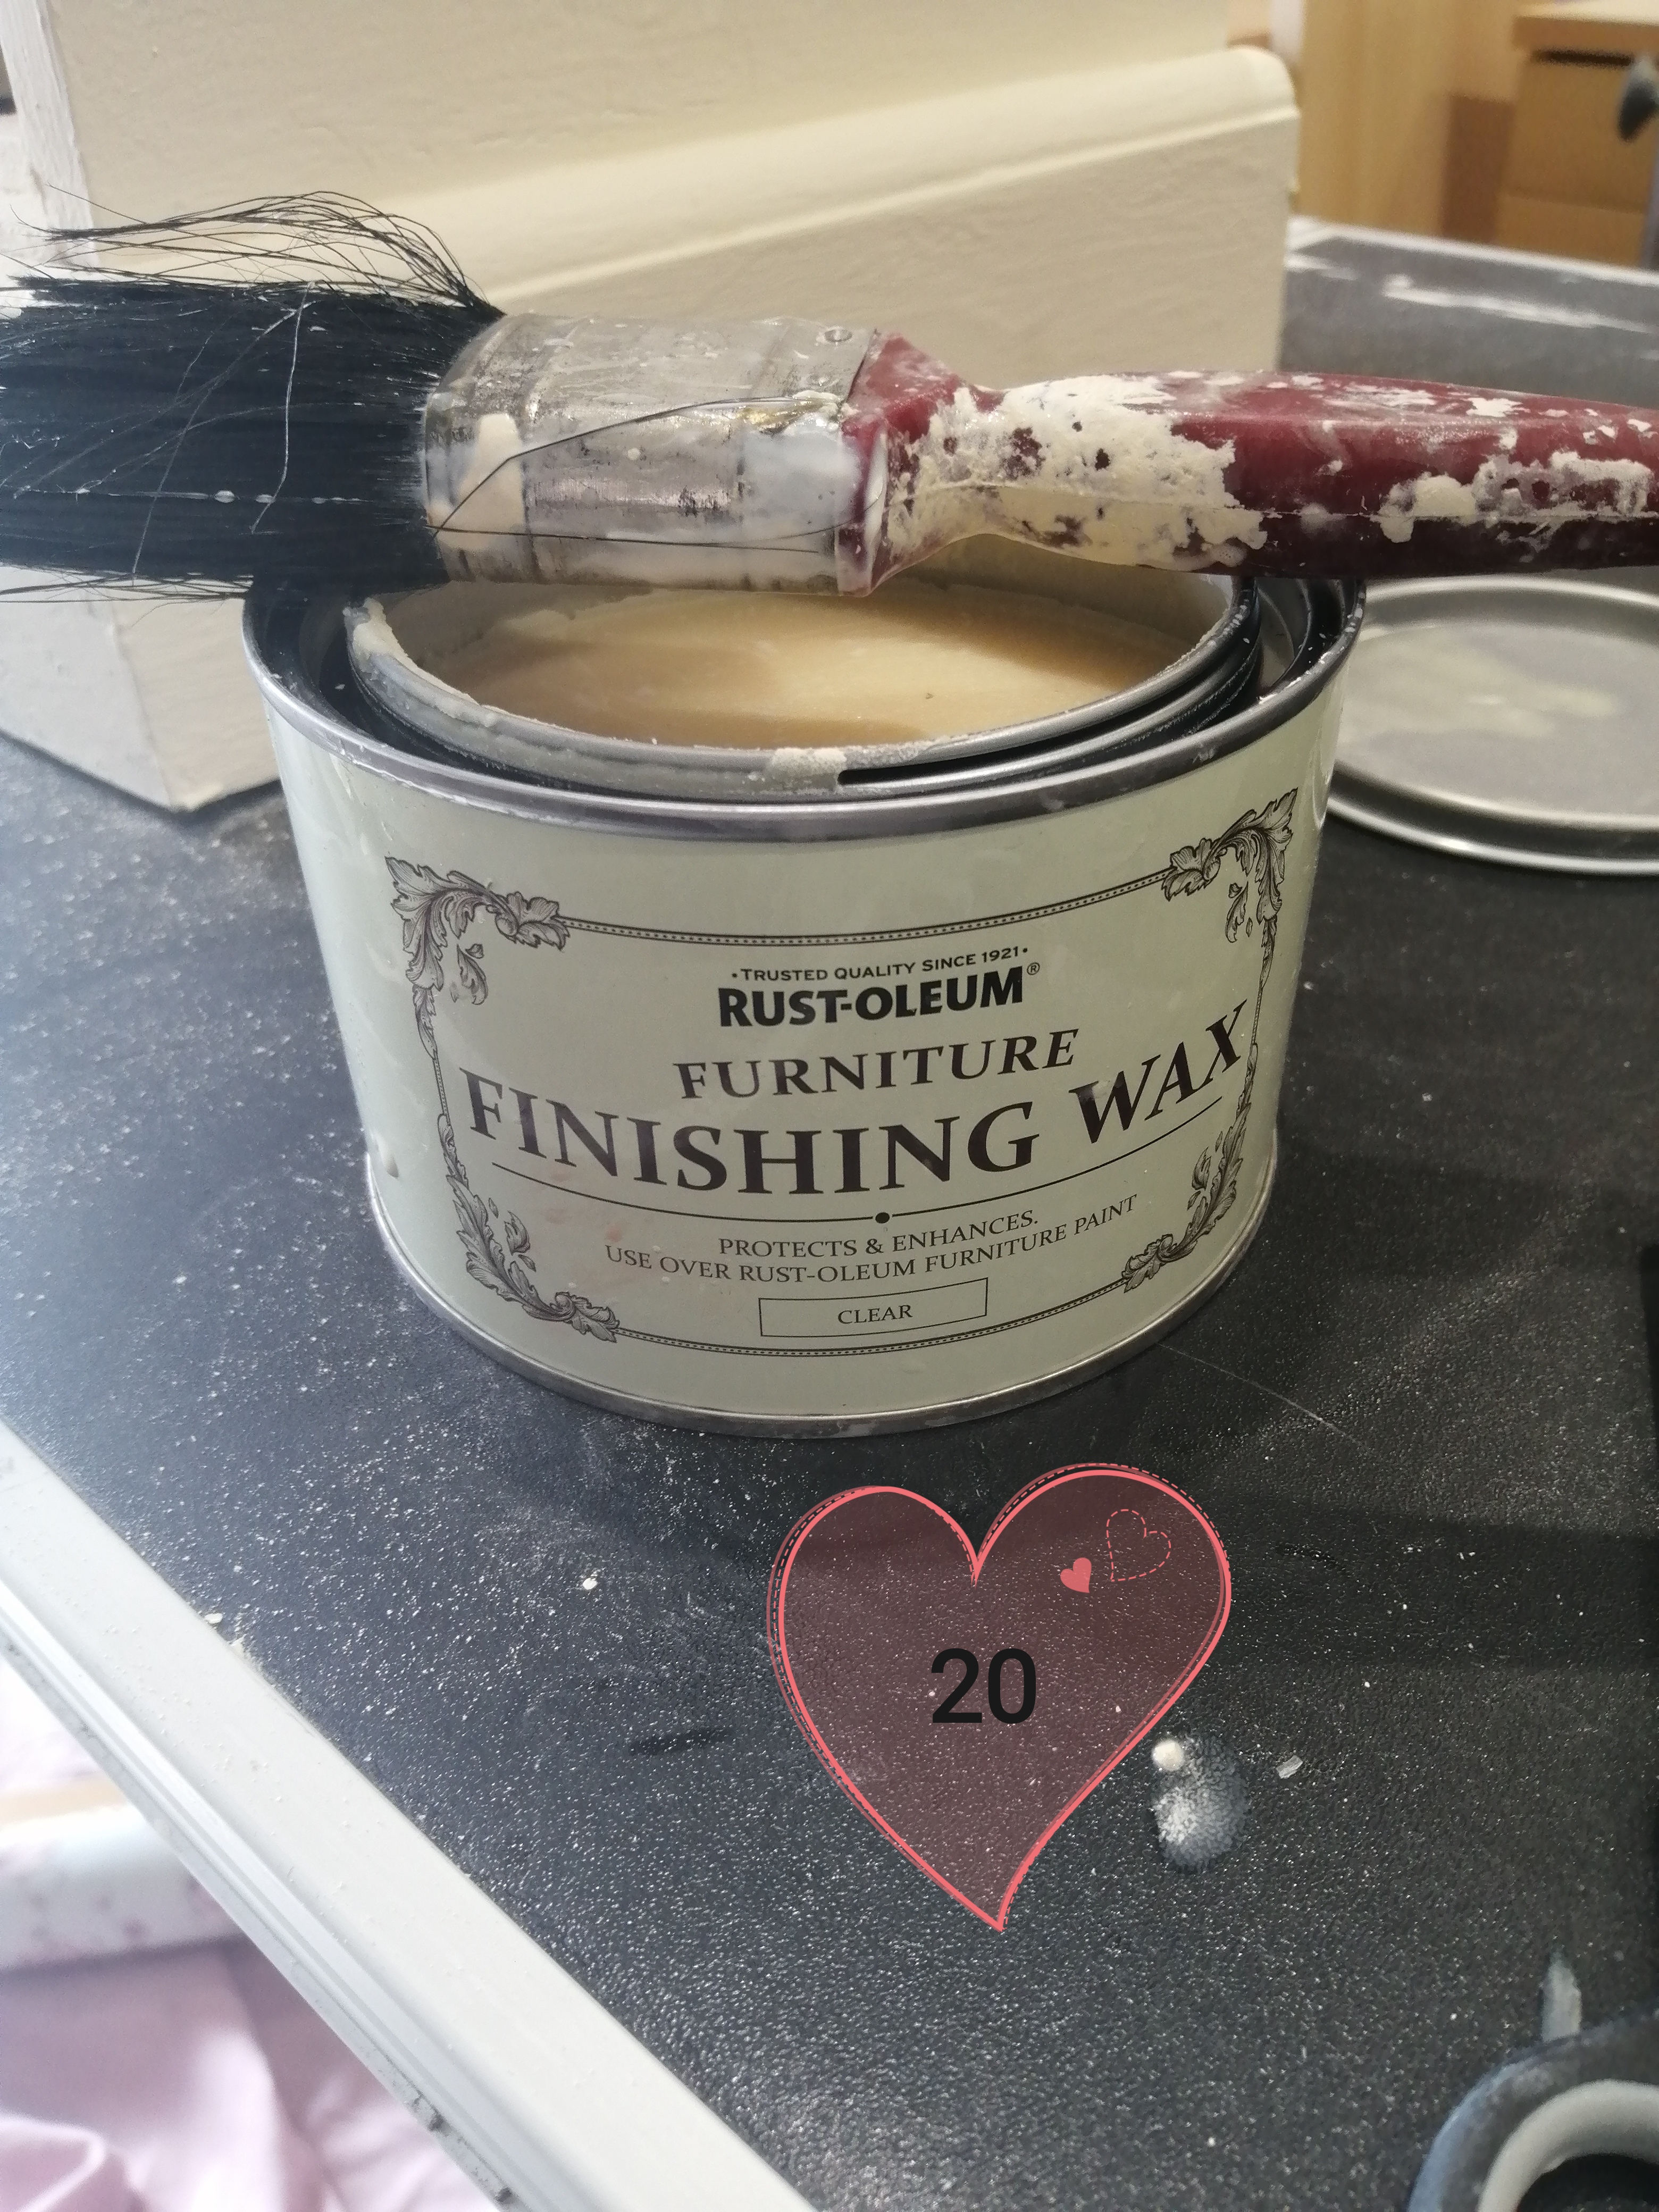
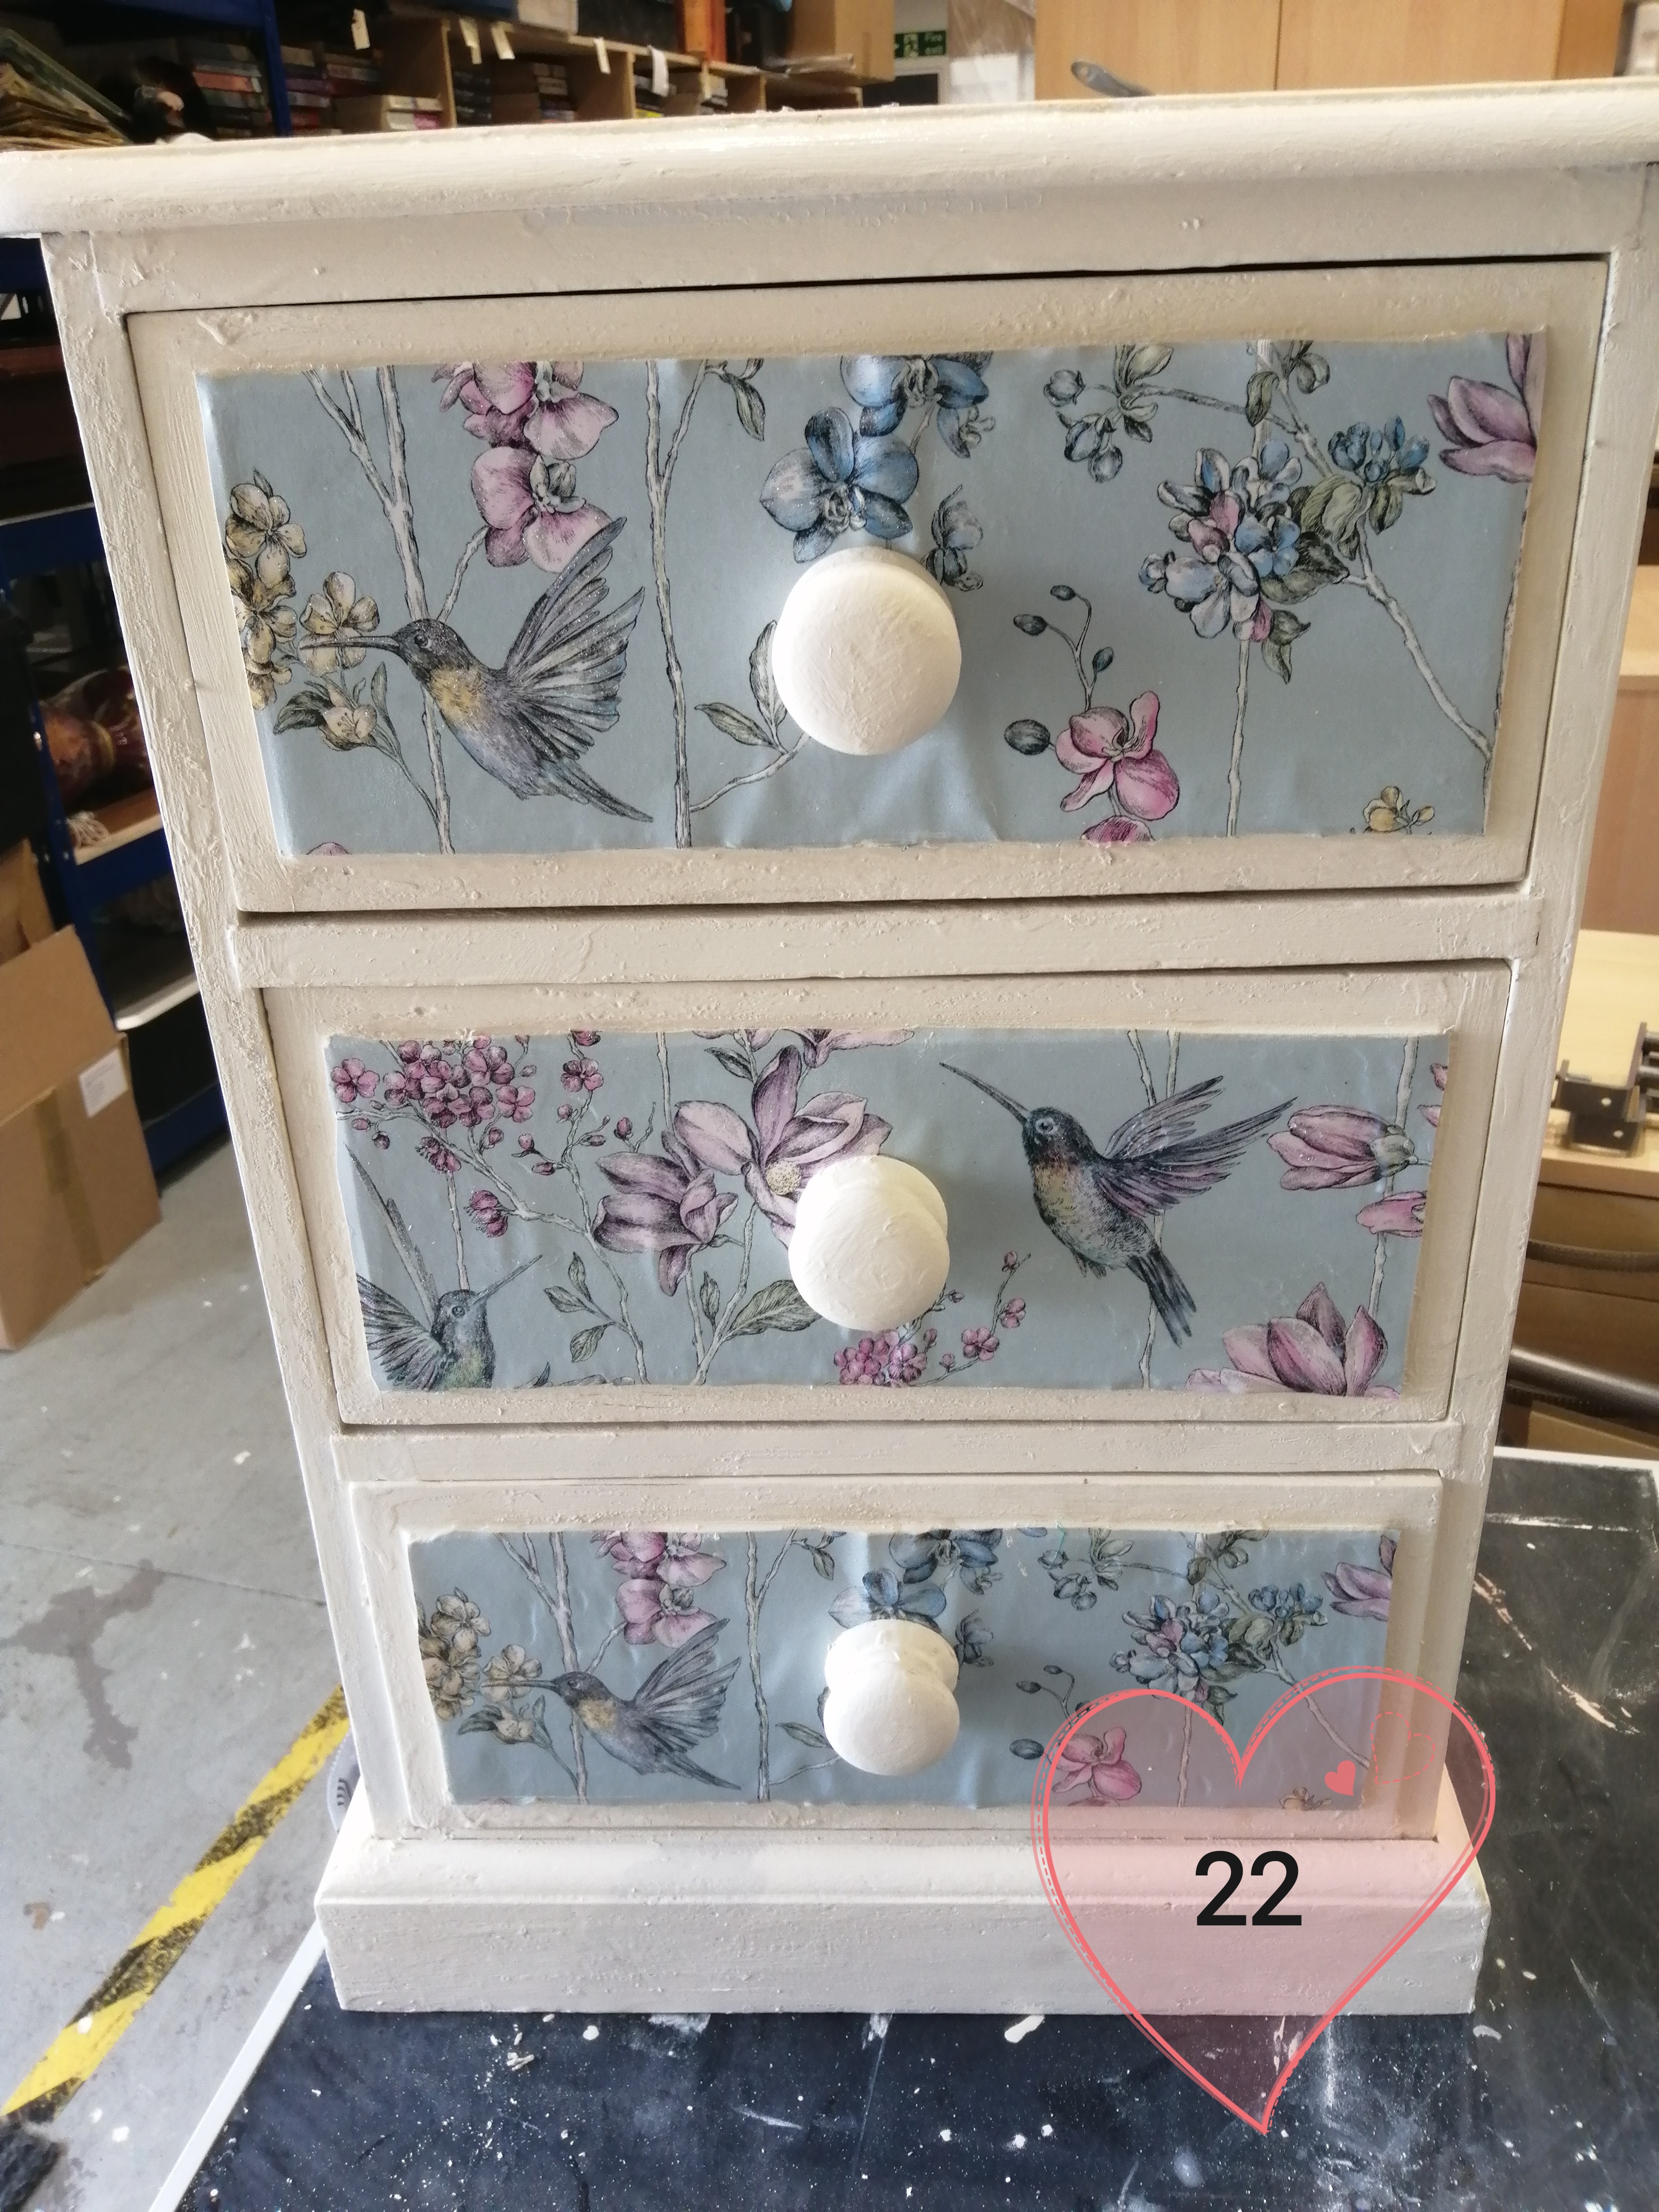
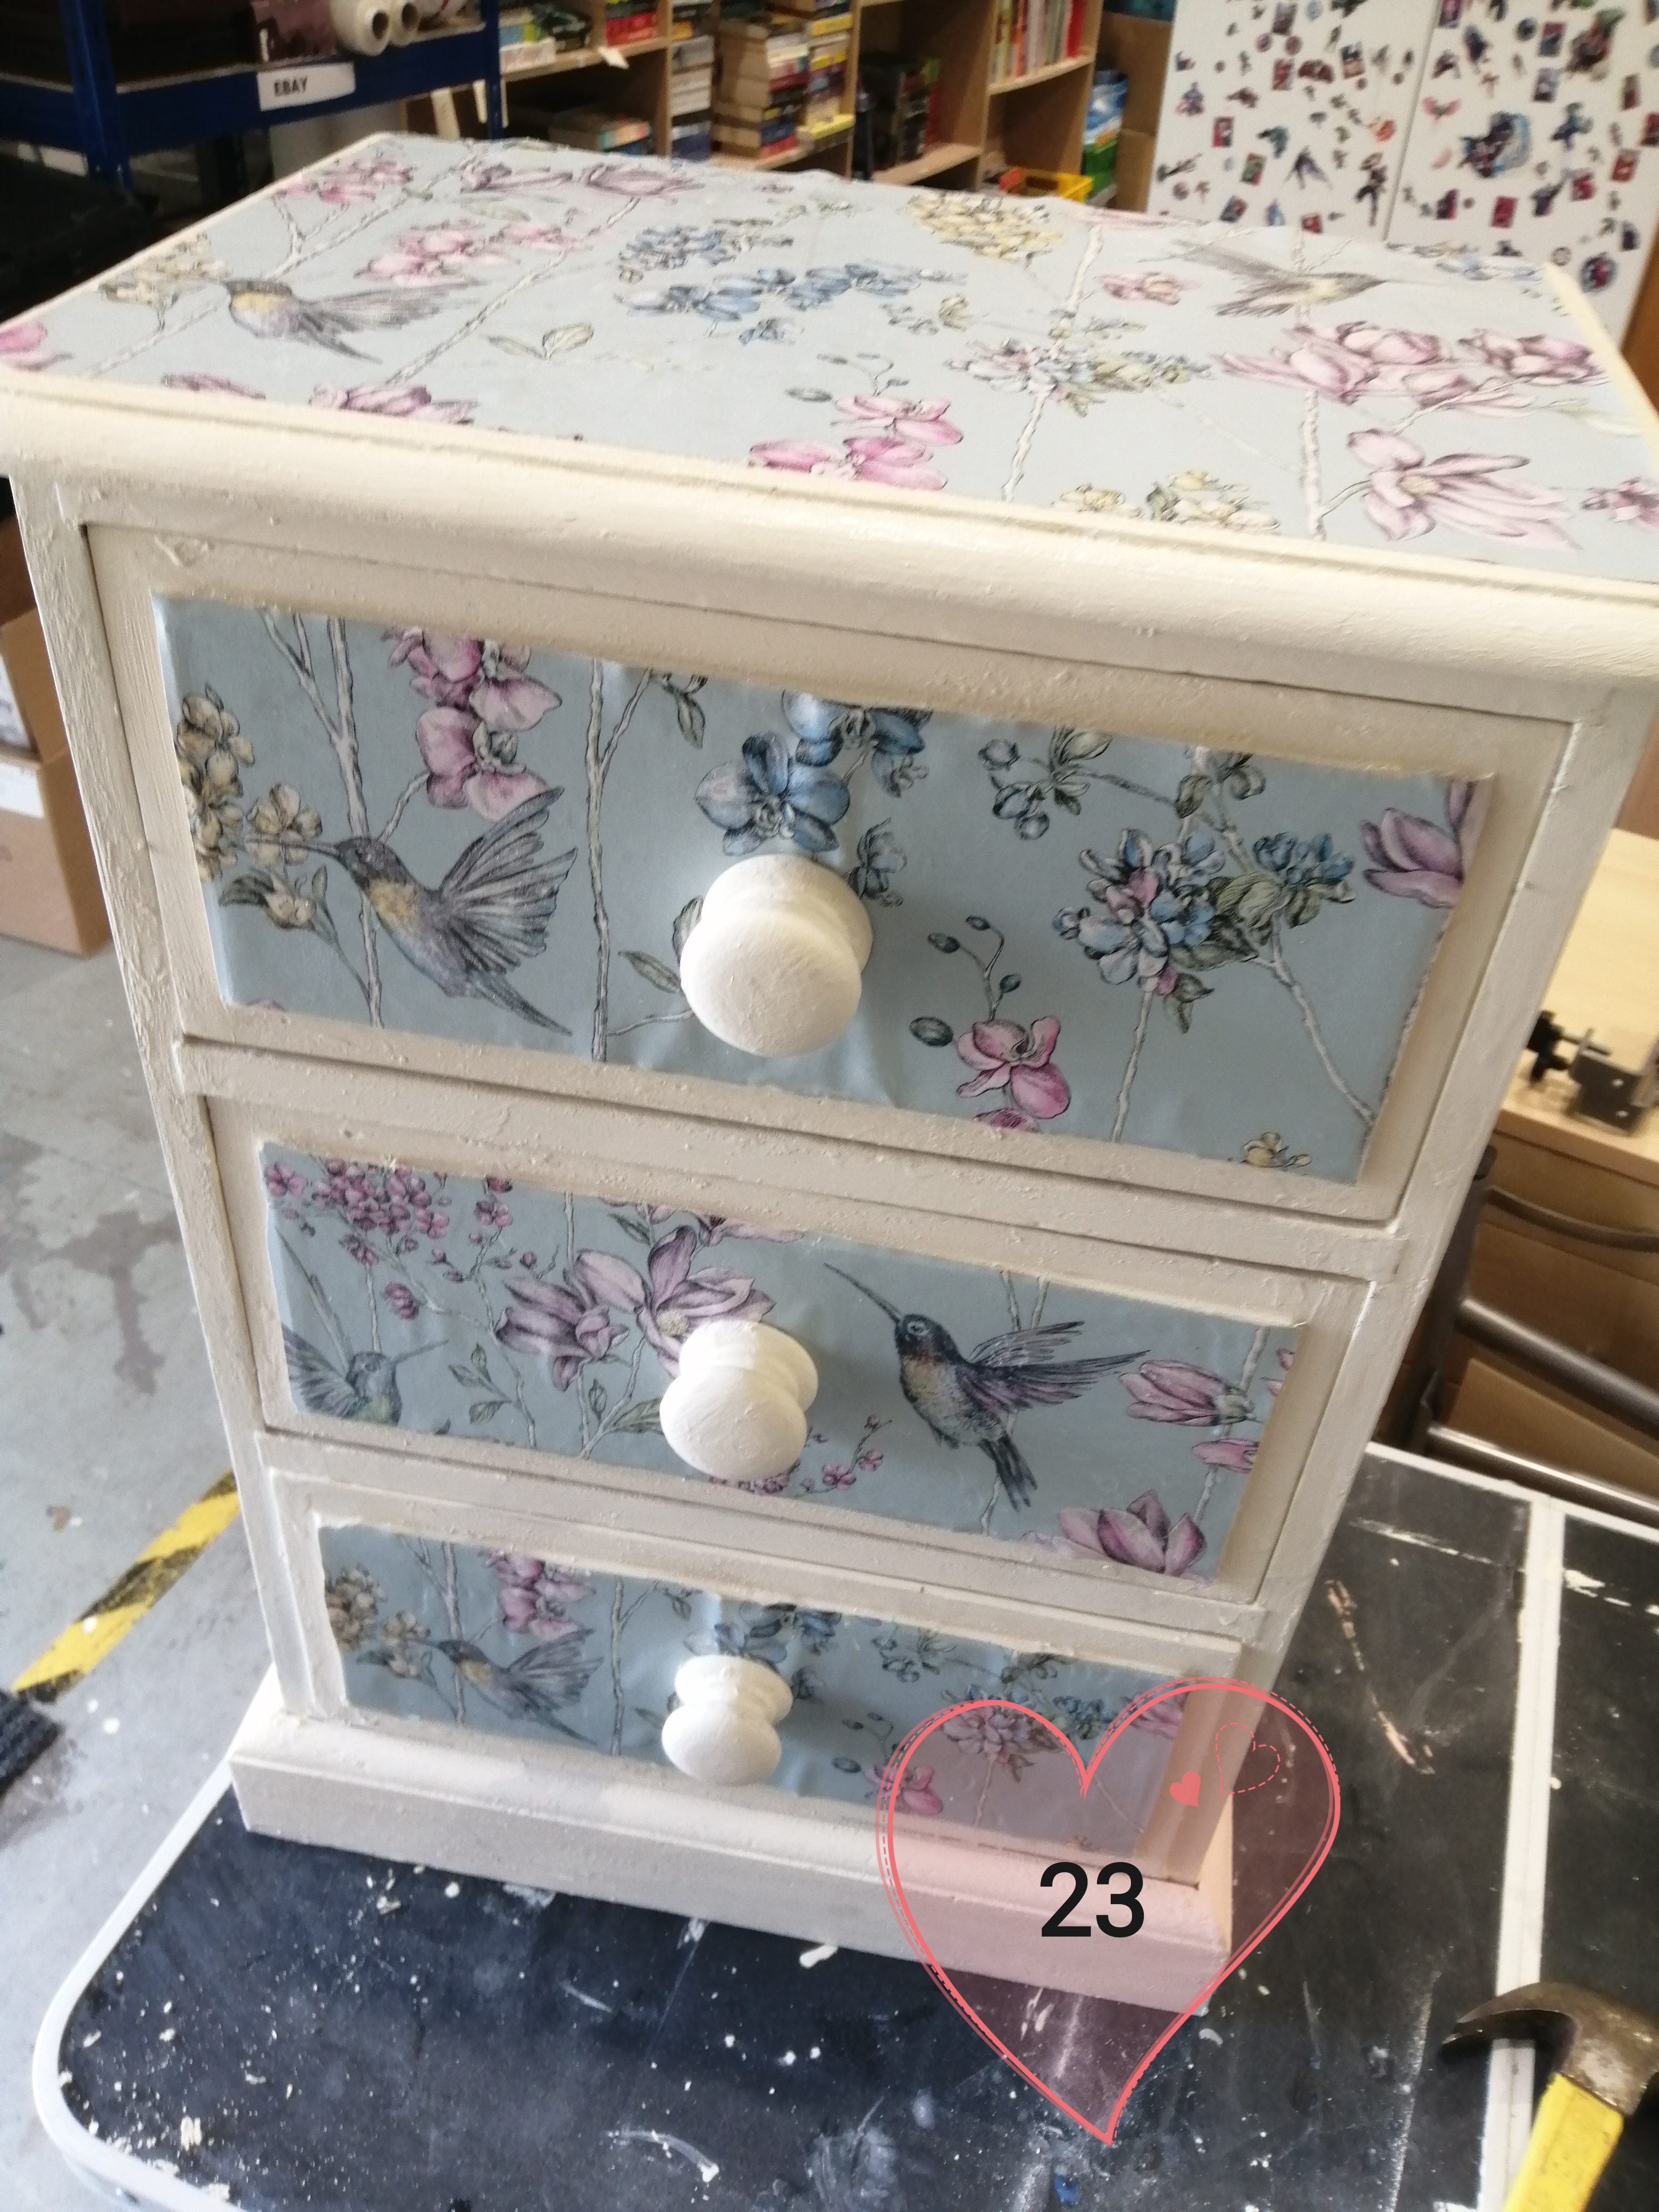
I started off the project by giving the box a good clean with sugar soap, and a thorough sanding with my black and decker mouse sander. I then applied a primer and undercoat which dried in a couple of hours; a huge improvement from before with the shabby chic bedside cabinet – 16 to 24 hours that one took! I then applied a little bit gloopy (unfortunately a few years old) furniture paint in a clotted cream colour. Next I decoupaged the front and back of the box with a gorgeous sort of marble effect silver wallpaper my friend kindly donated. Afterwards, I used furniture wax to seal the clotted cream paint, and satin varnished the decoupage. To finish, I wood stained the top with antique pine wood stain, and painted the hinges black. And here it is completed…

This is my favourite upcycling project so far. I think it looks quite classy with the decoupage, and is unique; hopefully it’ll raise a lot of money for the Children’s Air Ambulance once it’s sold 🙂

I’m not sure what my next project will be, I’ll keep you in suspense, ha! I’m not volunteering today, having a chill out day for my birthday, 31 today, hooray! It snowed this morning… almost like a white Christmas 🤶🎄🤶🎄

Thank you so much for taking the time to read, appreciated.

Many thanks, Lauren xx

© 2022 Lauren Parr / https://unicornpostbox.com

Shabby chic decoupage bedside cabinet

Hi blog followers, my latest blog post is progression photos of a shabby chic decoupage bedside cabinet I upcycled for the Children’s Air Ambulance.. Hope you enjoy!

Firstly, I thoroughly washed the bedside cabinet with some sugar soap and sanded by hand with sand paper. I then primed with a 16-24 hour dry primer (mistake, won’t be purchasing again, too long a wait), and sanded some more the next day.

I decoupaged the drawers, front and inside, with a pretty duck egg colour/ bird pattern wallpaper, using mod podge. I likewise decoupaged the top of the cabinet too. I sealed with furniture wax on the Rust-oleum furniture paint, and a clear satin varnish over the wallpaper.

I almost bodged the project up by trying to distress the sides. It just did not look right at all, so I tried to salvage it by repainting, leaving a few little distresses on the front/drawers, to keep a shabby chic effect.

As only my first attempt in years, I think I’ve done a pretty decent job. Far from perfect, but not bad. Moving forward, I think if I continue to decoupage/paint, to make sure all is smooth and to a professional standard so the Children’s Air Ambulance can make the biggest profit possible. If I improve and learn by practice they could hopefully sell my upcycled furniture for a lot of money!

This is my next project, a mahogany TV cabinet I’ve begun sanding with a black and decker mouse sander I bought yesterday. So watch this space!

Thanks so much for taking the time to read /view my latest blog post, I appreciate your ongoing support 🙂 🙂

Much love, Lauren xx

© 2022 Lauren Parr / https://unicornpostbox.com