In February this year I purchased a second-hand drinks trolley from the British Heart Foundation furniture charity shop in Doncaster, for £15. Only recently, I set aside two days of grafting in our garage to upcycle it… I thought I’d share with you my start to end process, I do hope you enjoy…

This is what the drinks trolley looked like when I bought it. Definitely in need of some tender loving care, and a little titivating! It was quite funny actually because when I brought the trolley outside from the BHF shop in Doncaster, the wheel fell off and started rolling down the street slope! So yeah, it was a bit embarrassing running frantically after a wheel in a busy town centre, but nothing a wingnut couldn’t fix at home!…
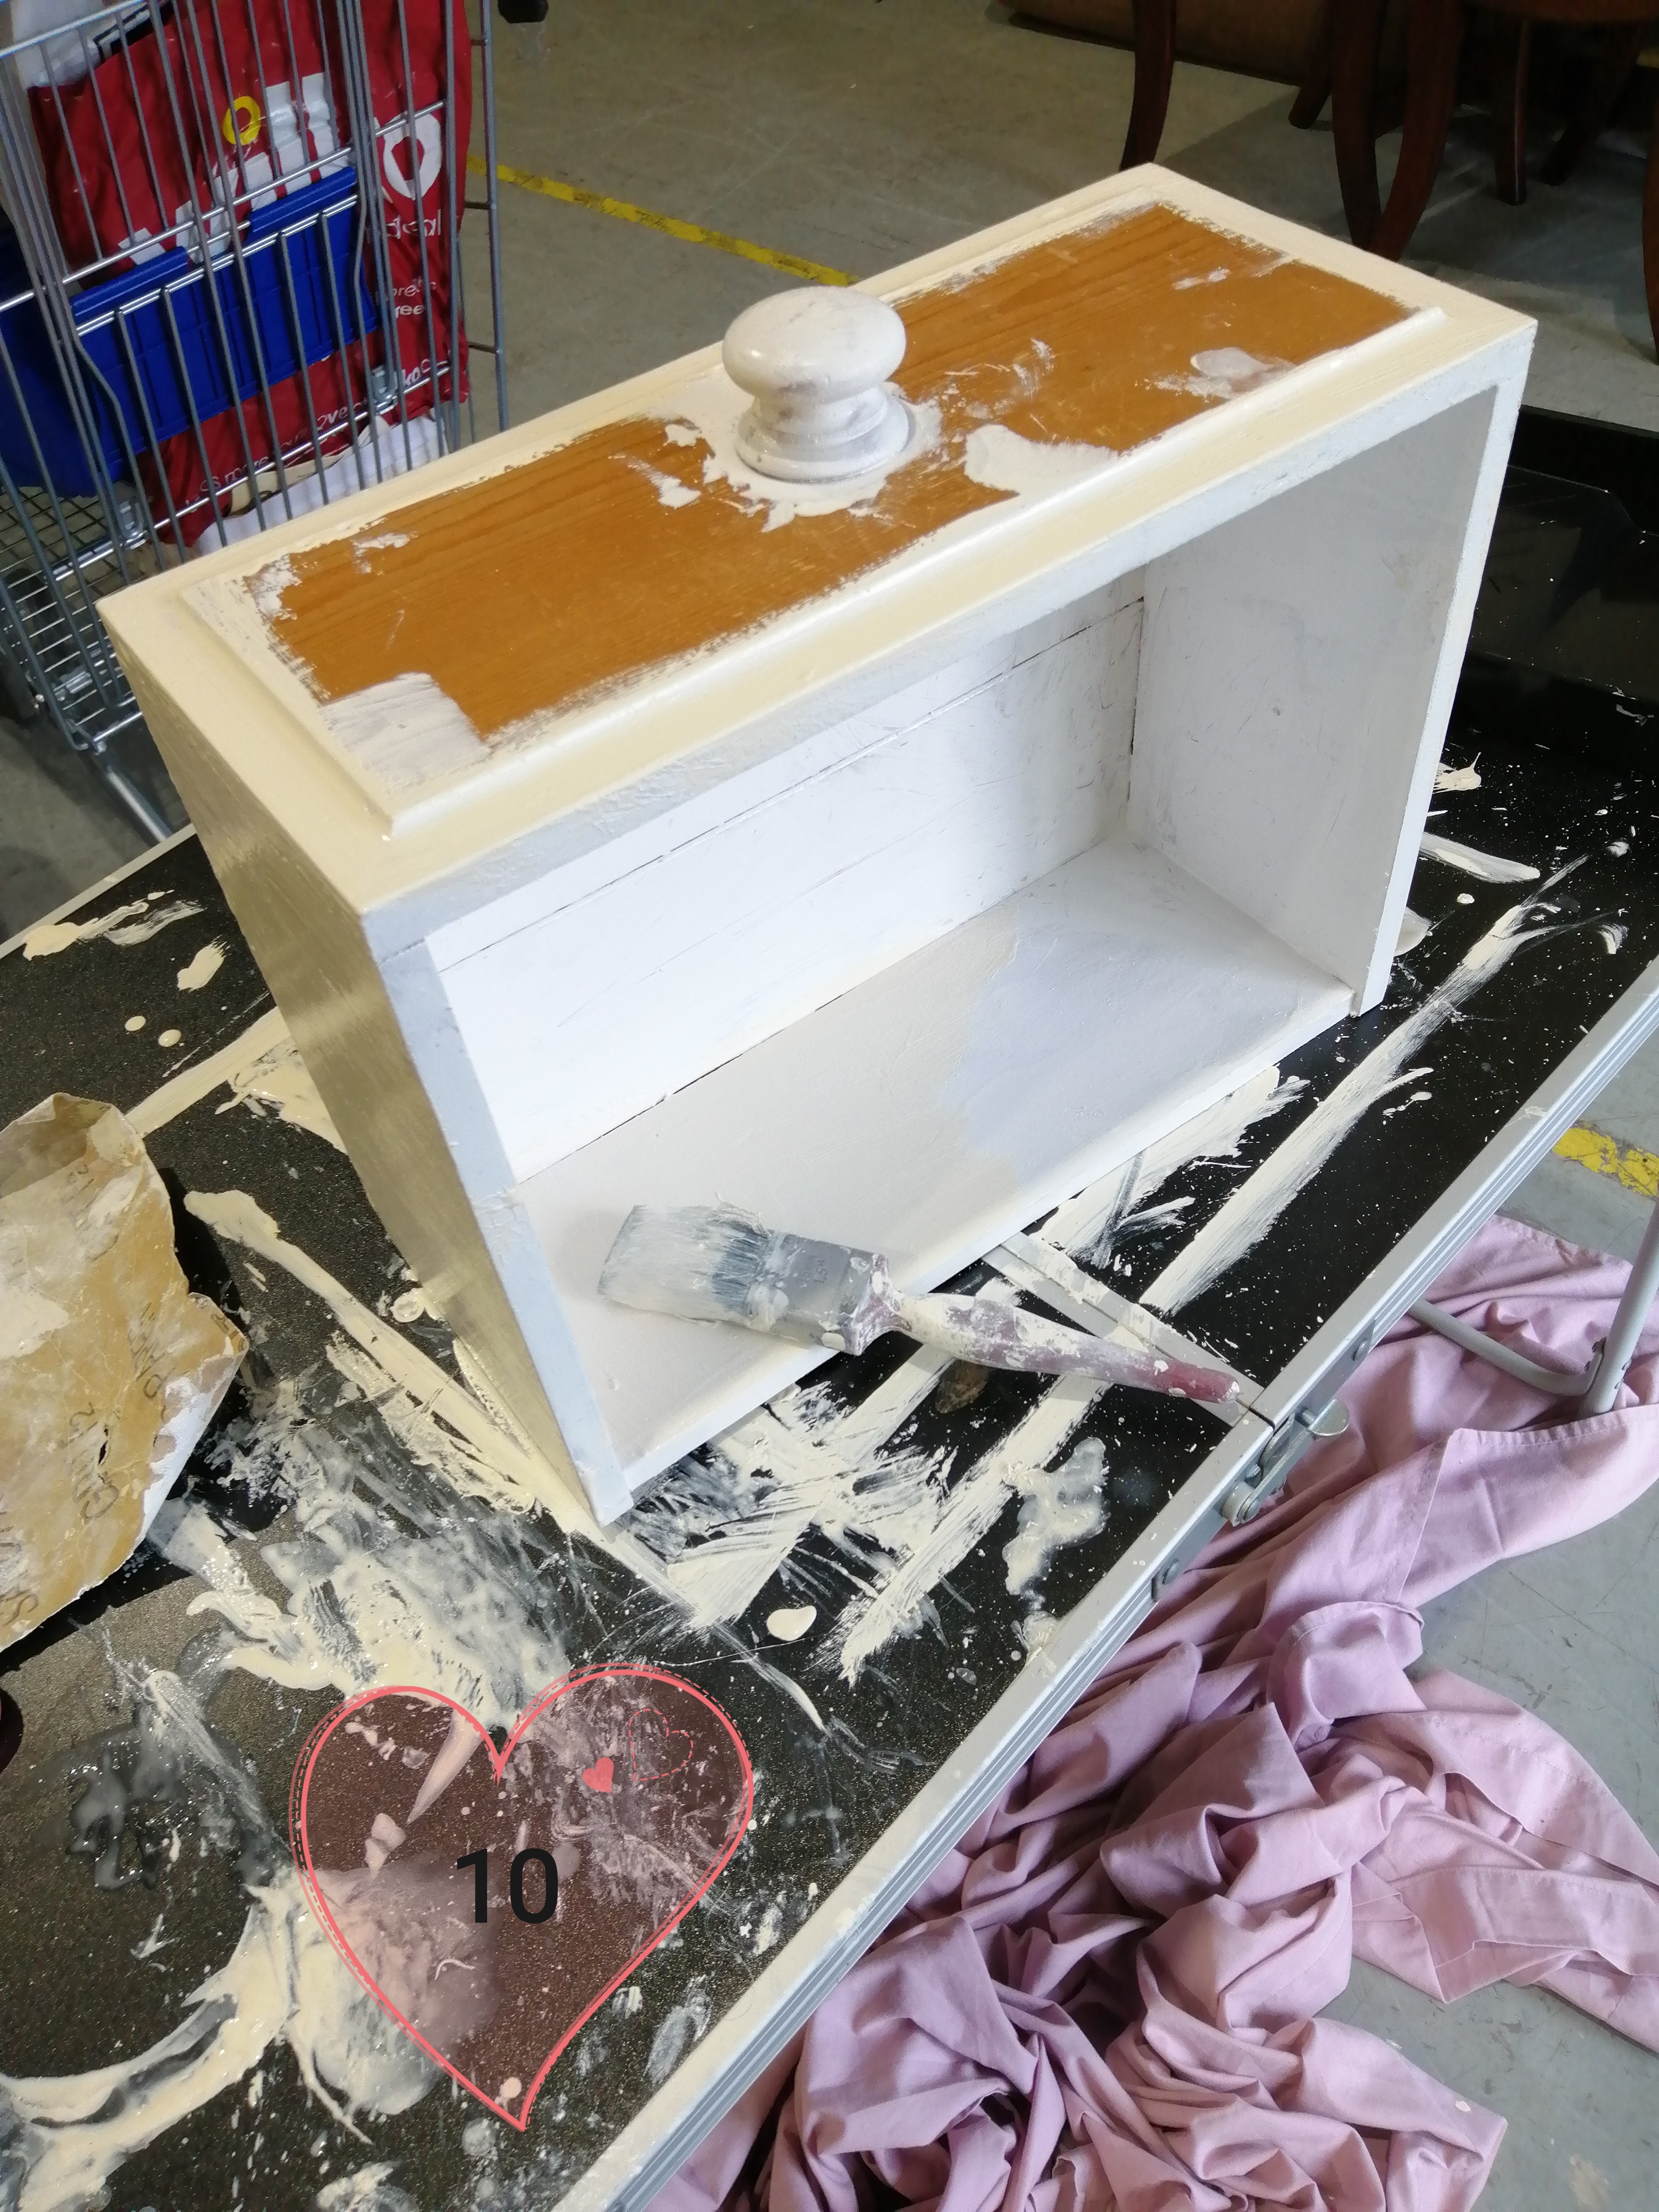
The first step was to put on some personal protective equipment, a white overall that made me look like a giant tampon, haha! (Gloves and protective face masks are definitely advisable also when spray painting). I then gave the trolley a good long clean with sugar soap, sanded it down thoroughly, then sugar soaped it again loads to wash off all the debris…
The next stage was to spray the drinks trolley with a spray primer I bought from Wilko’s. I decided to spray paint rather than paint the trolley as I was told this achieves the most effective and fastest drying coverage, which was so true; it only took about 30 minutes to dry, I was pleased overall with the coverage too. I then spray painted only the areas of the trolley I knew were going to be visible in the end product with metallic gold and chrome silver spray paints. Again, these were relatively quick to dry…
I purchased these wooden love hearts from The Works. I used a craft knife to cut the middle of the big love heart, and used the smaller love heart holes as stencils to draw and cut 4 little wooden love hearts, before spraying all these new shapes bright blue…
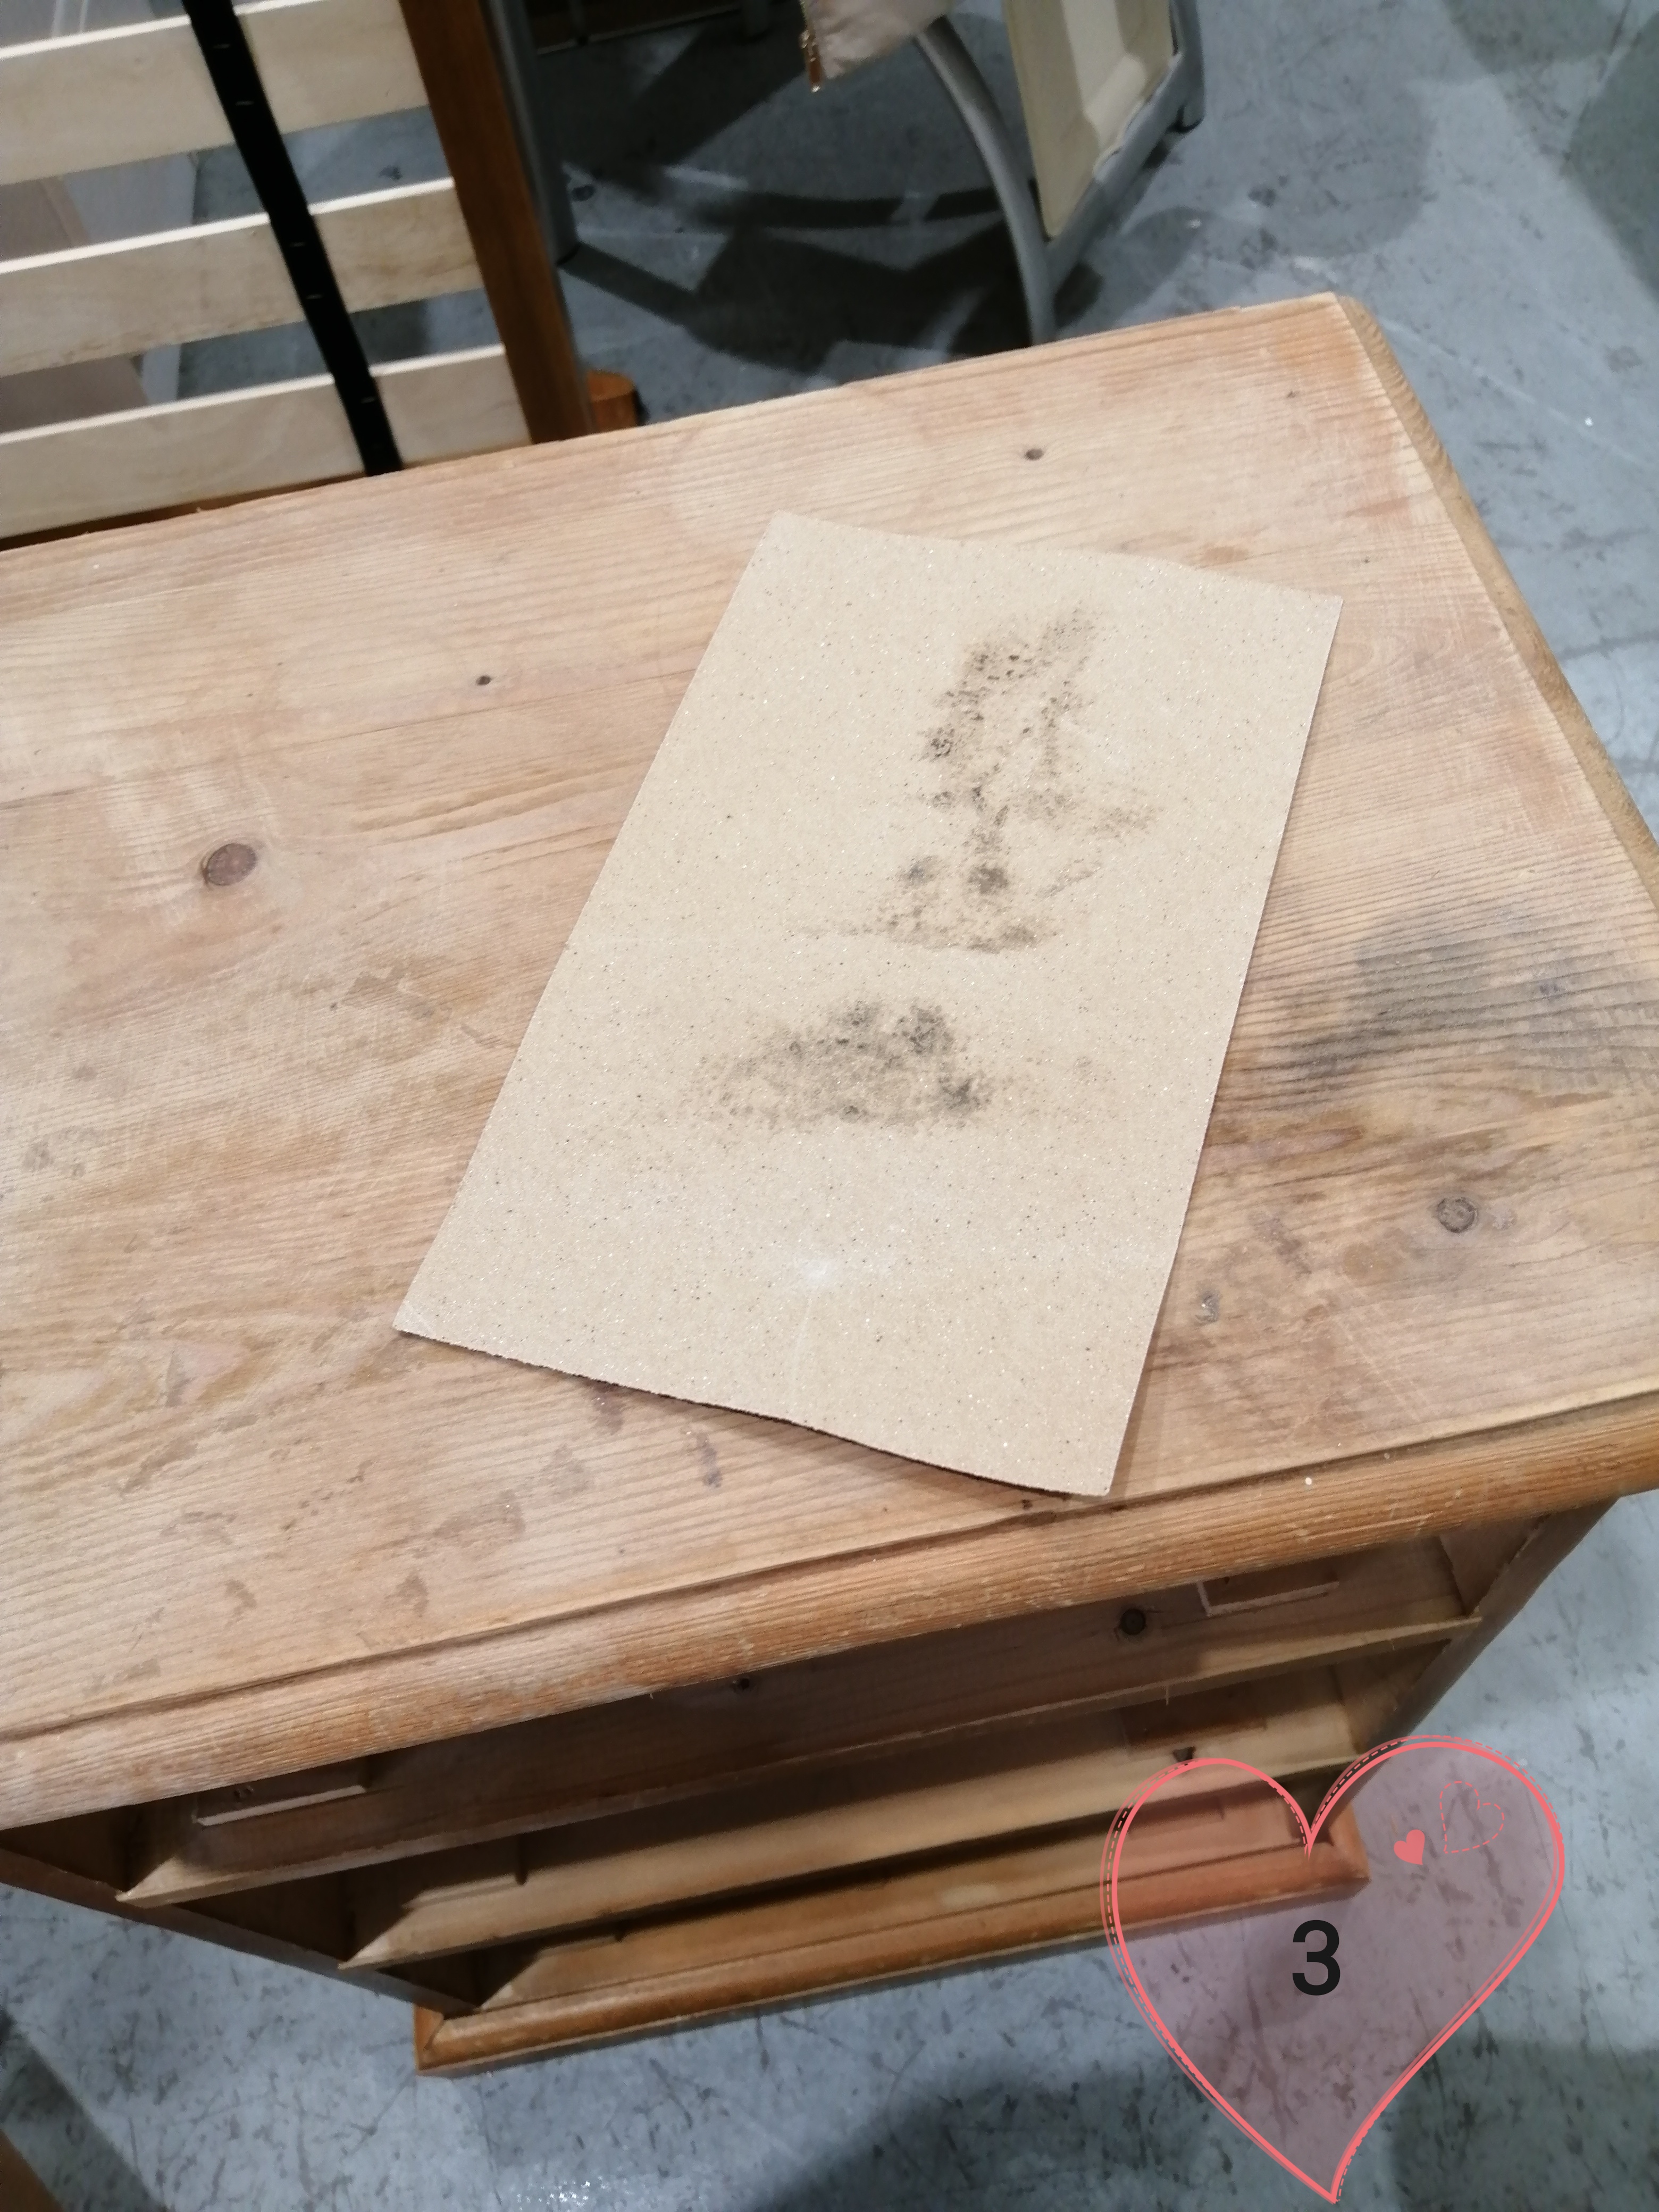
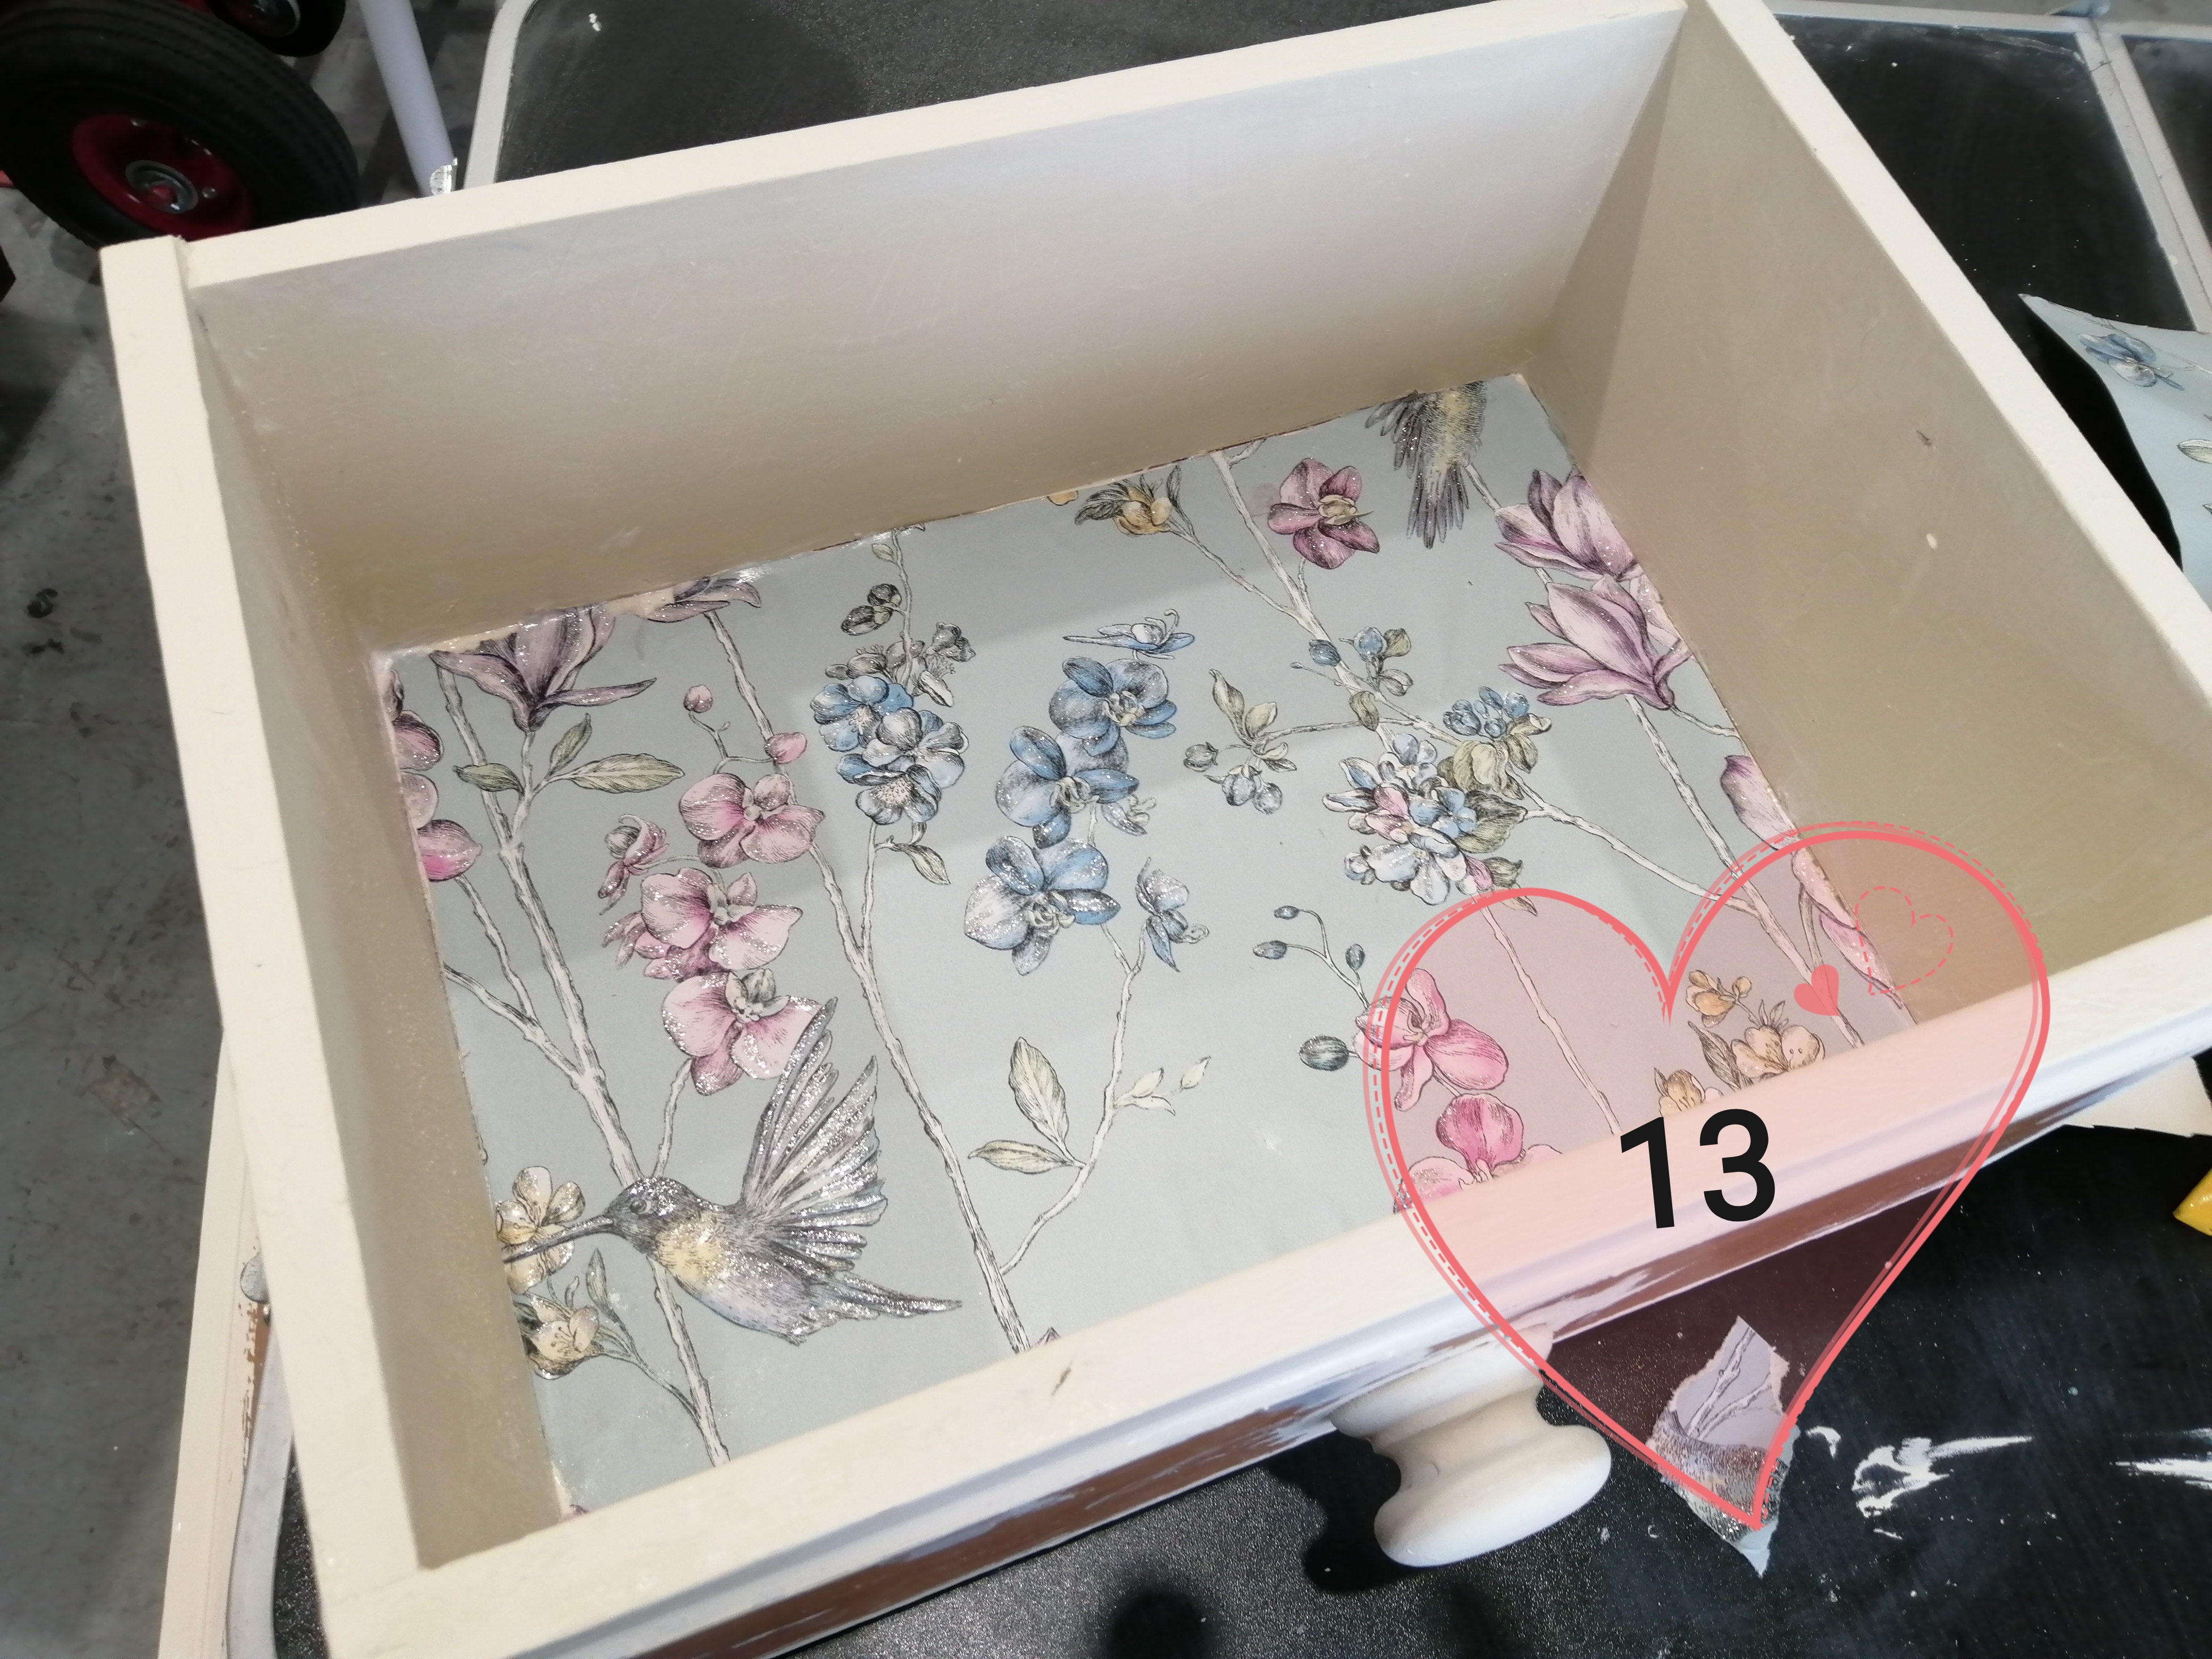
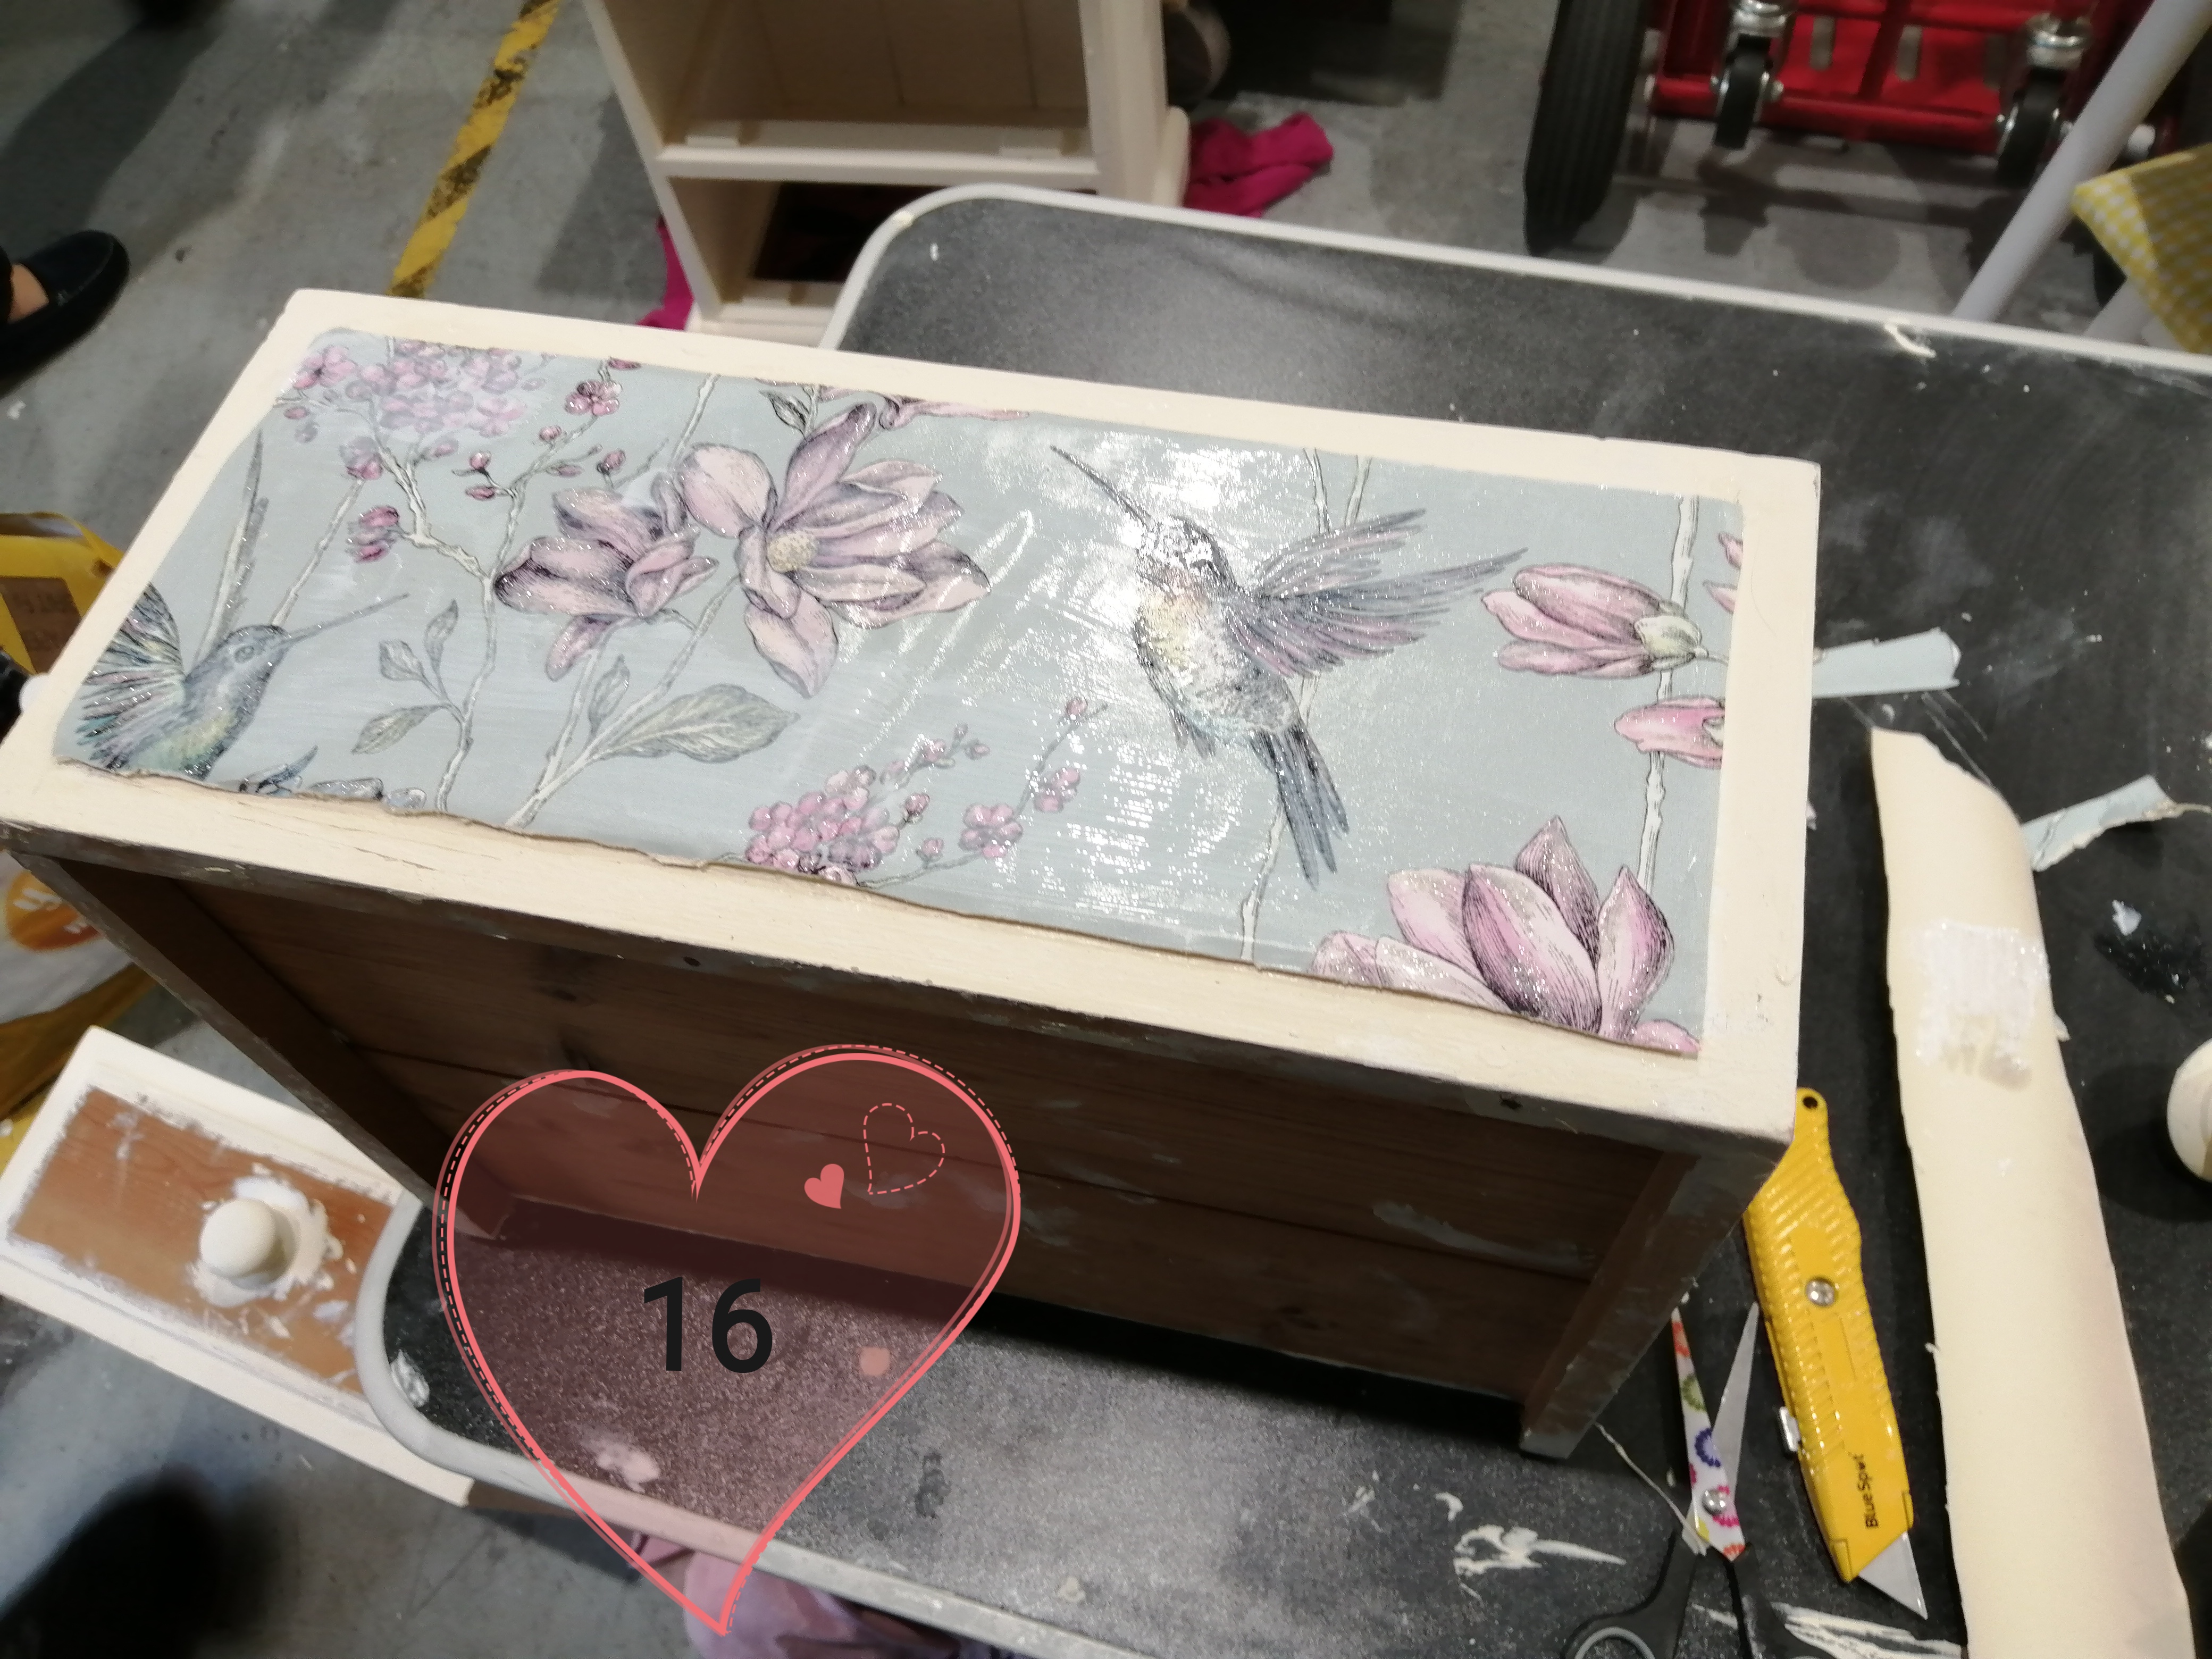
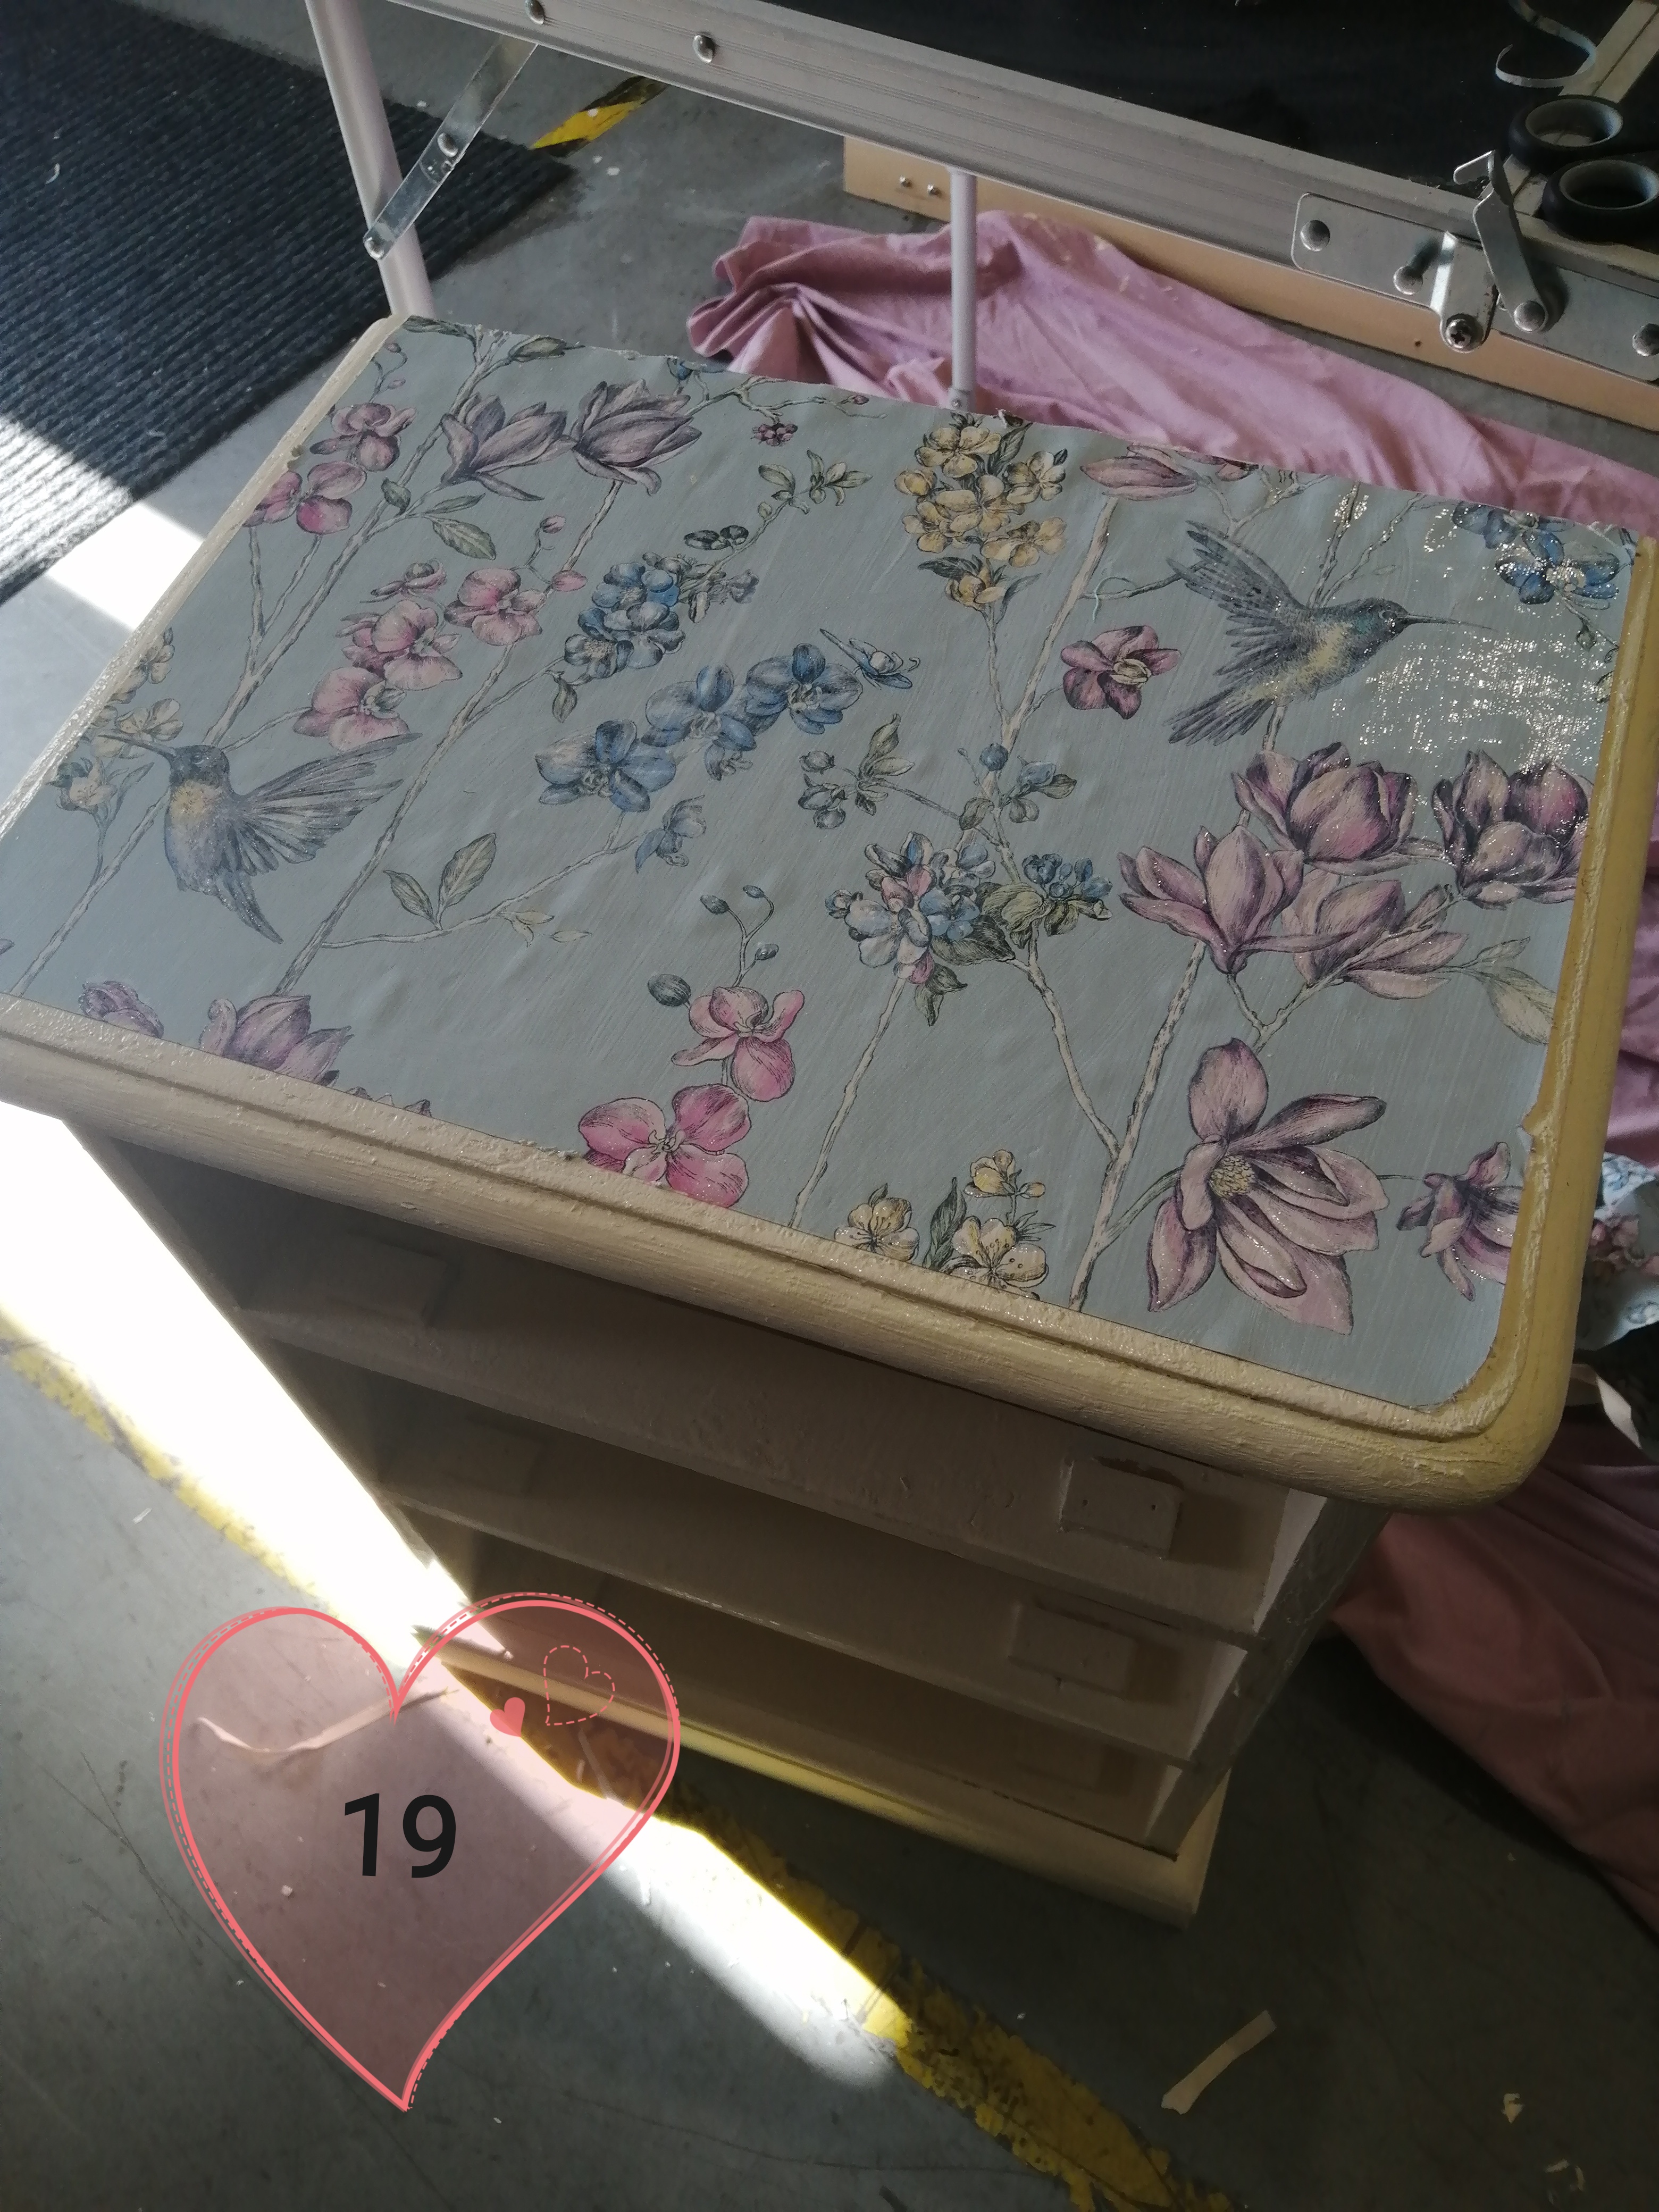
After that, I cut out some vintage inspired wrapping paper I bought from Clintons to A3 size and laminated them. I glued these to the top and bottom on the trolley using a standard craft glue gun…
Next, I protected the laminated sheets, and spray painted the remainder of the trolley shelves with red, blue, gold and silver splodges. This stage was not planned. Originally, I was going to glue cushion fabric on these areas of the trolley but changed my mind at the last minute. So at this stage, I was pretty much ‘experimenting’ which ooooo sounds so artistic, but in truth it’s probably more accurate to say I was ‘winging it’, haha! I then cut off 8 strips from a red fluffy cushion, to become borders around the A3 laminated sheets…
Next, I used a glue gun to stick down the dried large blue love heart onto the bottom shelf of the trolley (this is where I imagine beer cans to be stored). I also used the glue gun to glue the red fluffy strips of cushion around the edges of the A3 laminated vintage wallpaper…
Lastly, I used the glue gun to glue down 4 pink and cream love hearts I also bought from The Works, then glued to them the 4 small blue spray painted love hearts (where I imagine shot glasses to be kept). I also glued pretty pink ribbon around the edges of the large blue love heart and attached some battery operated lights I purchased from B&M around the top shelf of the trolley…
and yippee, we have an upcycled drinks trolley!
This slideshow requires JavaScript.
This was only my very first upcycling project, I have never attempted to upcycle anything before. So, bearing that in mind, it is certainly not the best but I think I have made a valiant effort, and the end result isn’t toooooo frightful, haha!
I hope you enjoyed the post, please do share with me your thoughts on the project.
Thanks, Lauren x
(Please visit my Facebook page ‘UnicornPostbox’ to ‘like’ and ‘follow’)
© 2017 Lauren Parr / http://www.unicornpostbox.wordpress.com


You must be logged in to post a comment.