
Hi everyone! My latest UnicornPostbox blog post is progression photos of a trendy upcycled drinks trolley, upcycled for the Children’s Air Ambulance 💙💙 Hope you enjoy!


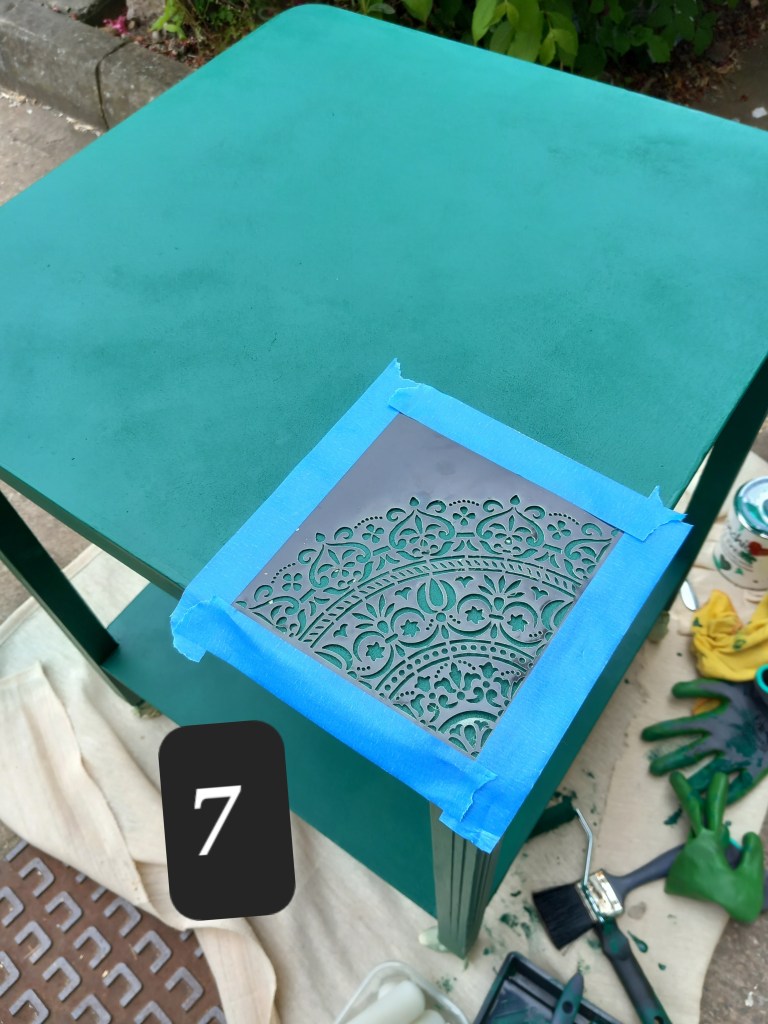


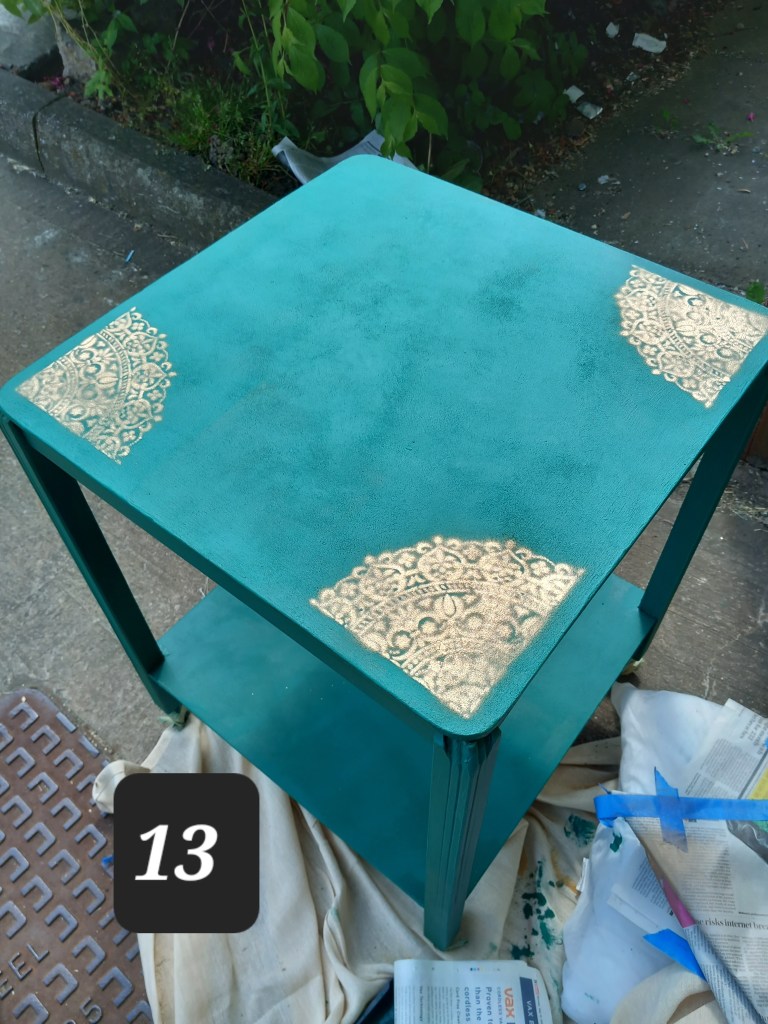
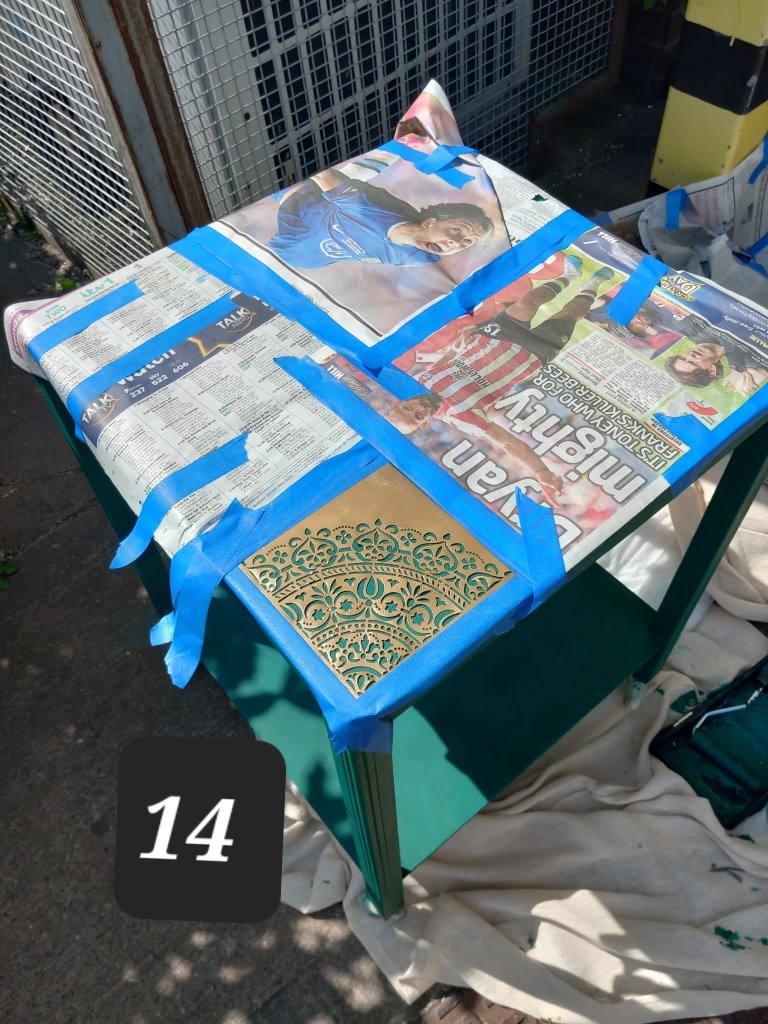


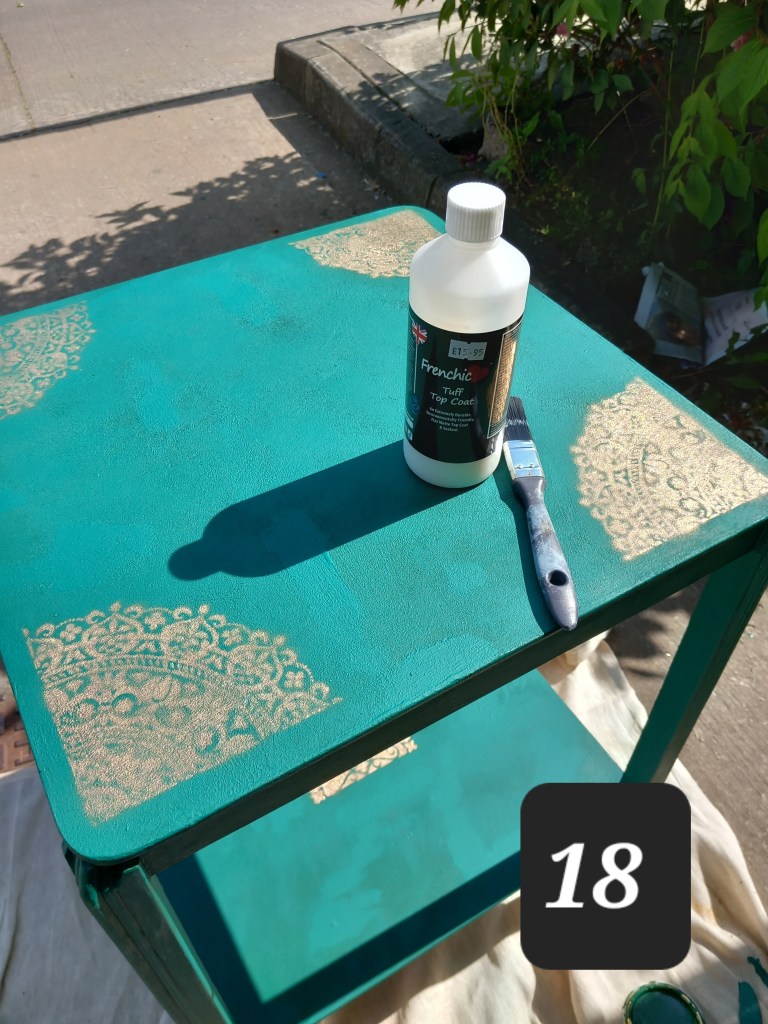
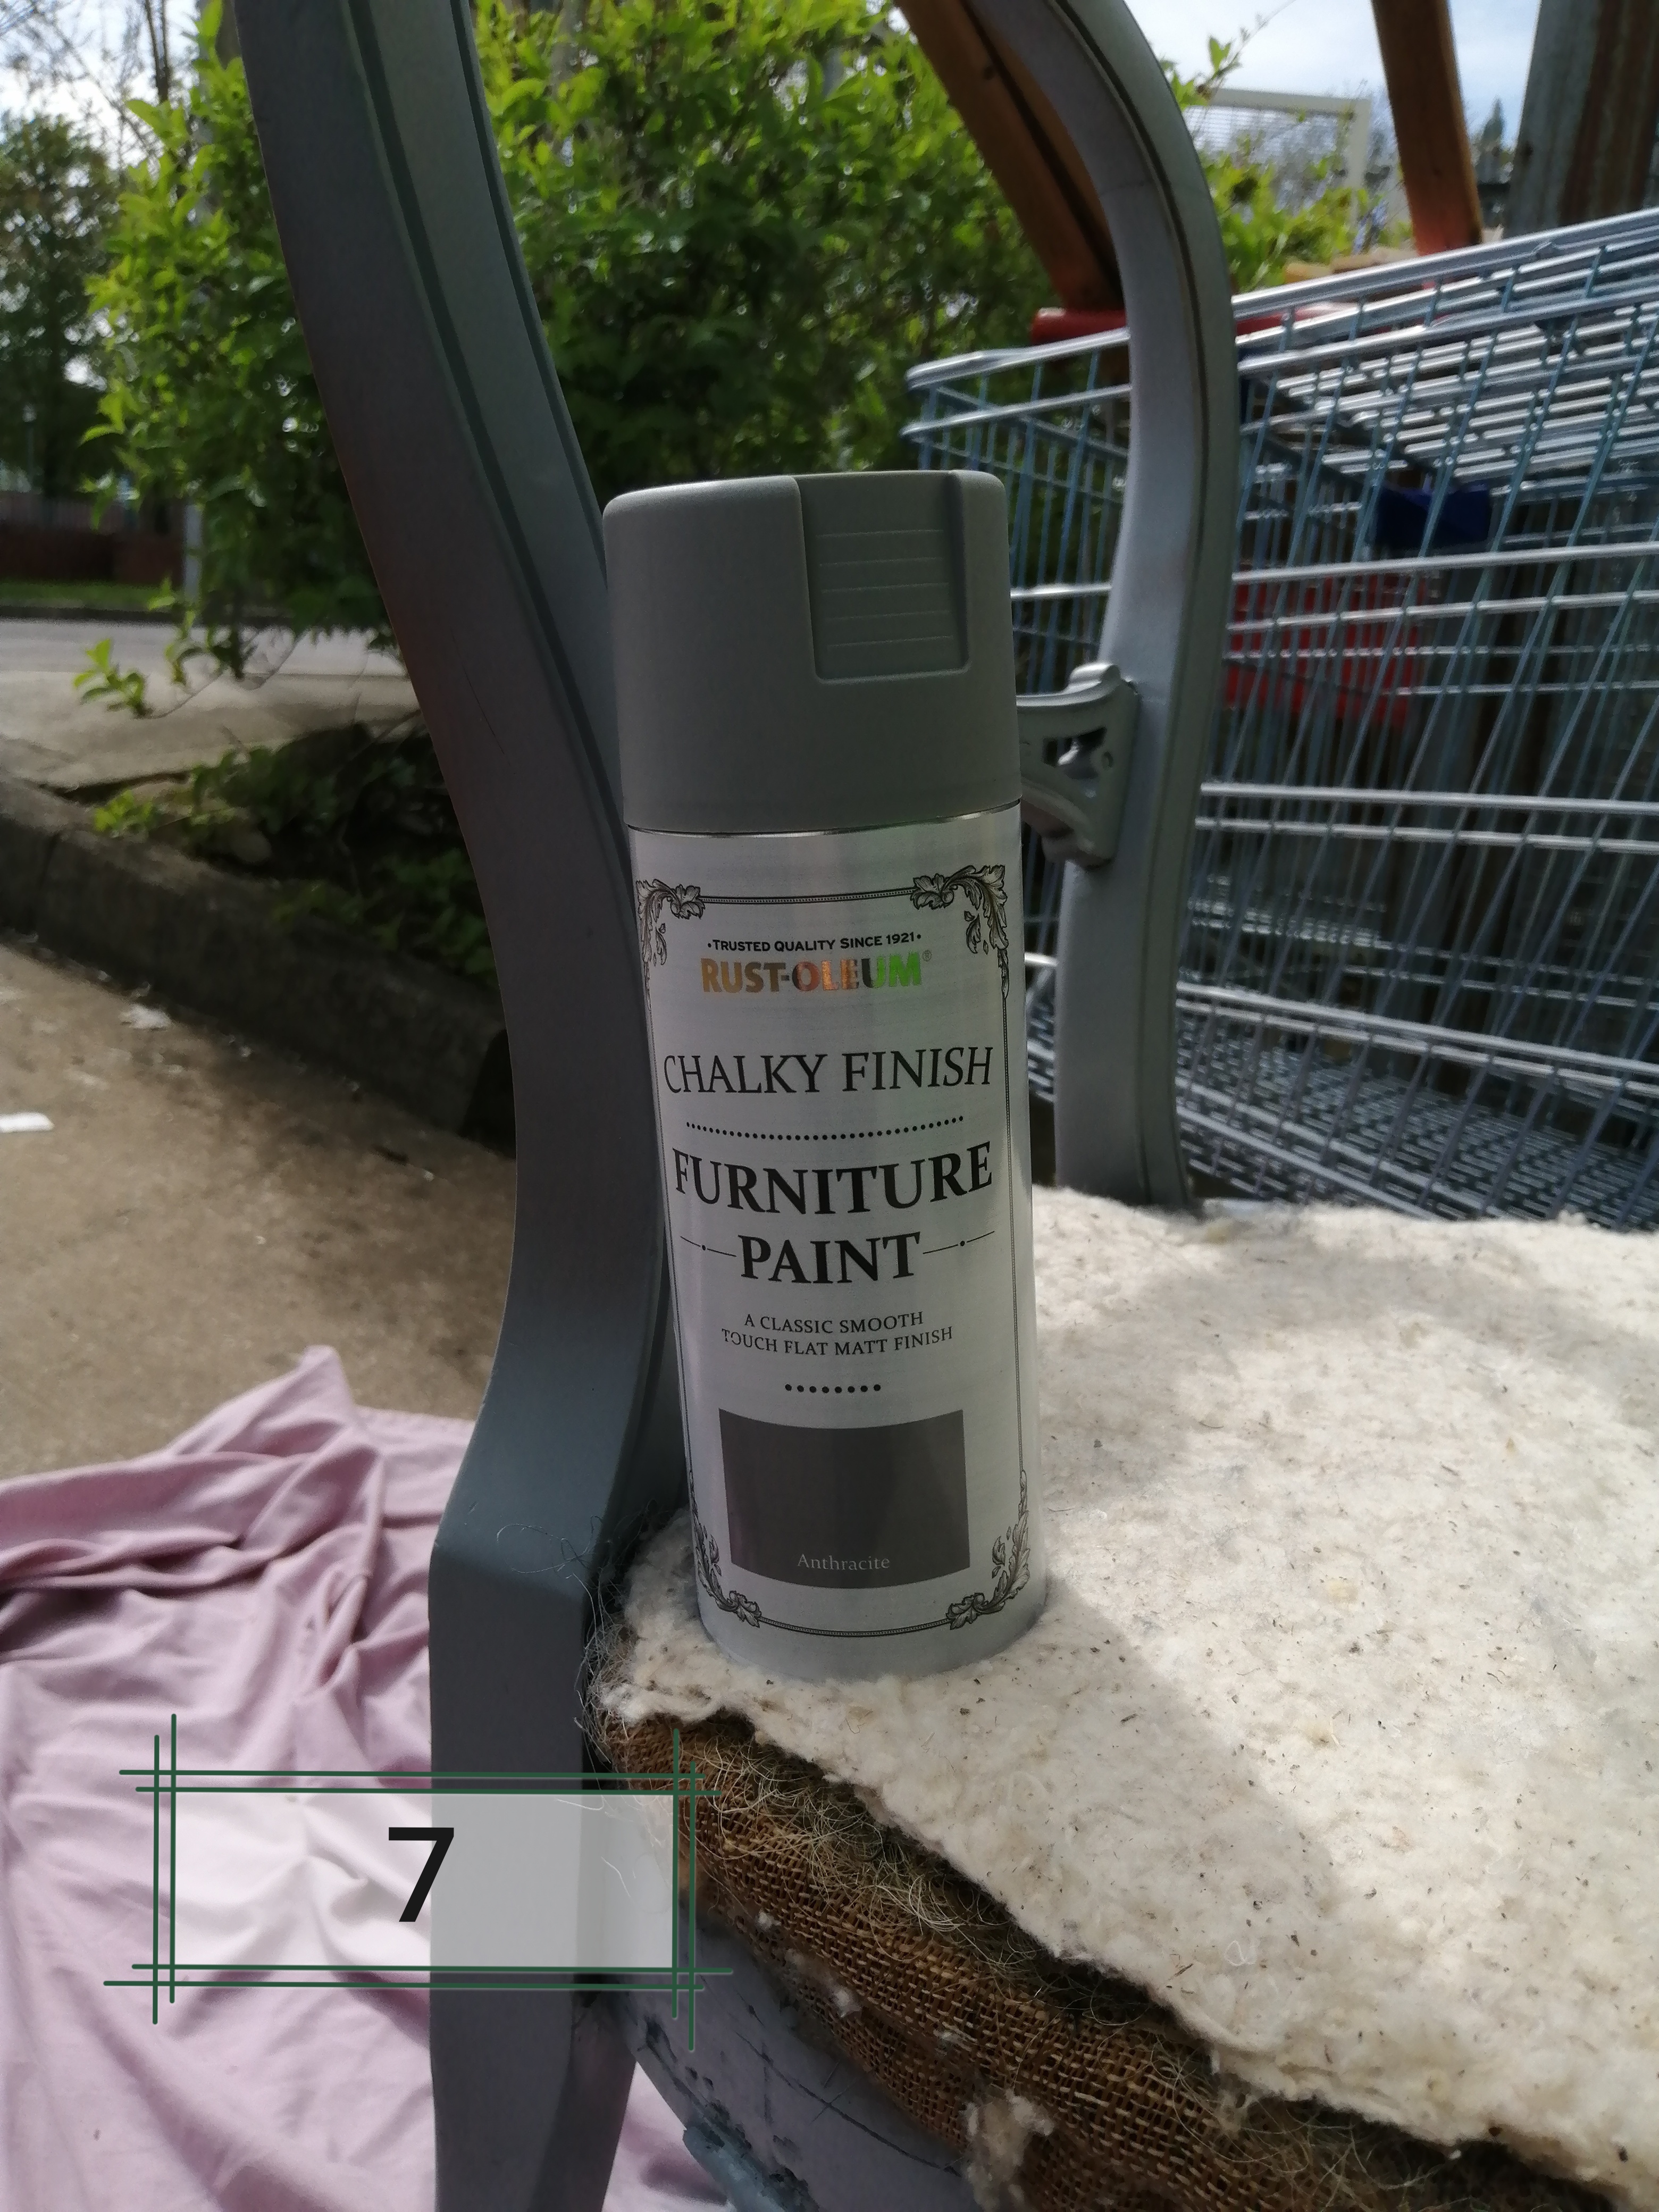
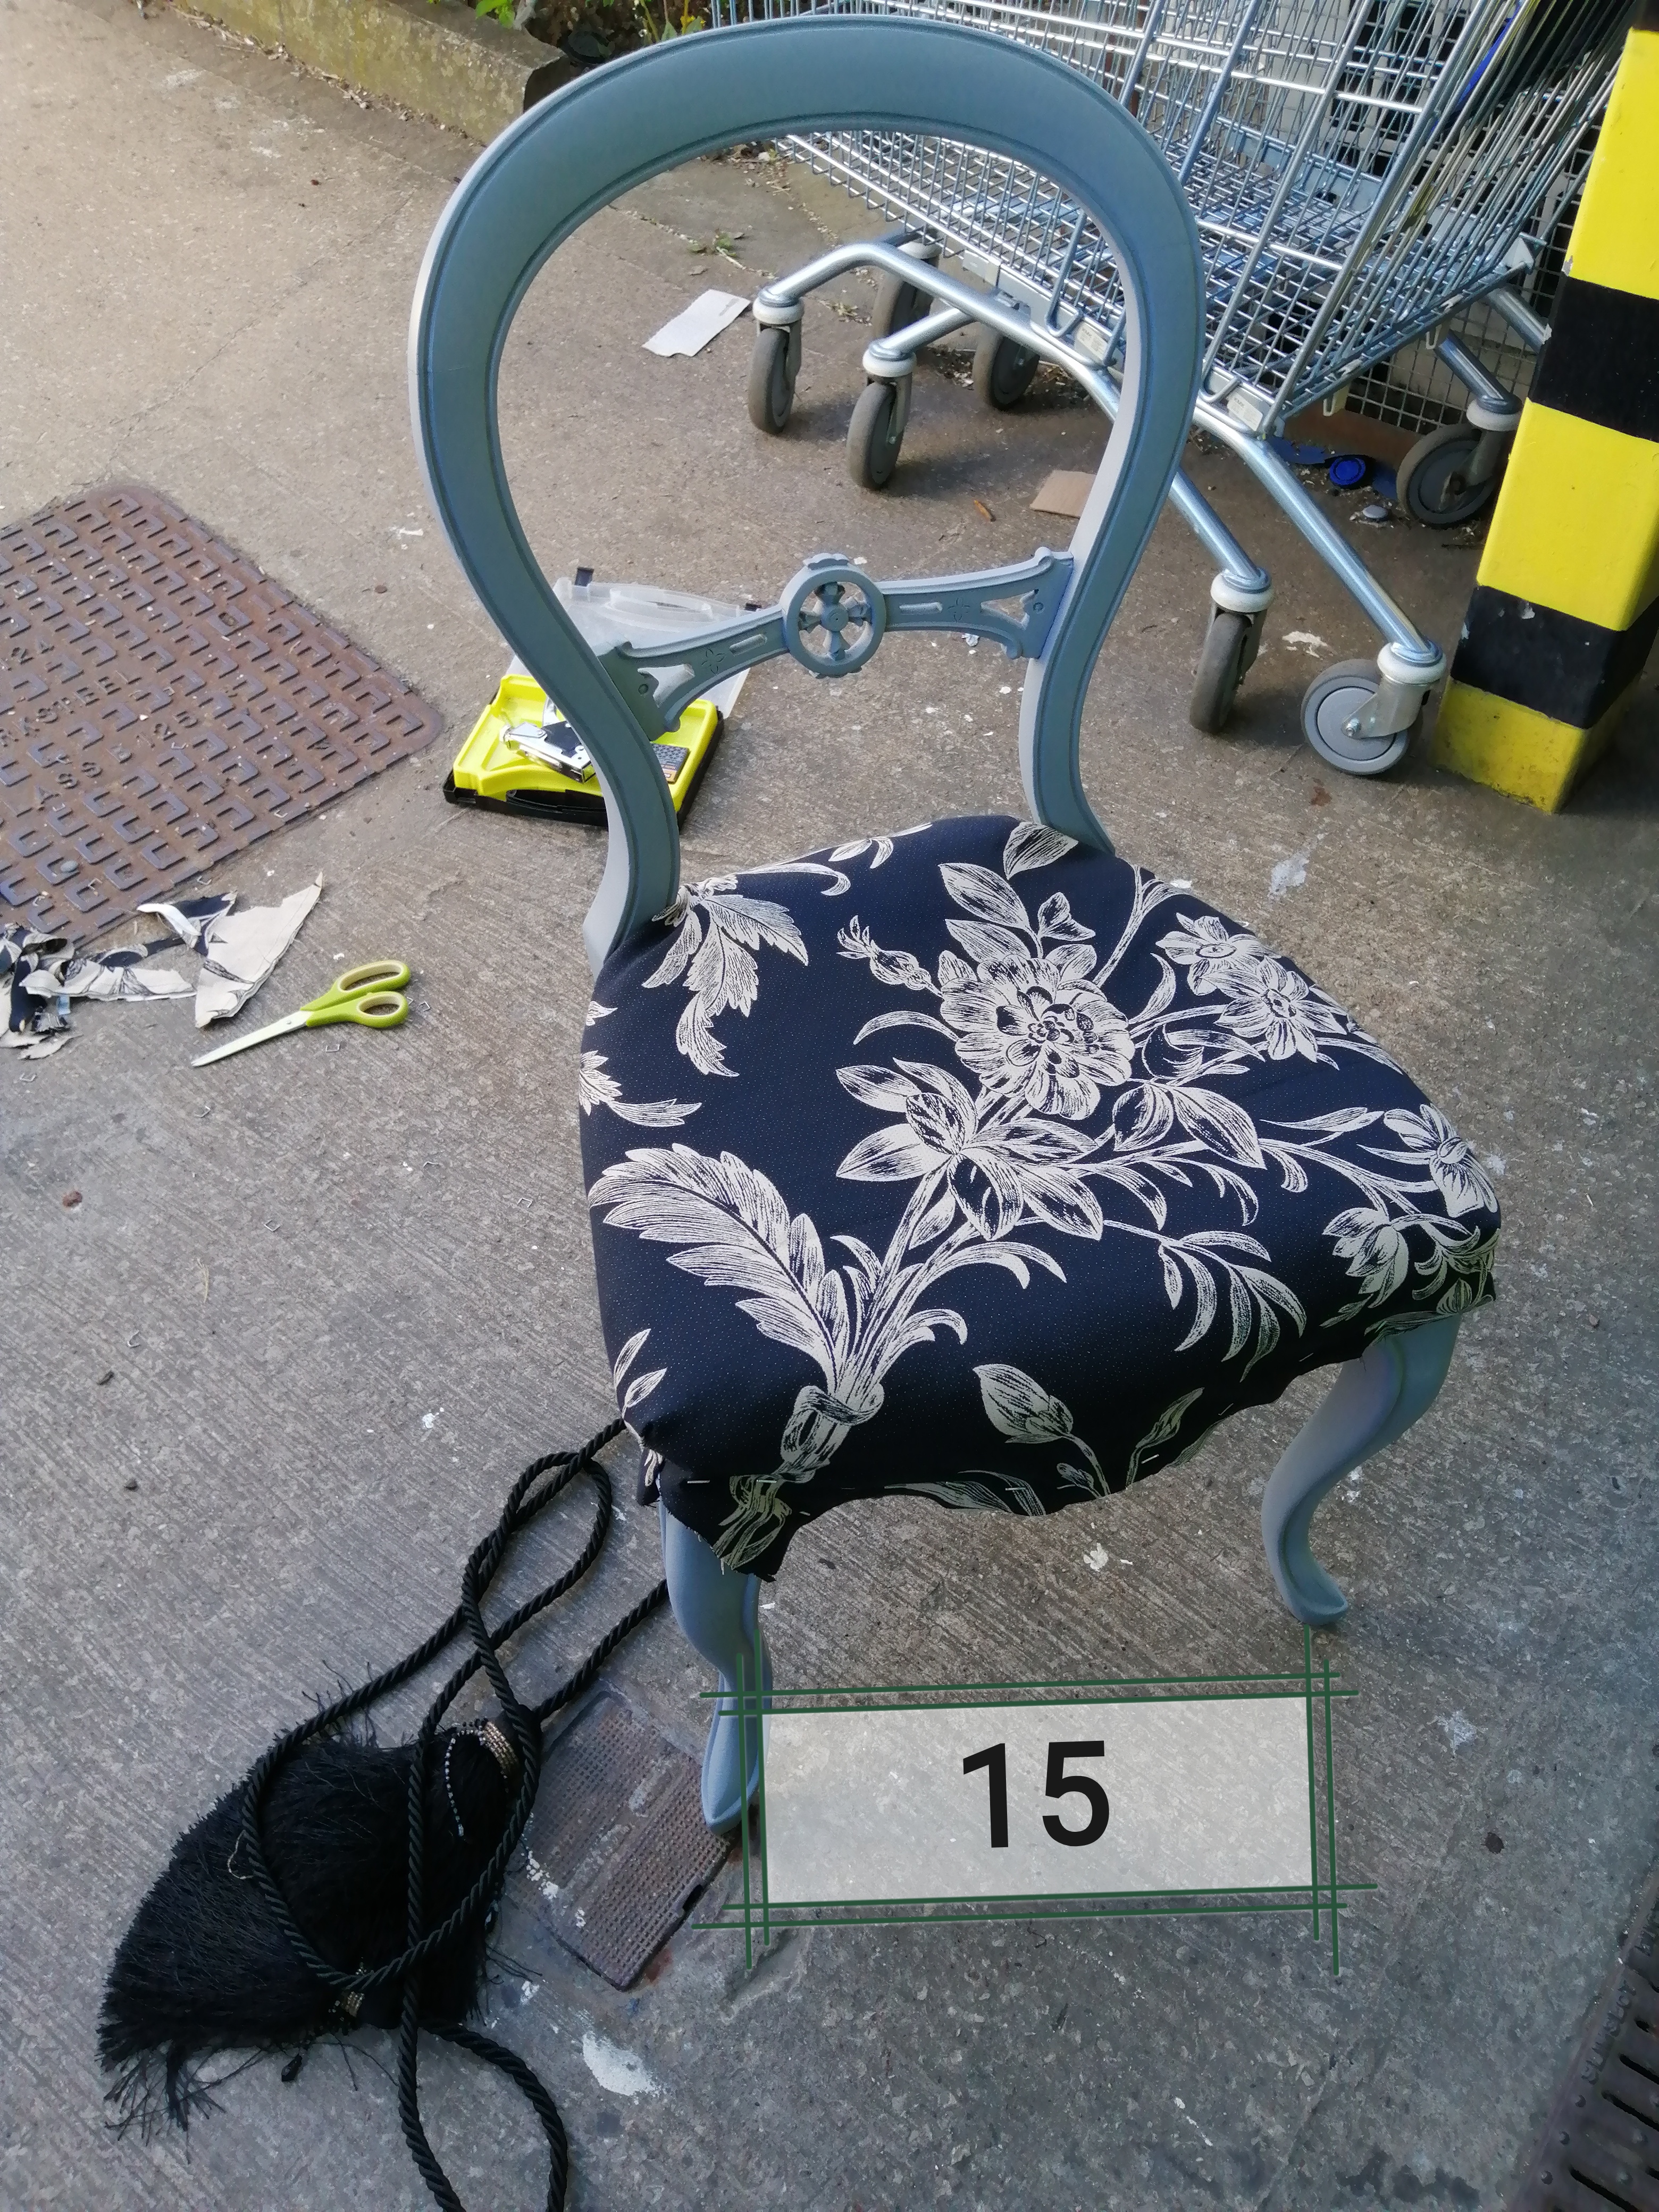
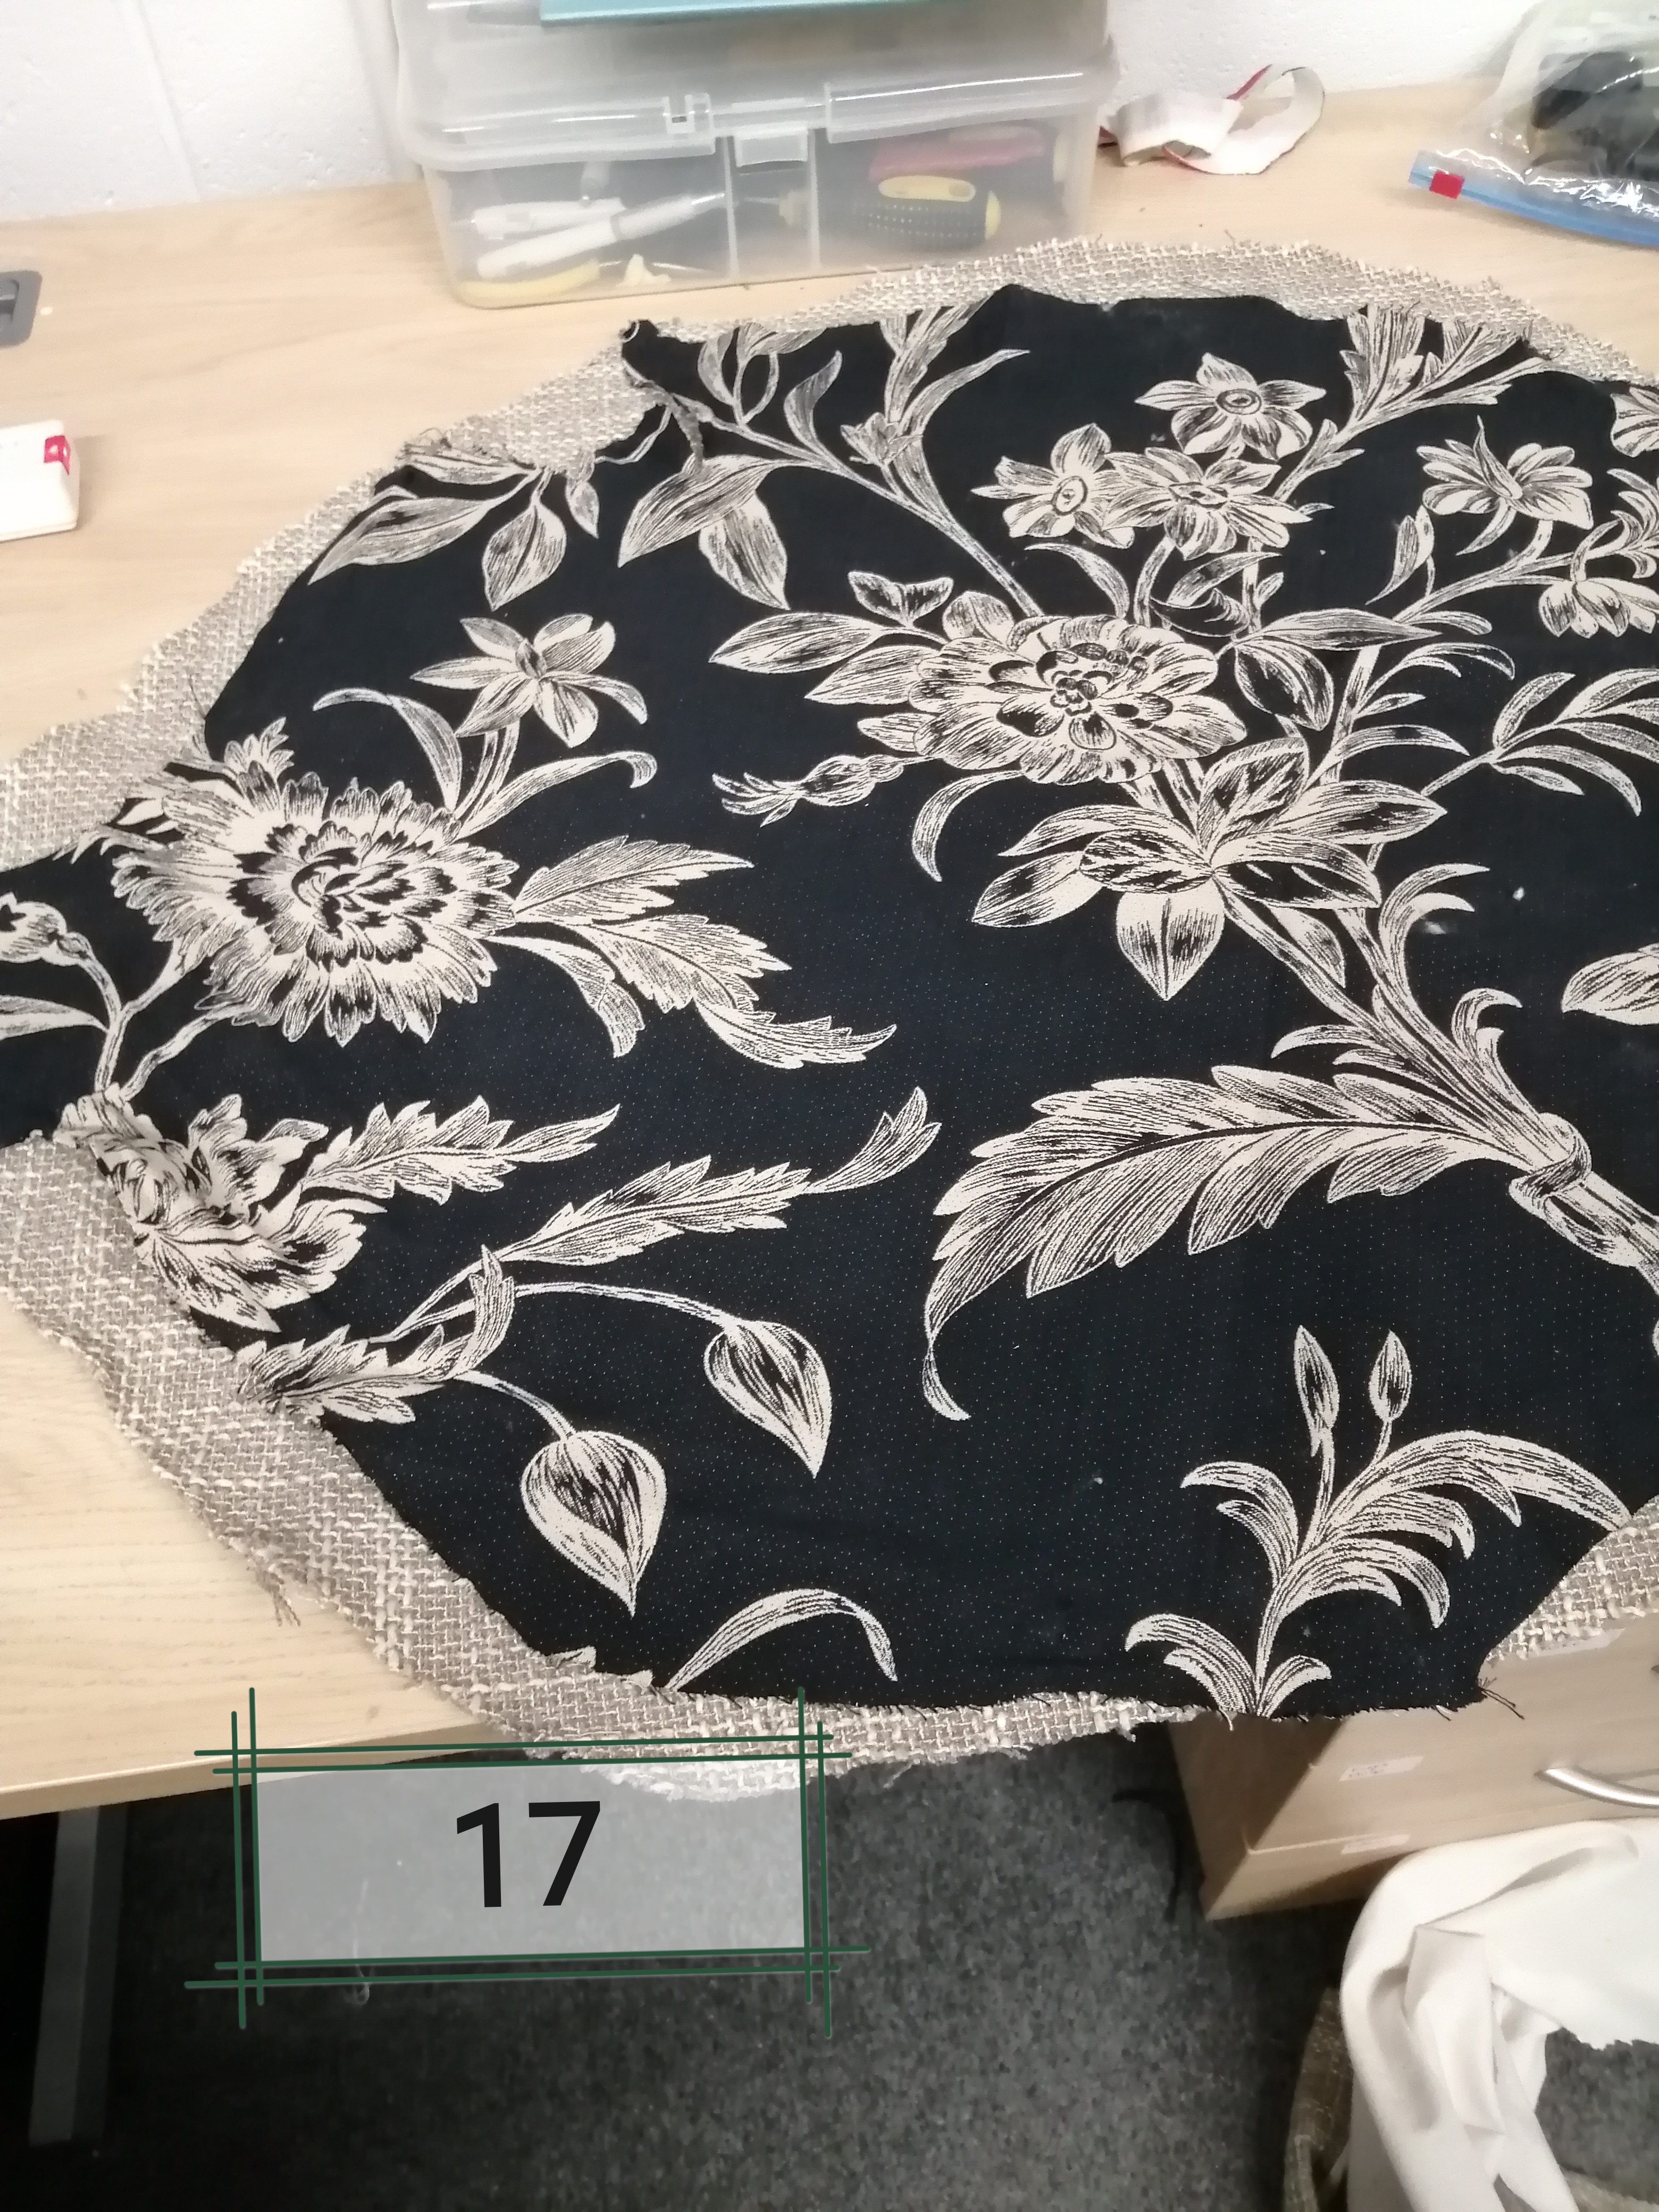
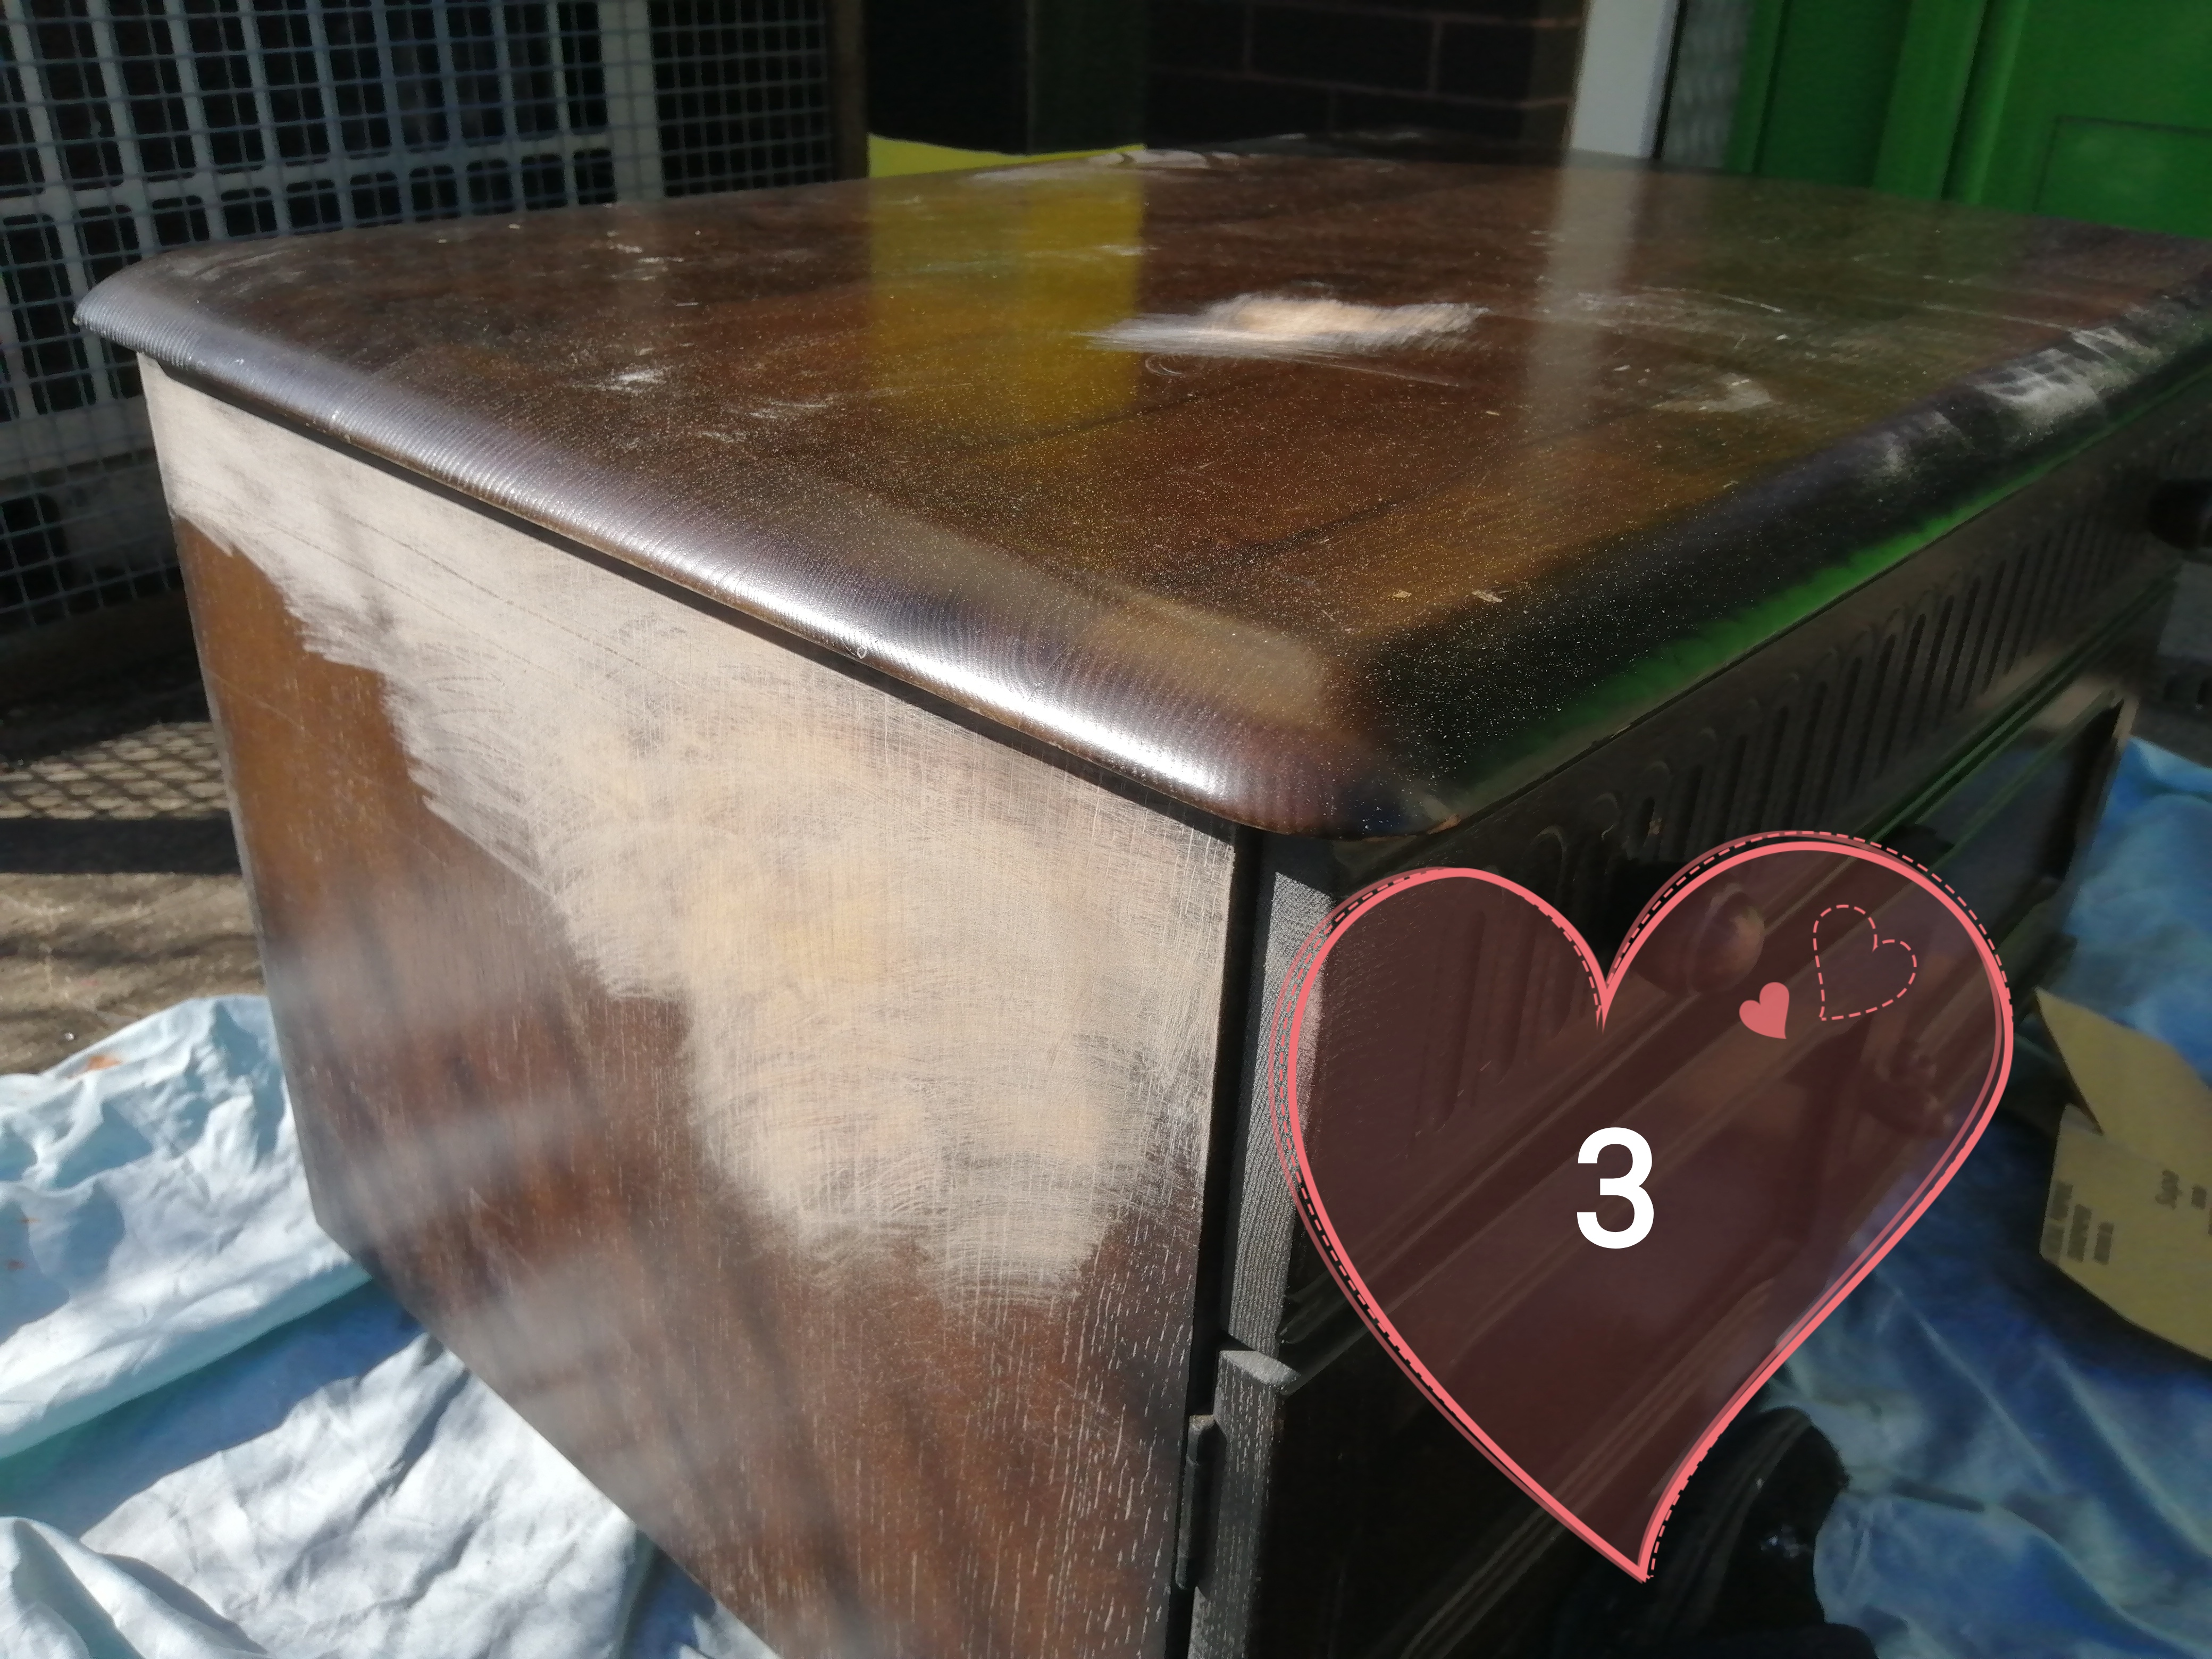
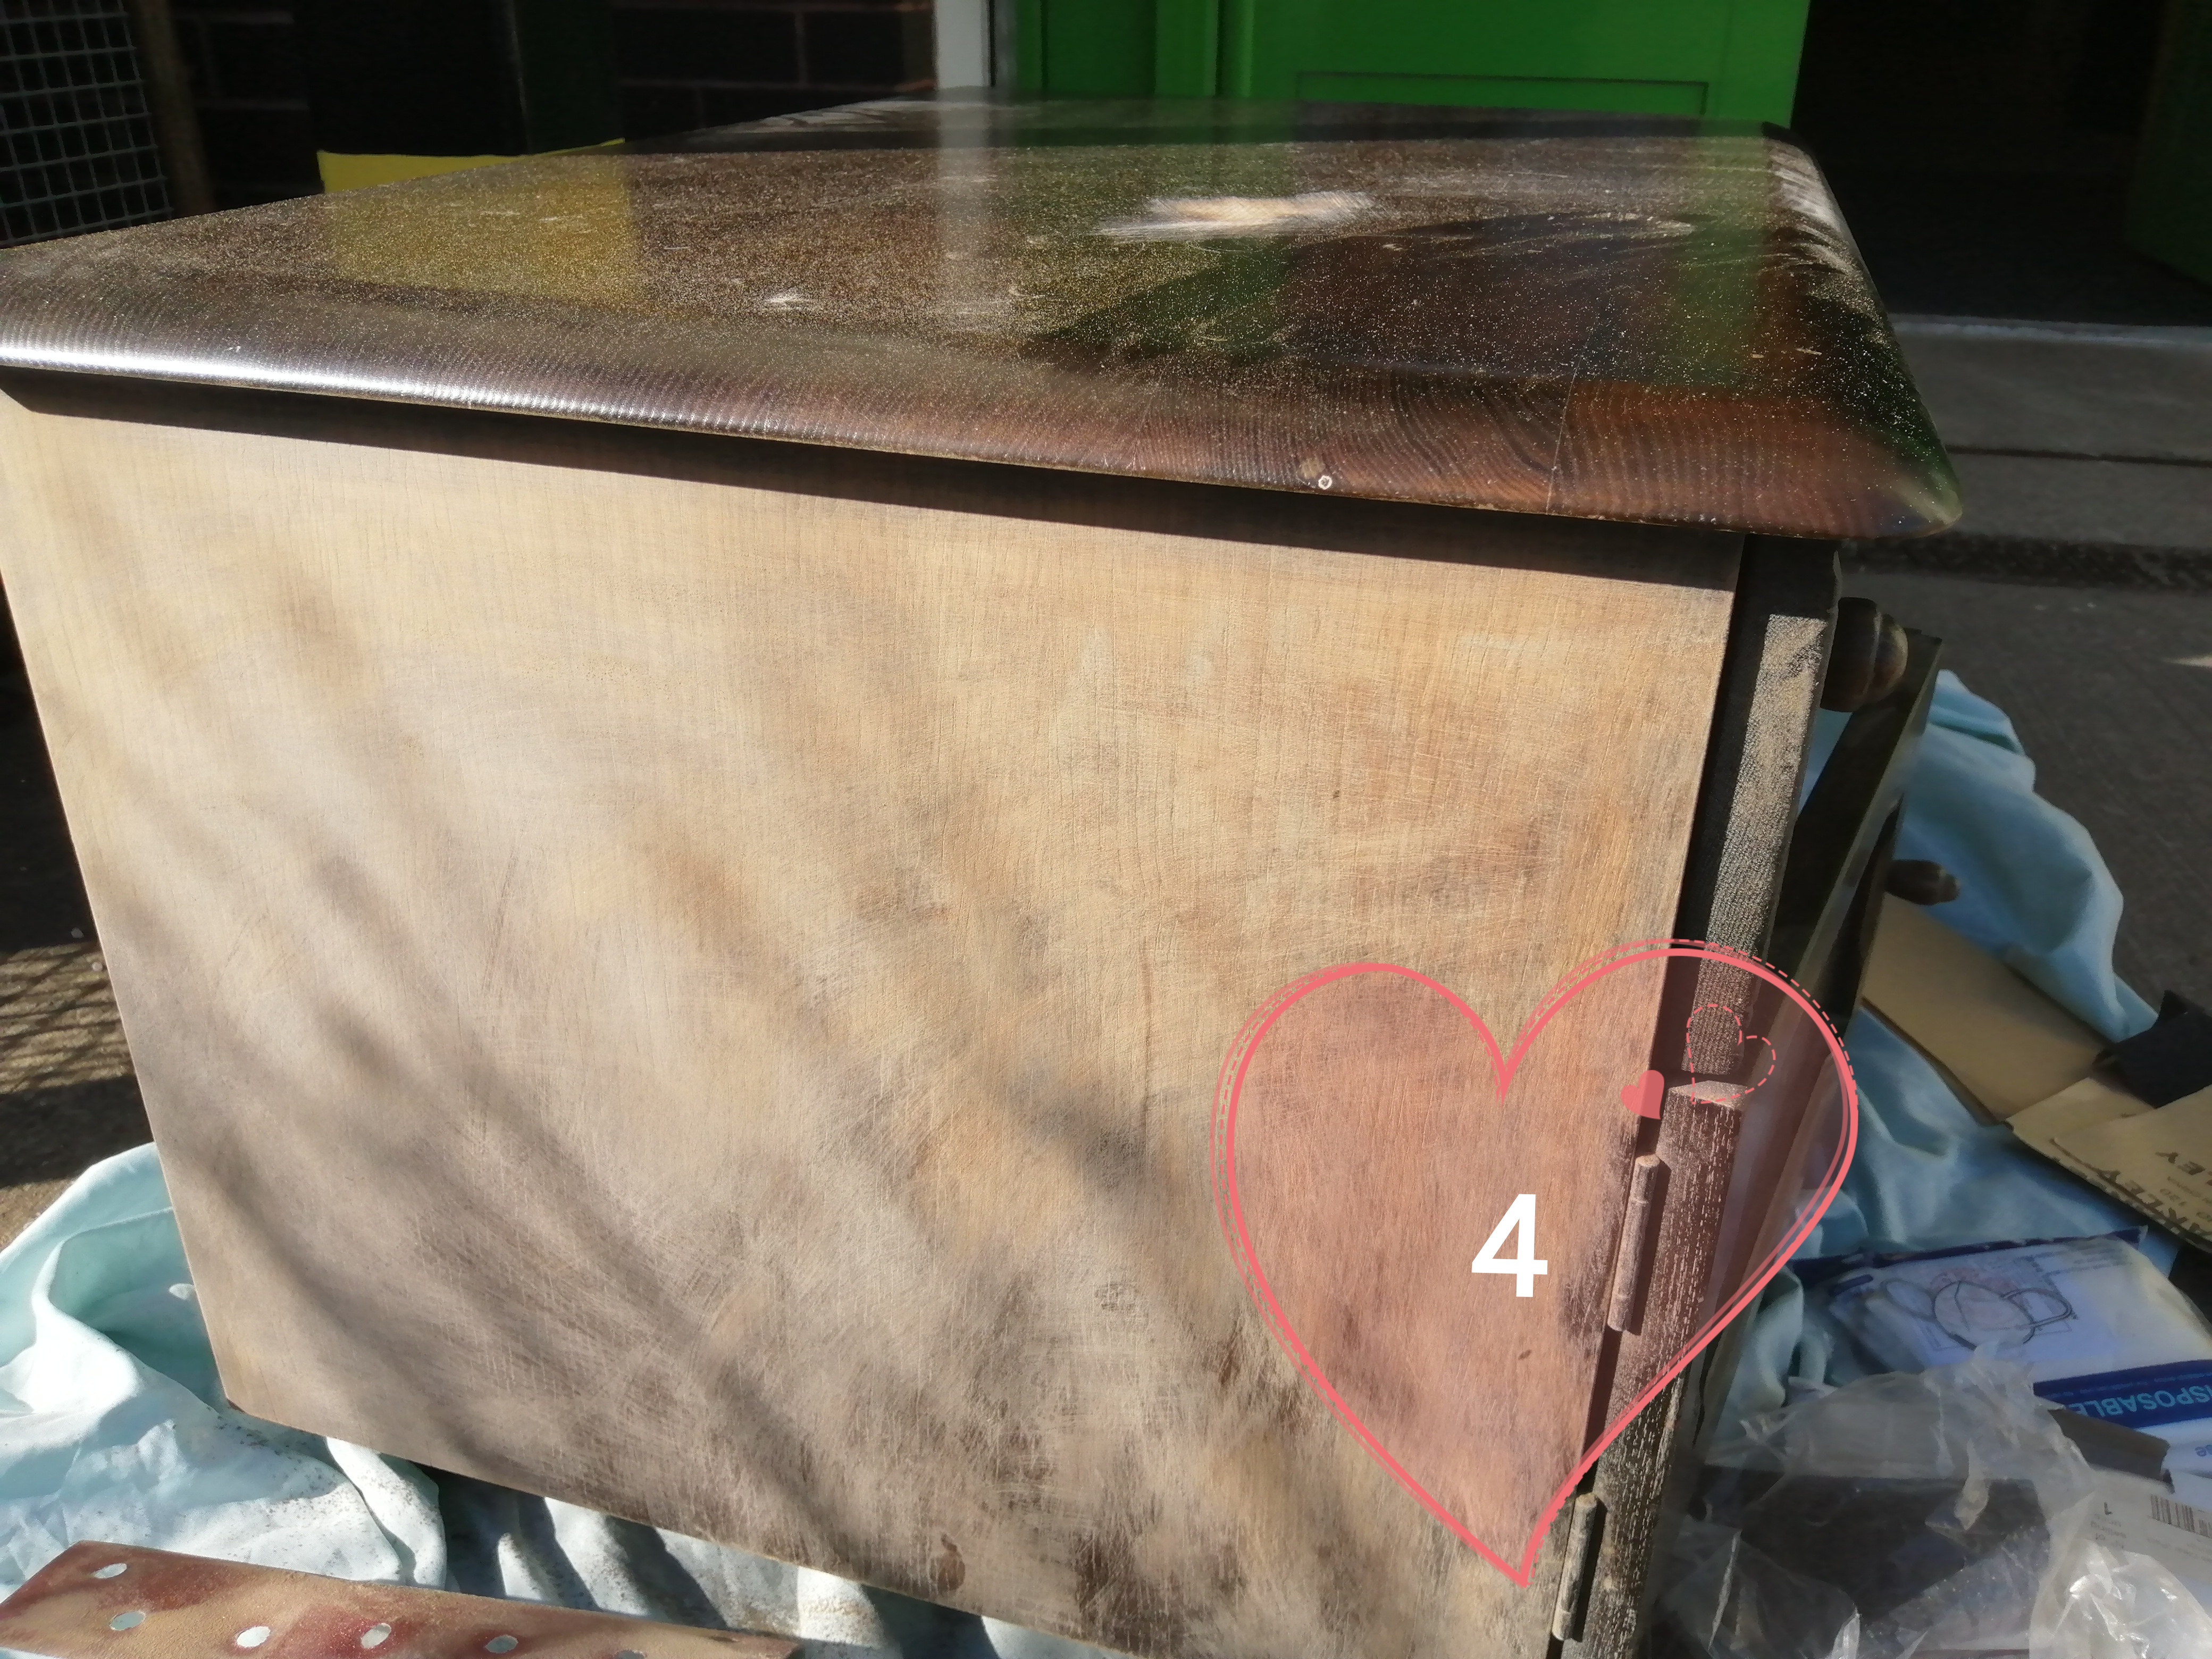
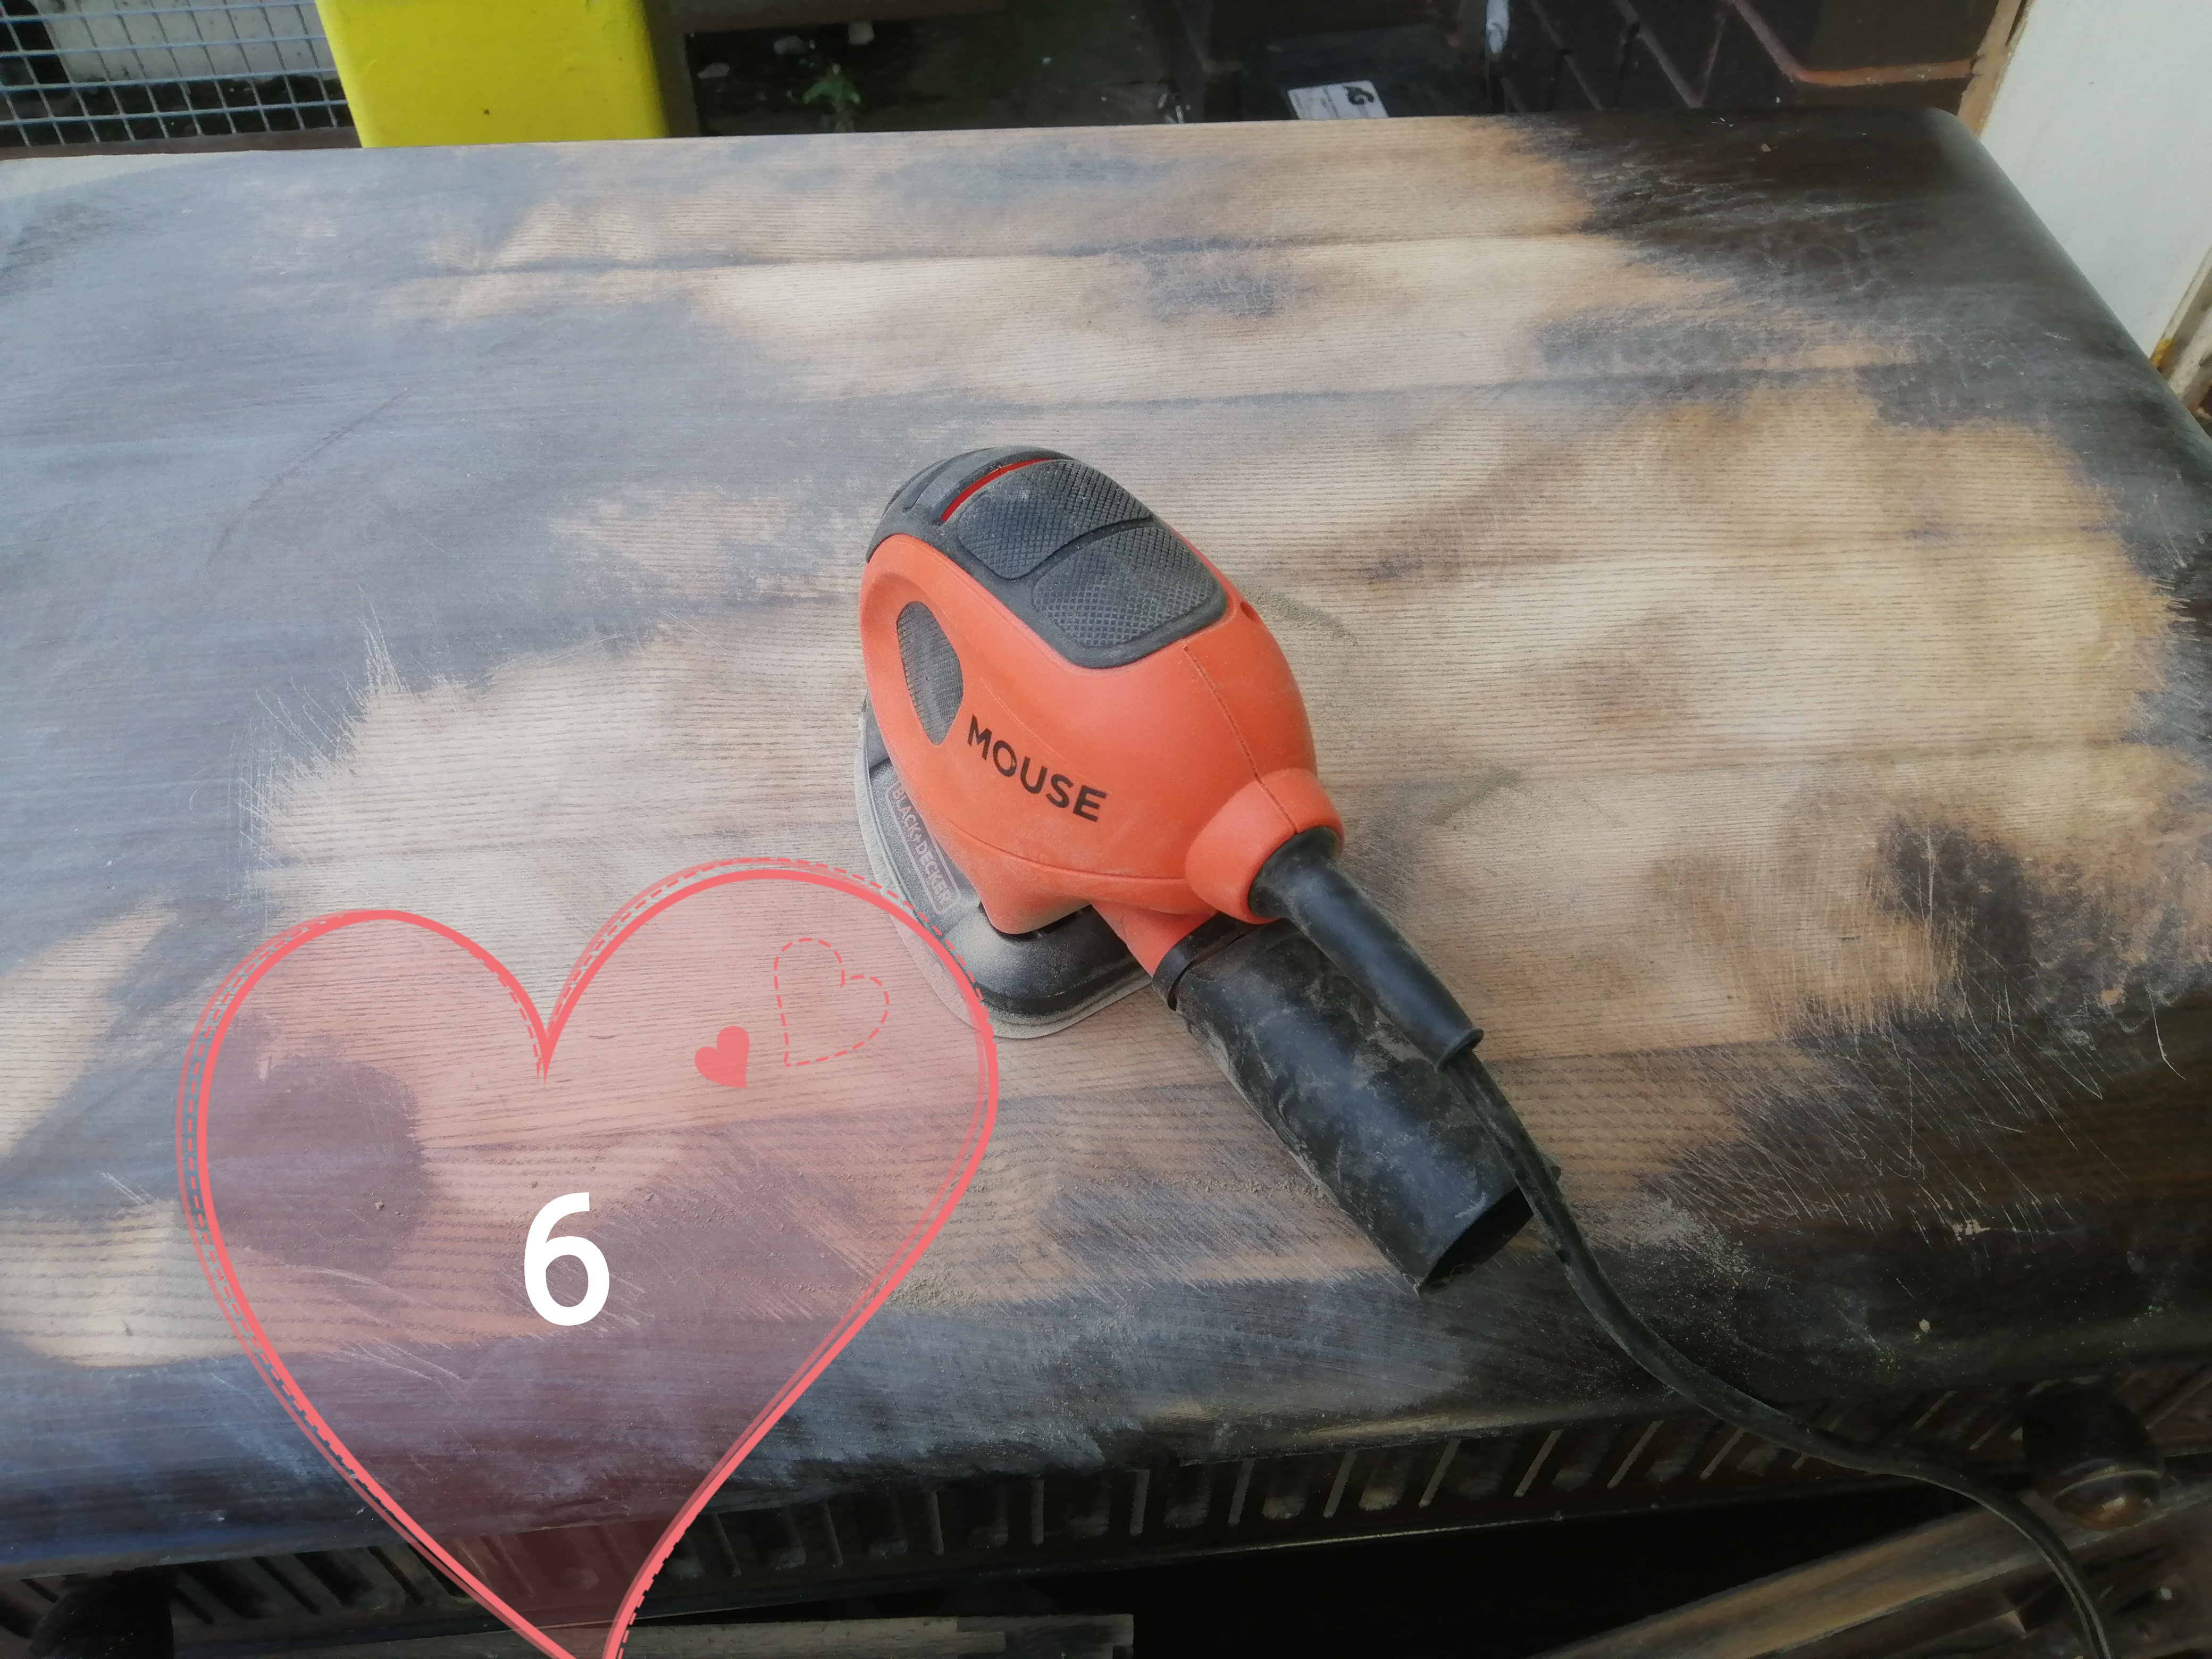
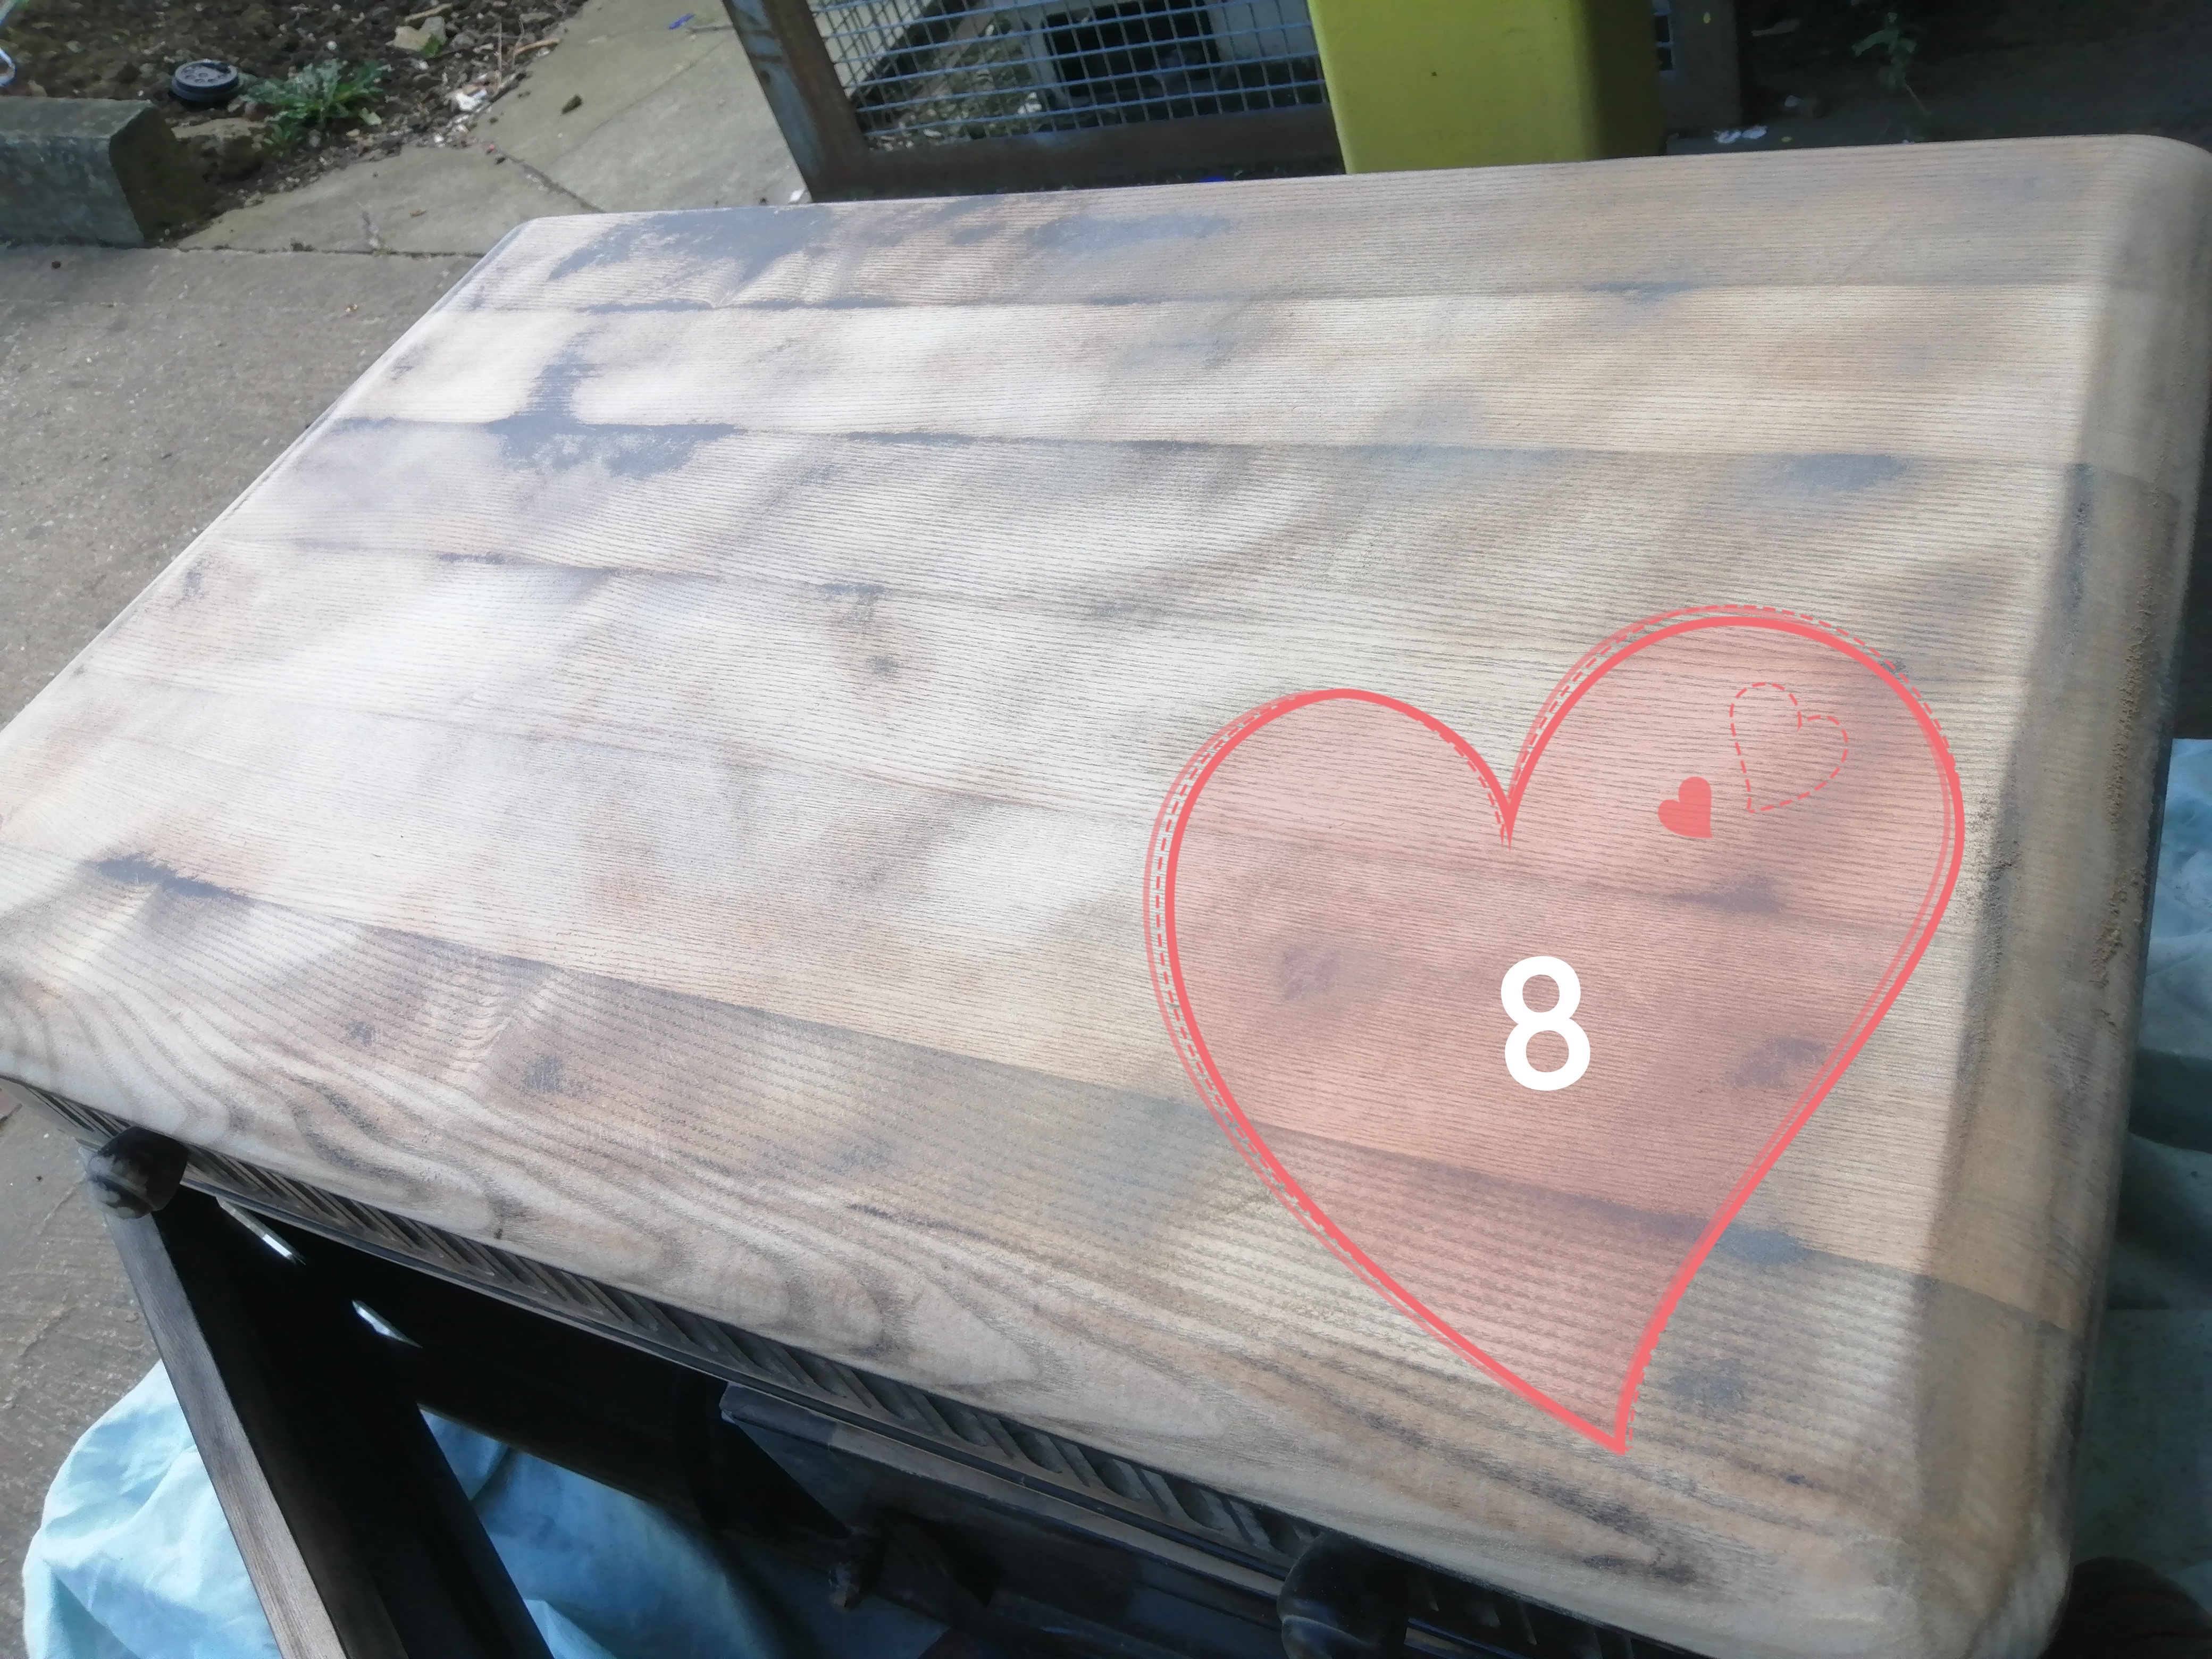
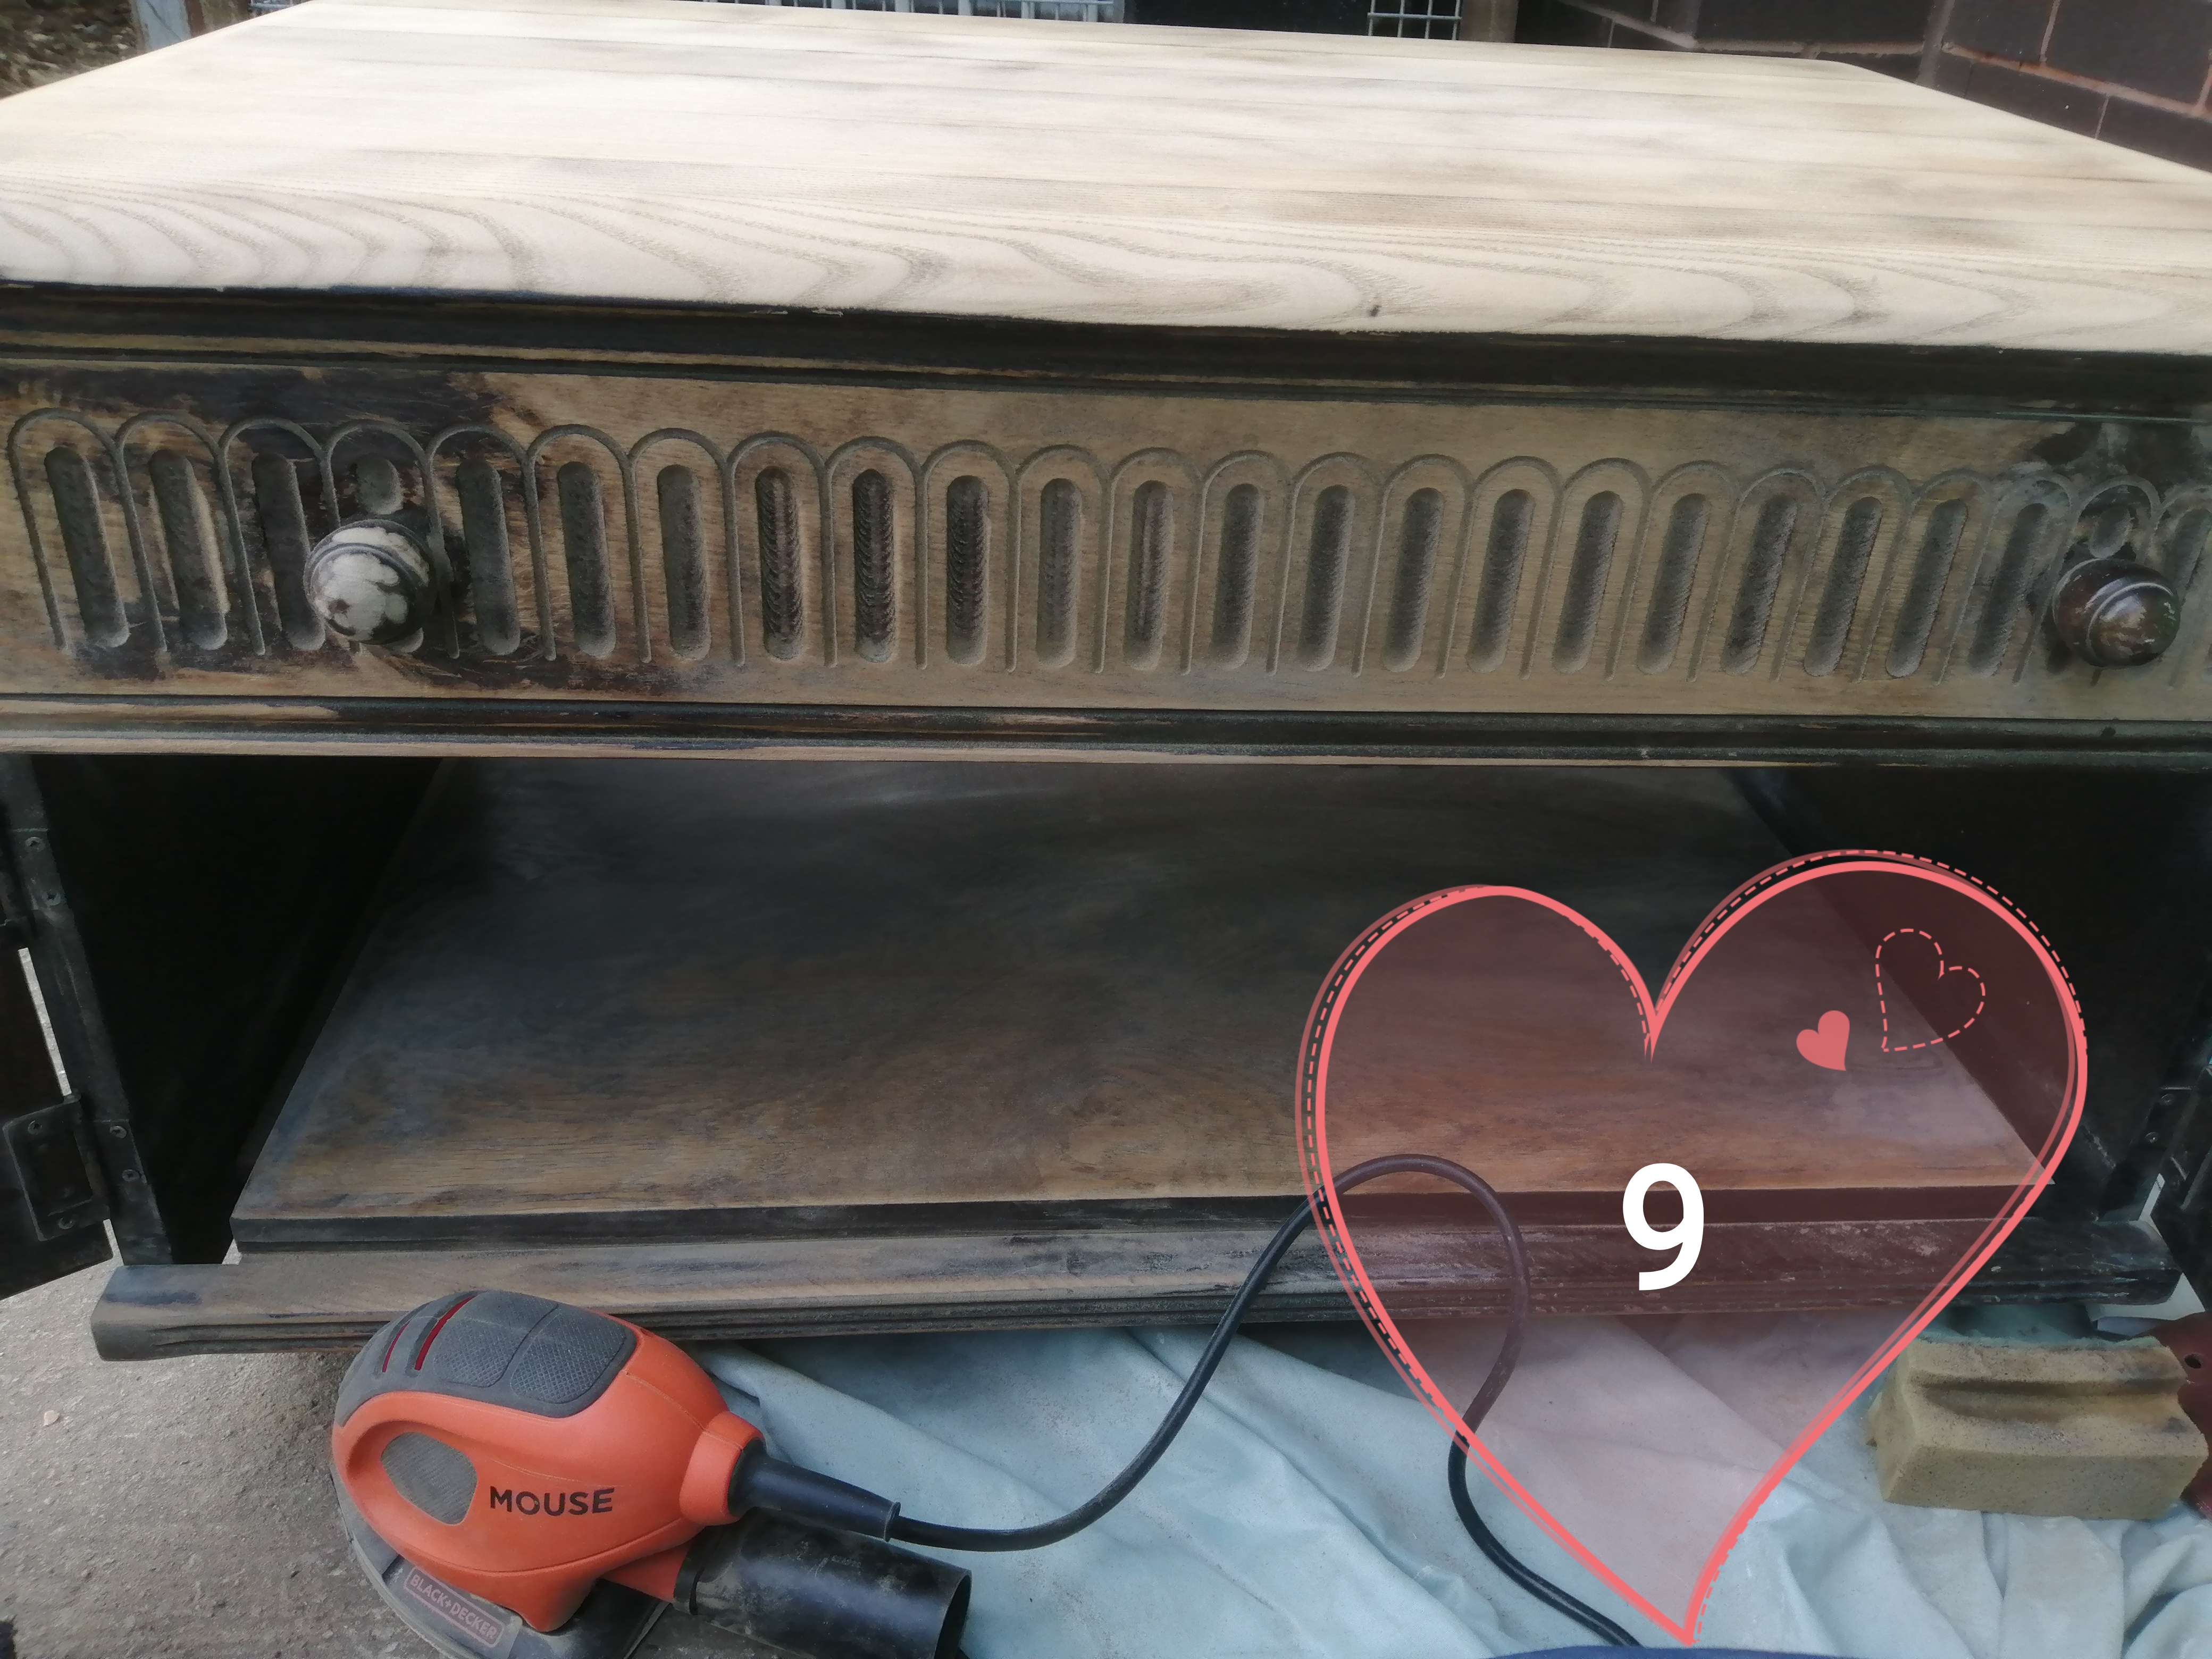
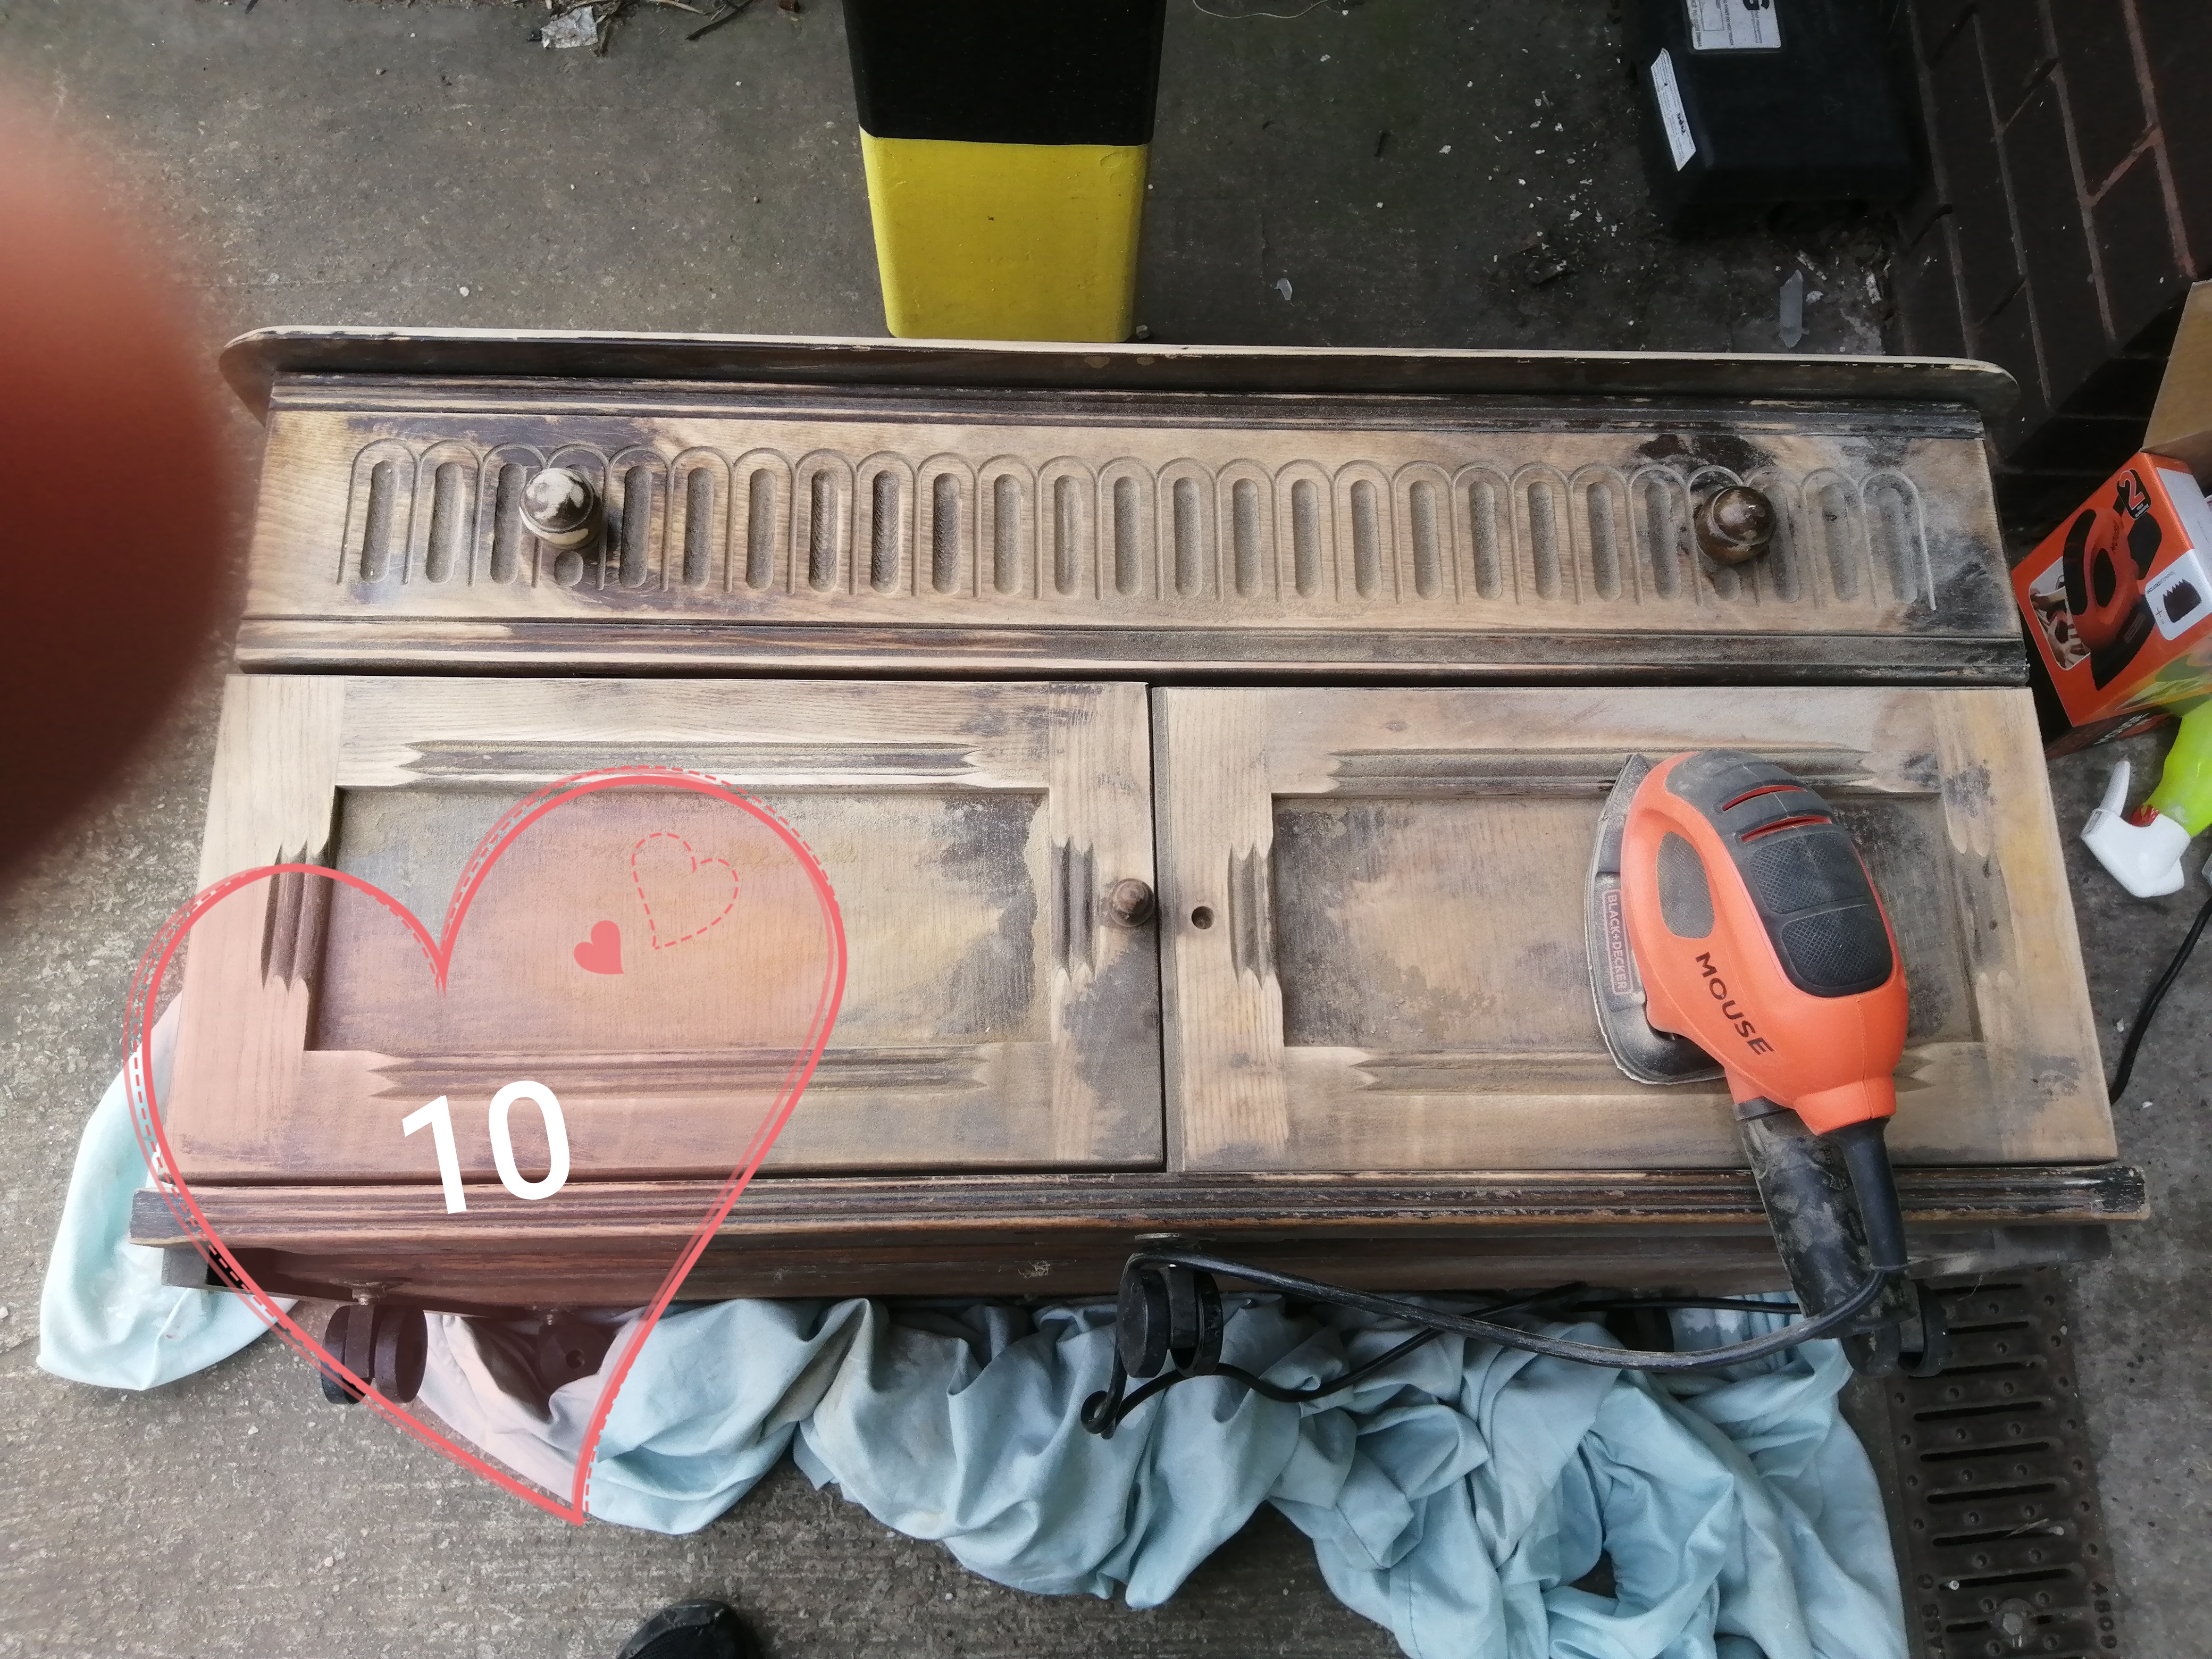
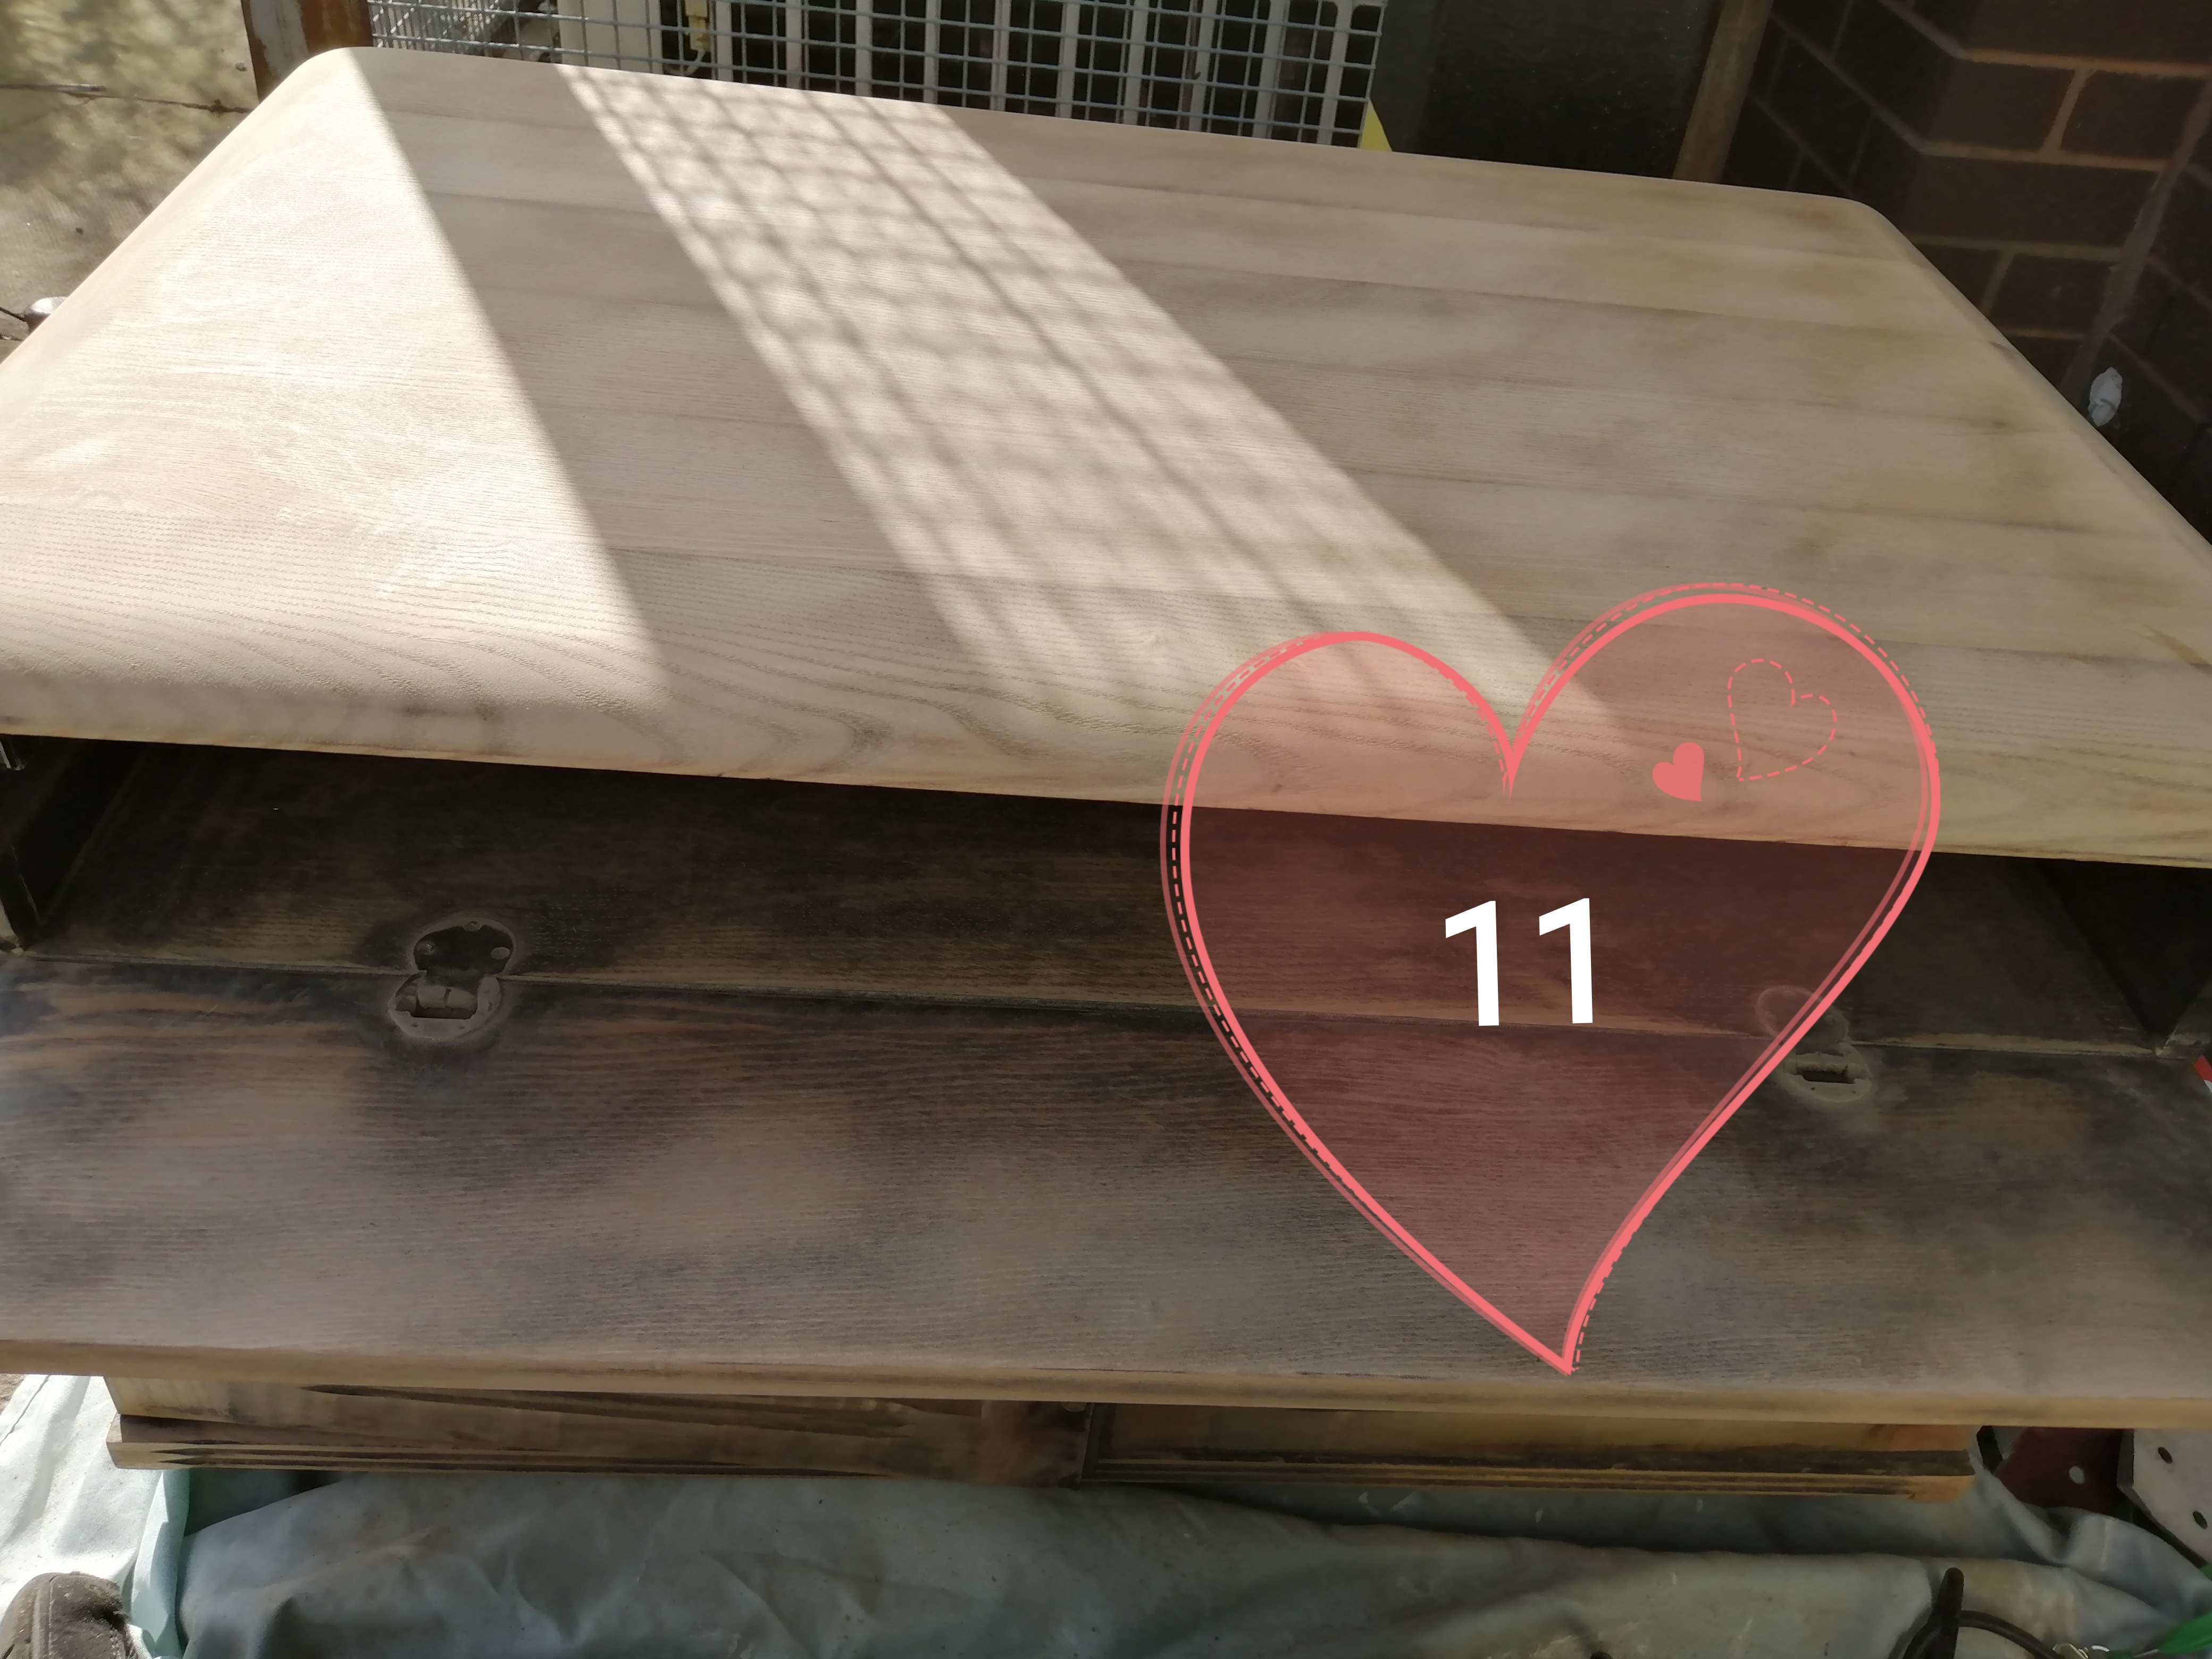
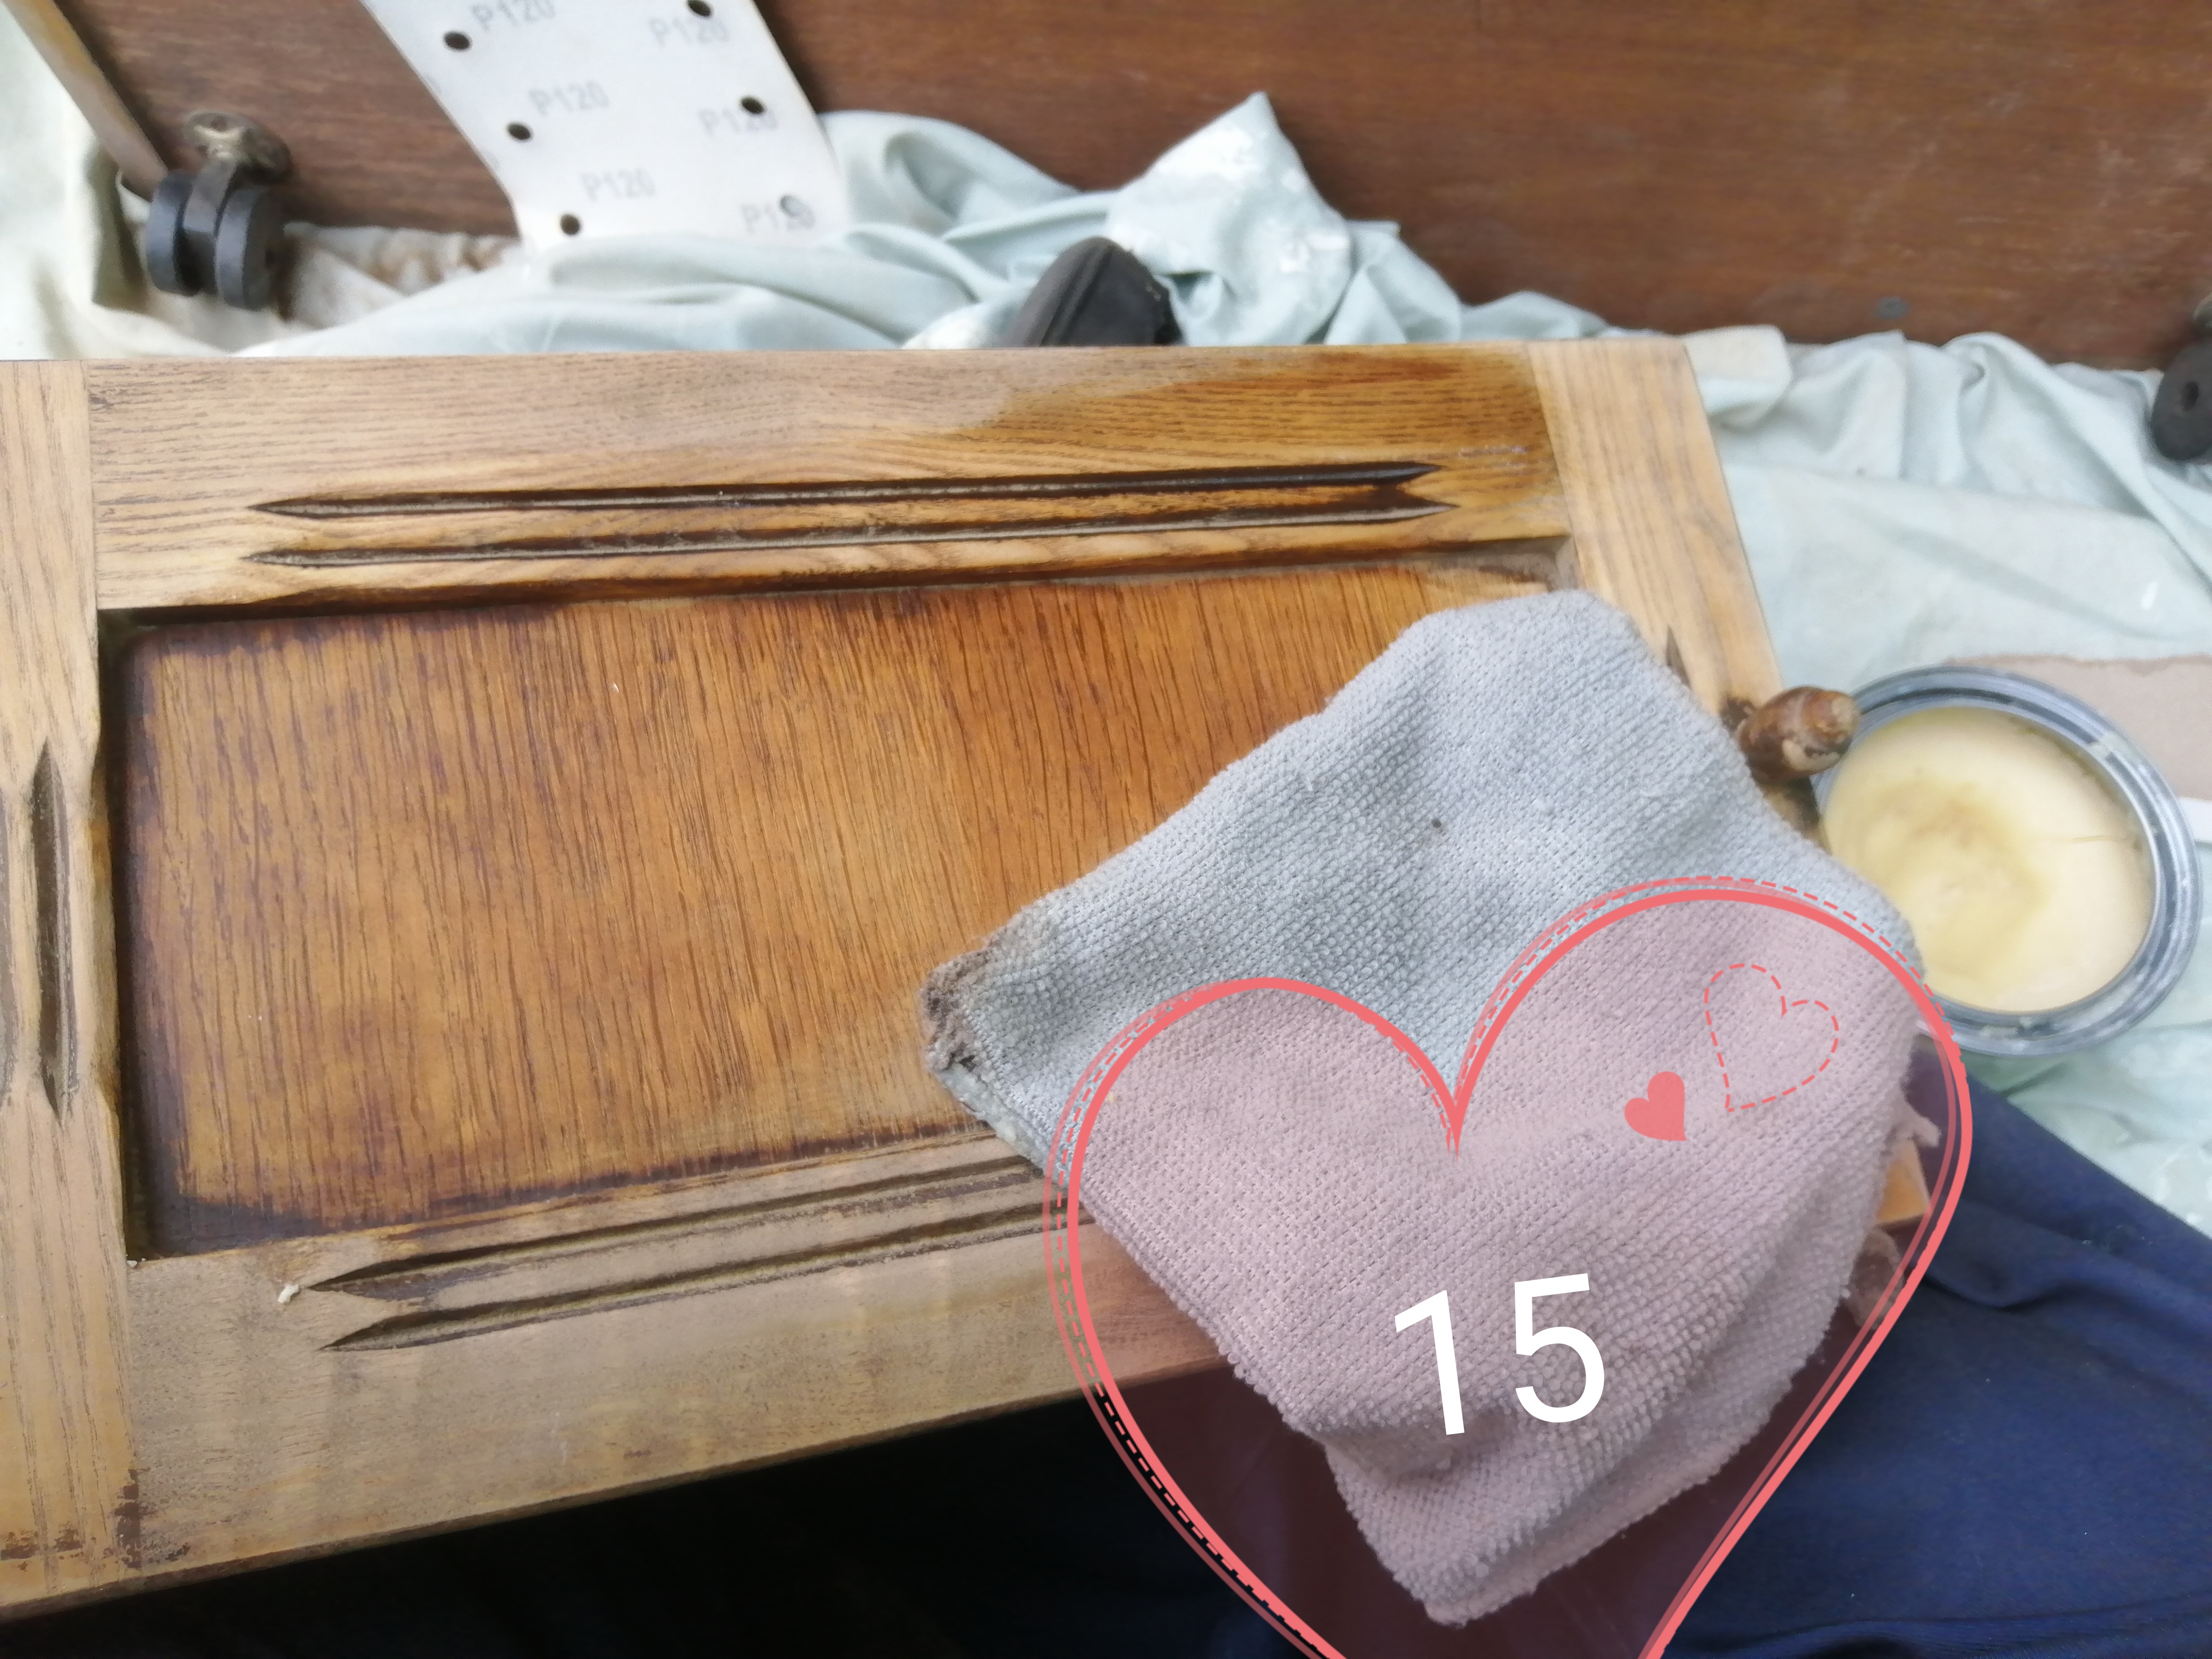
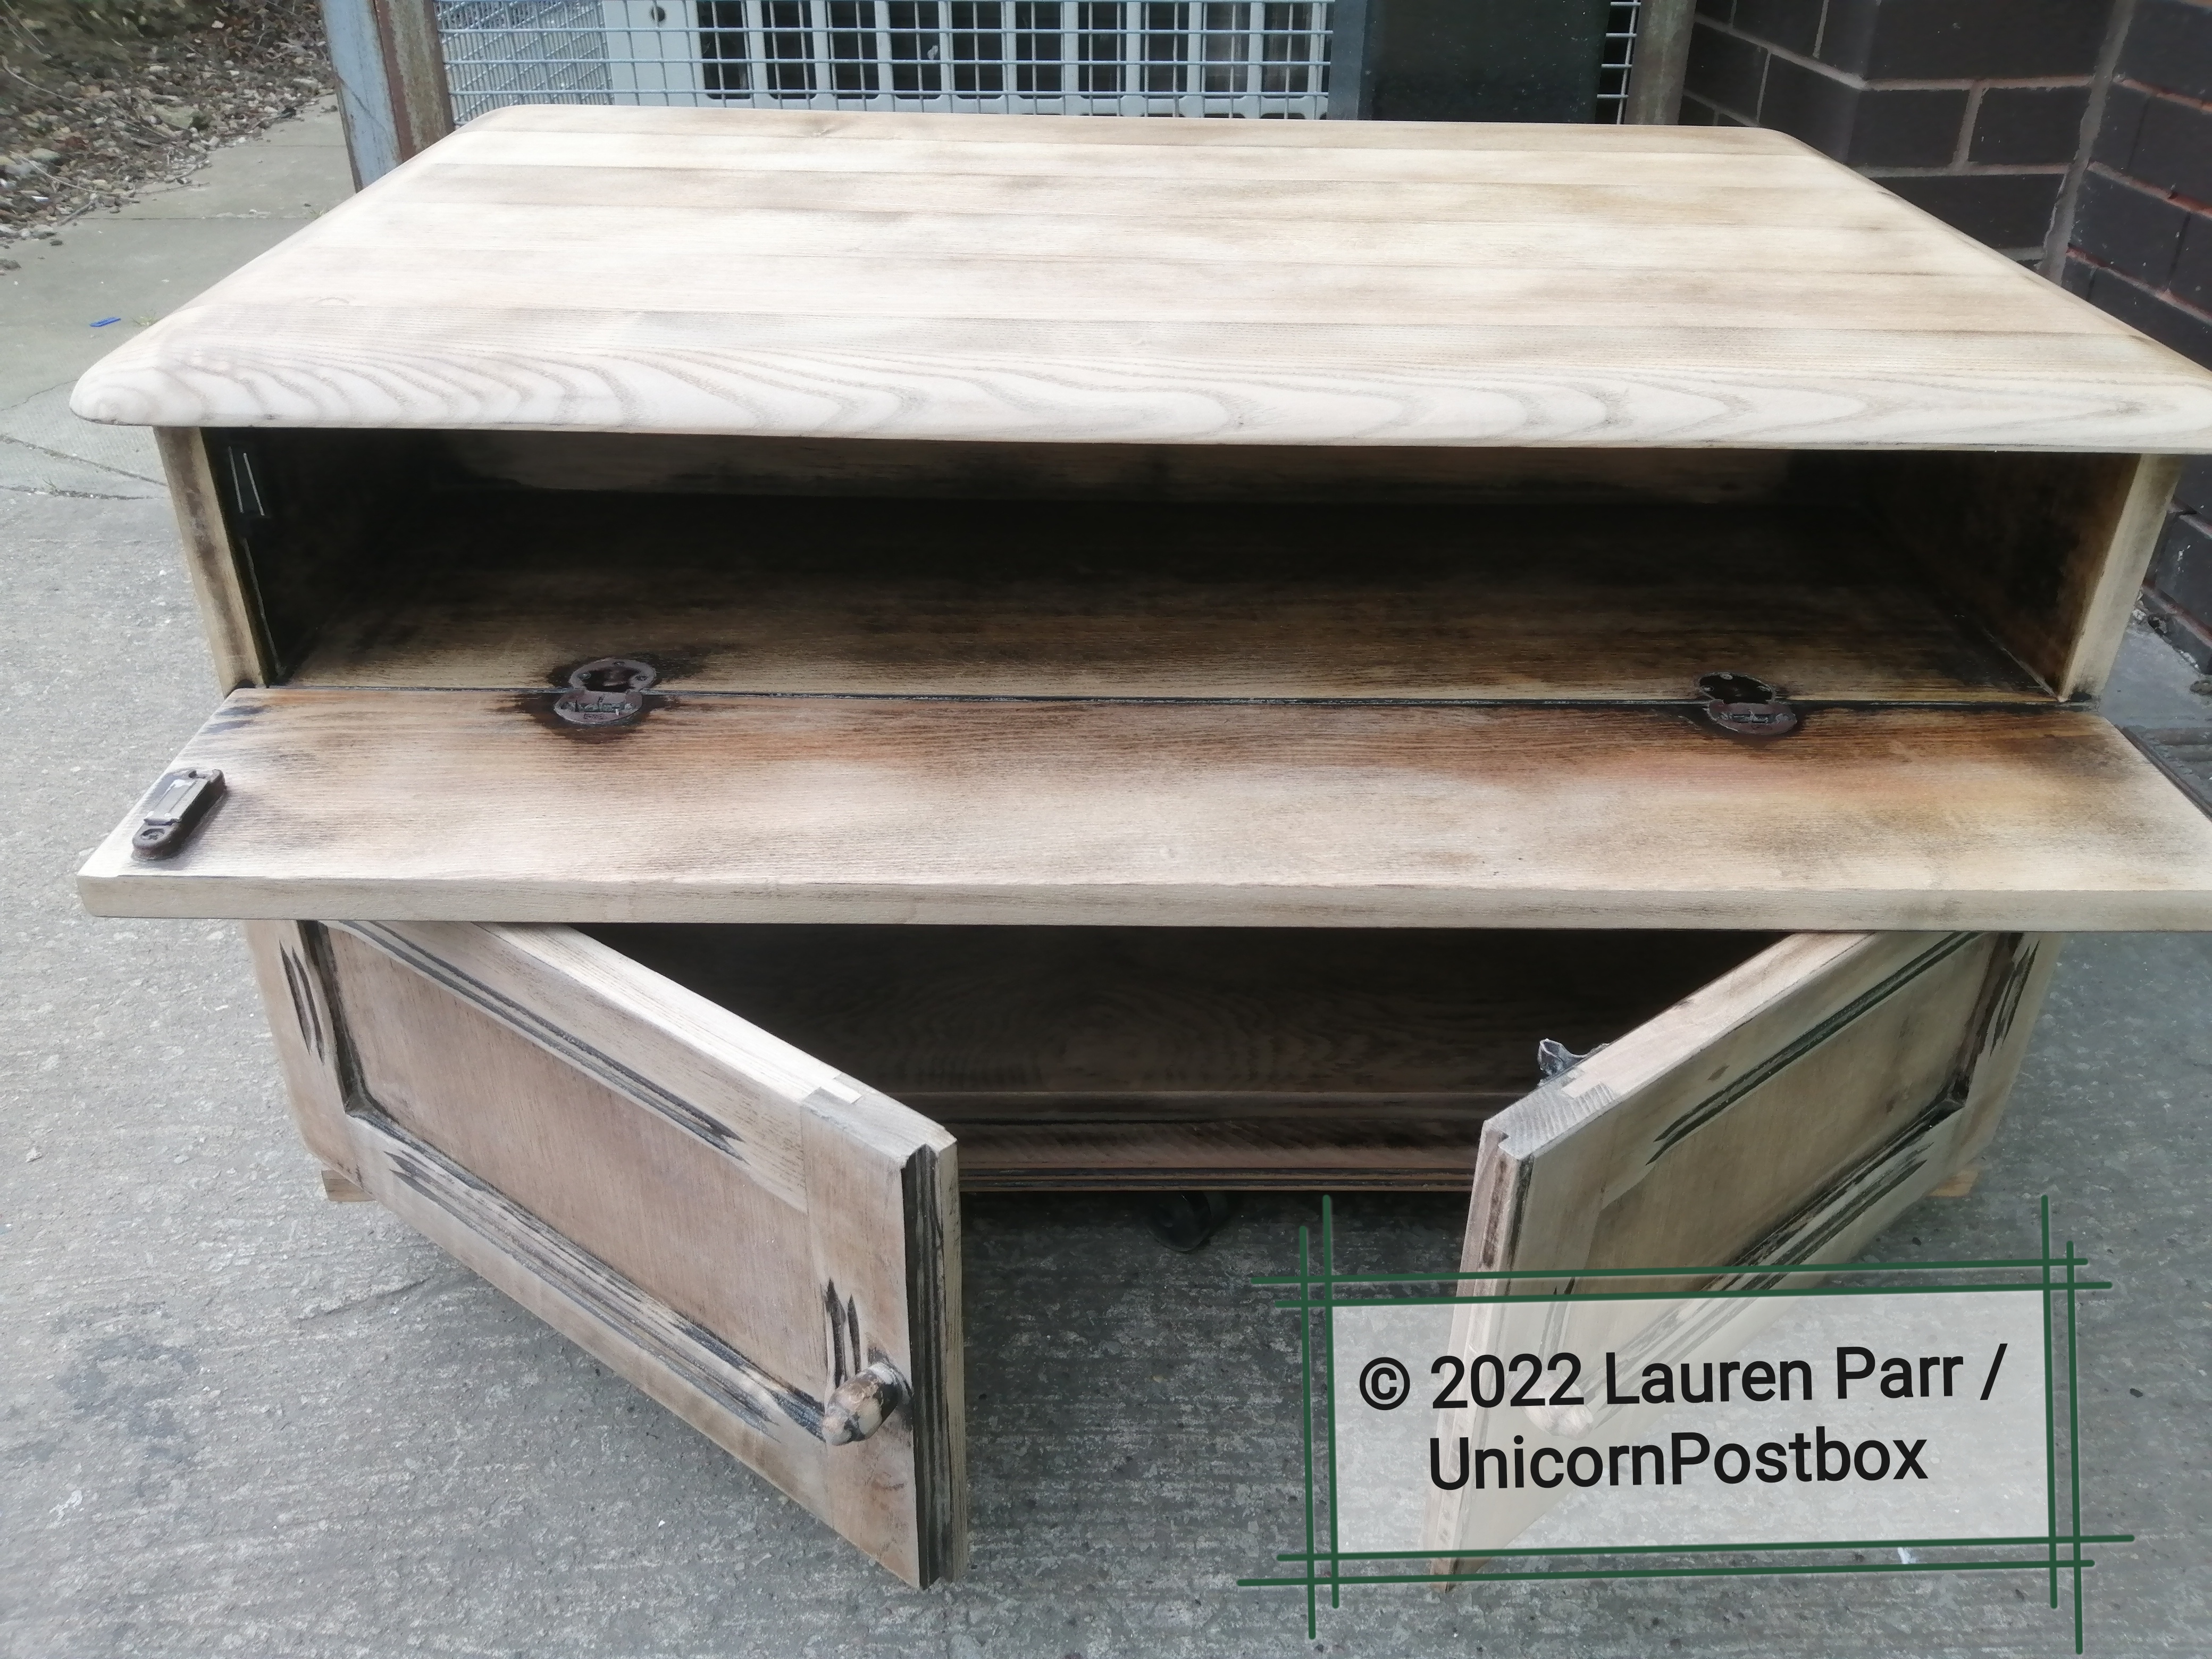
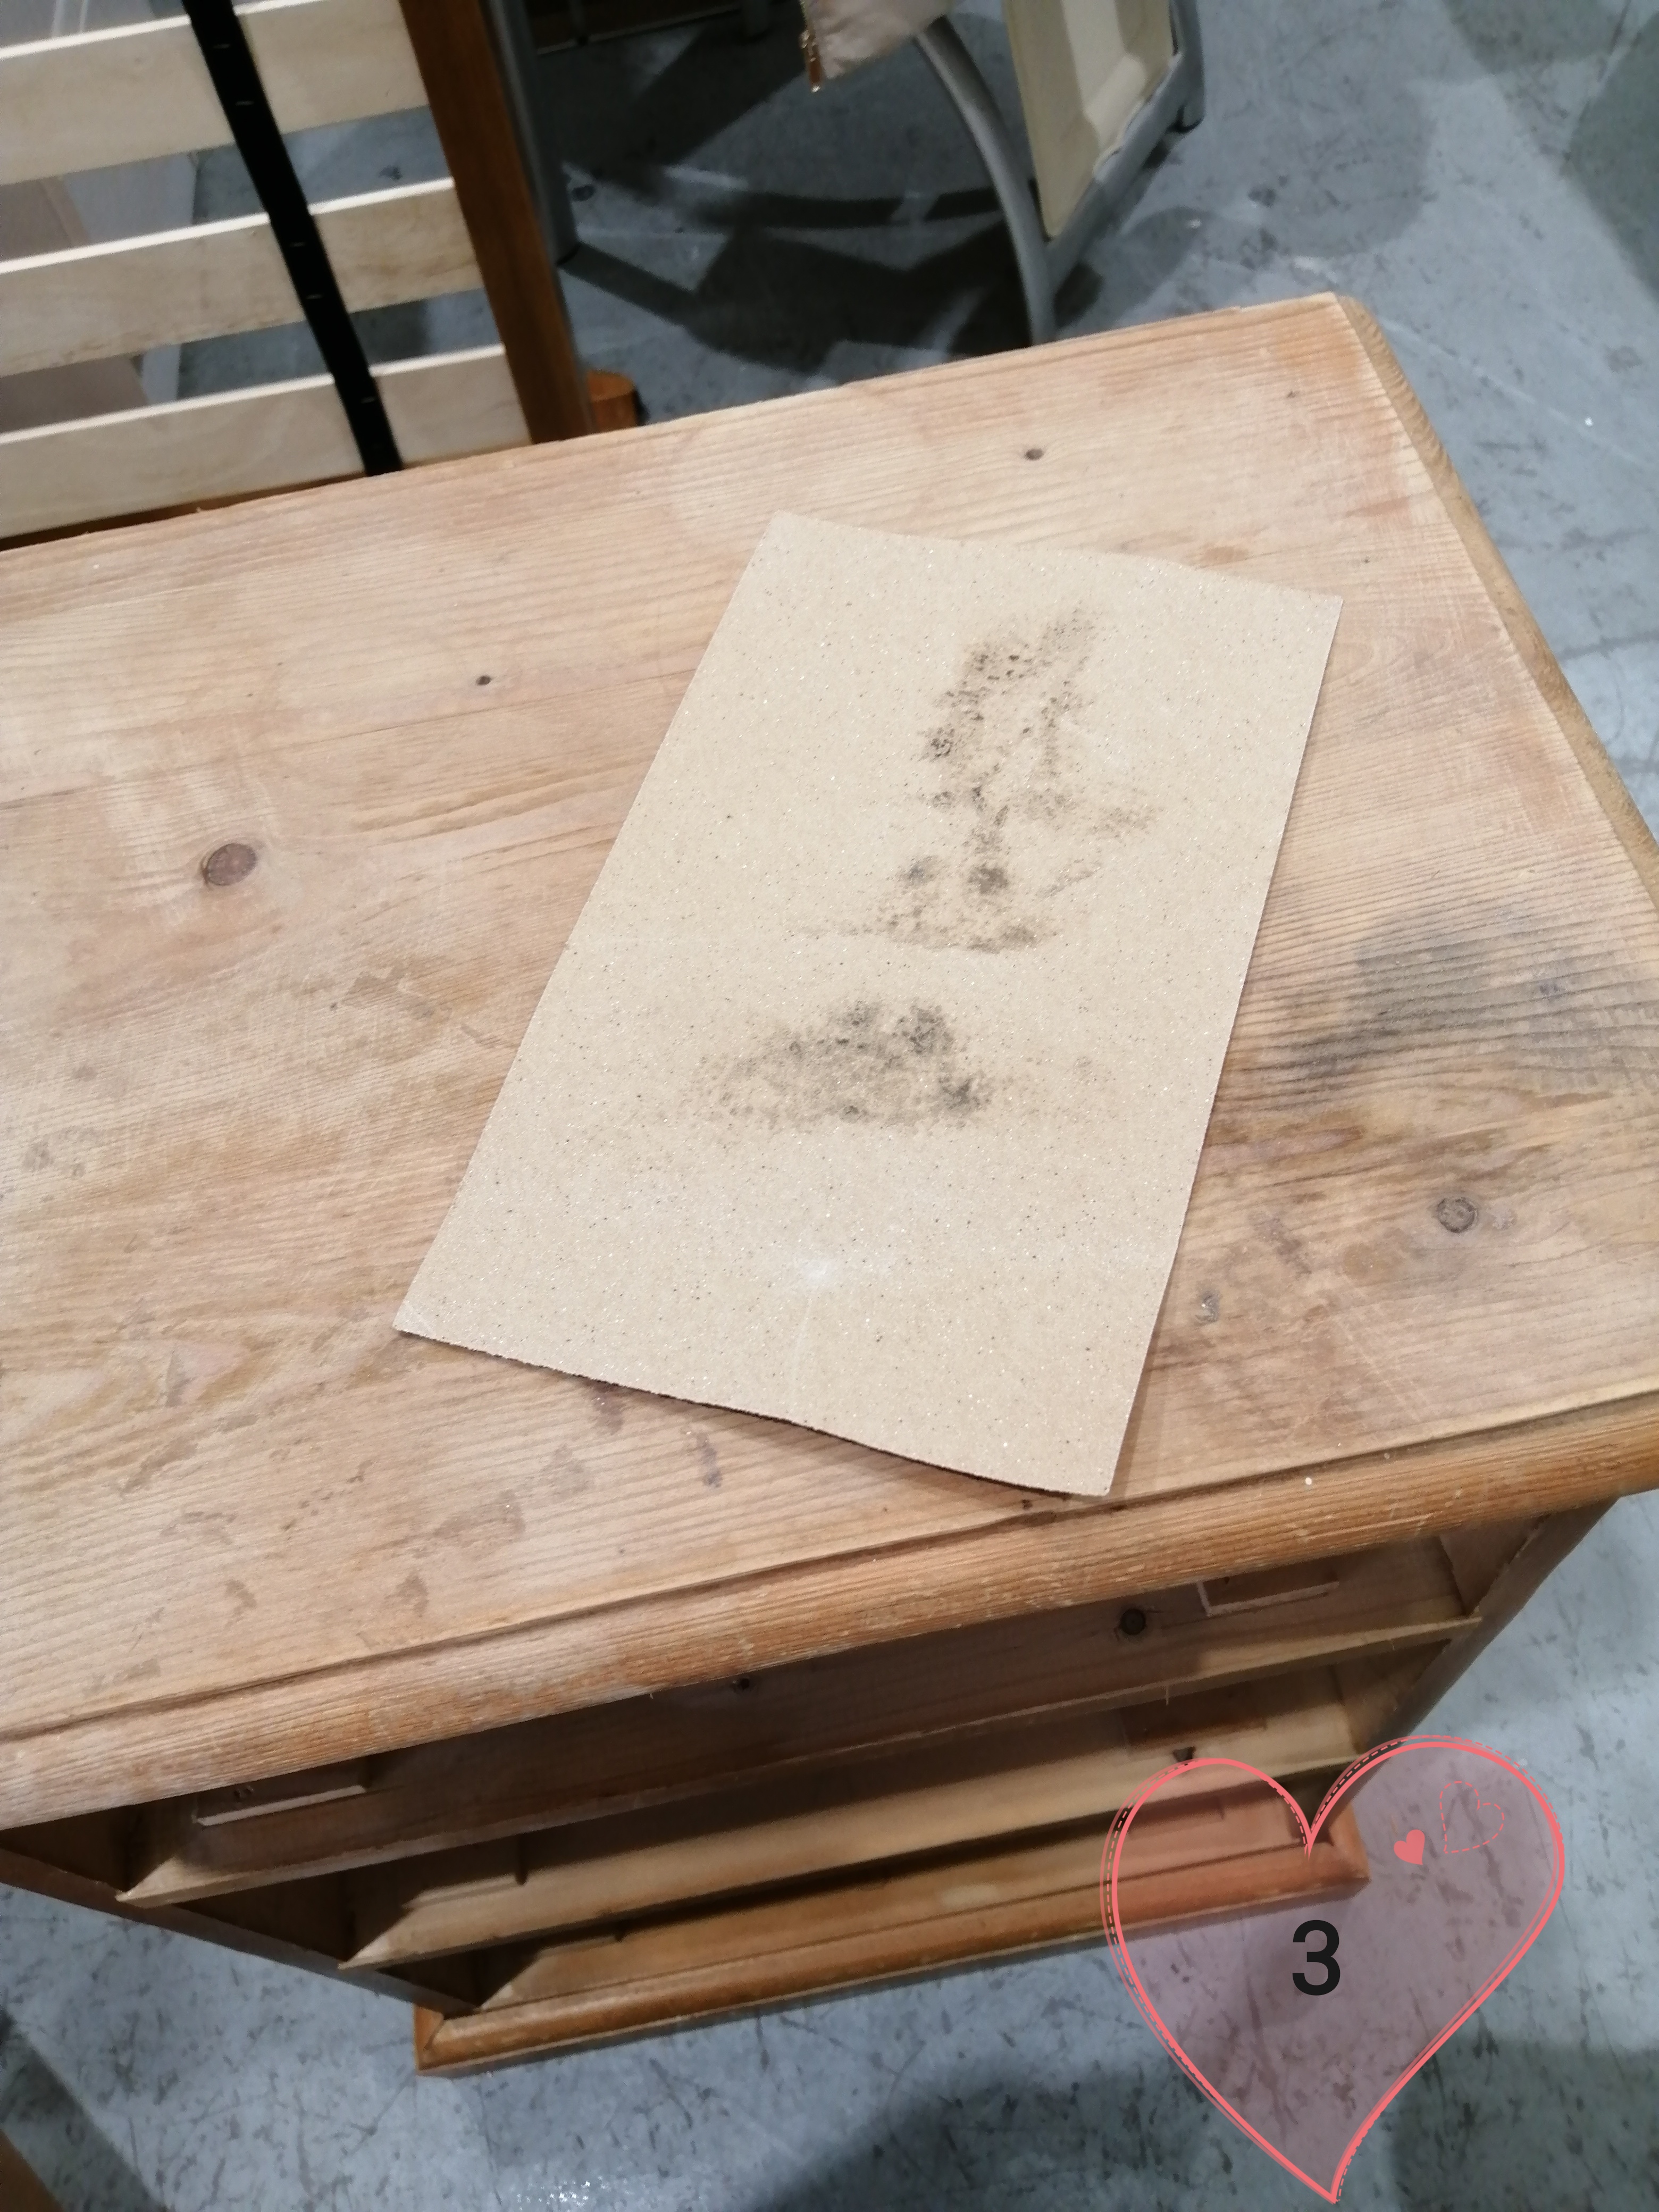
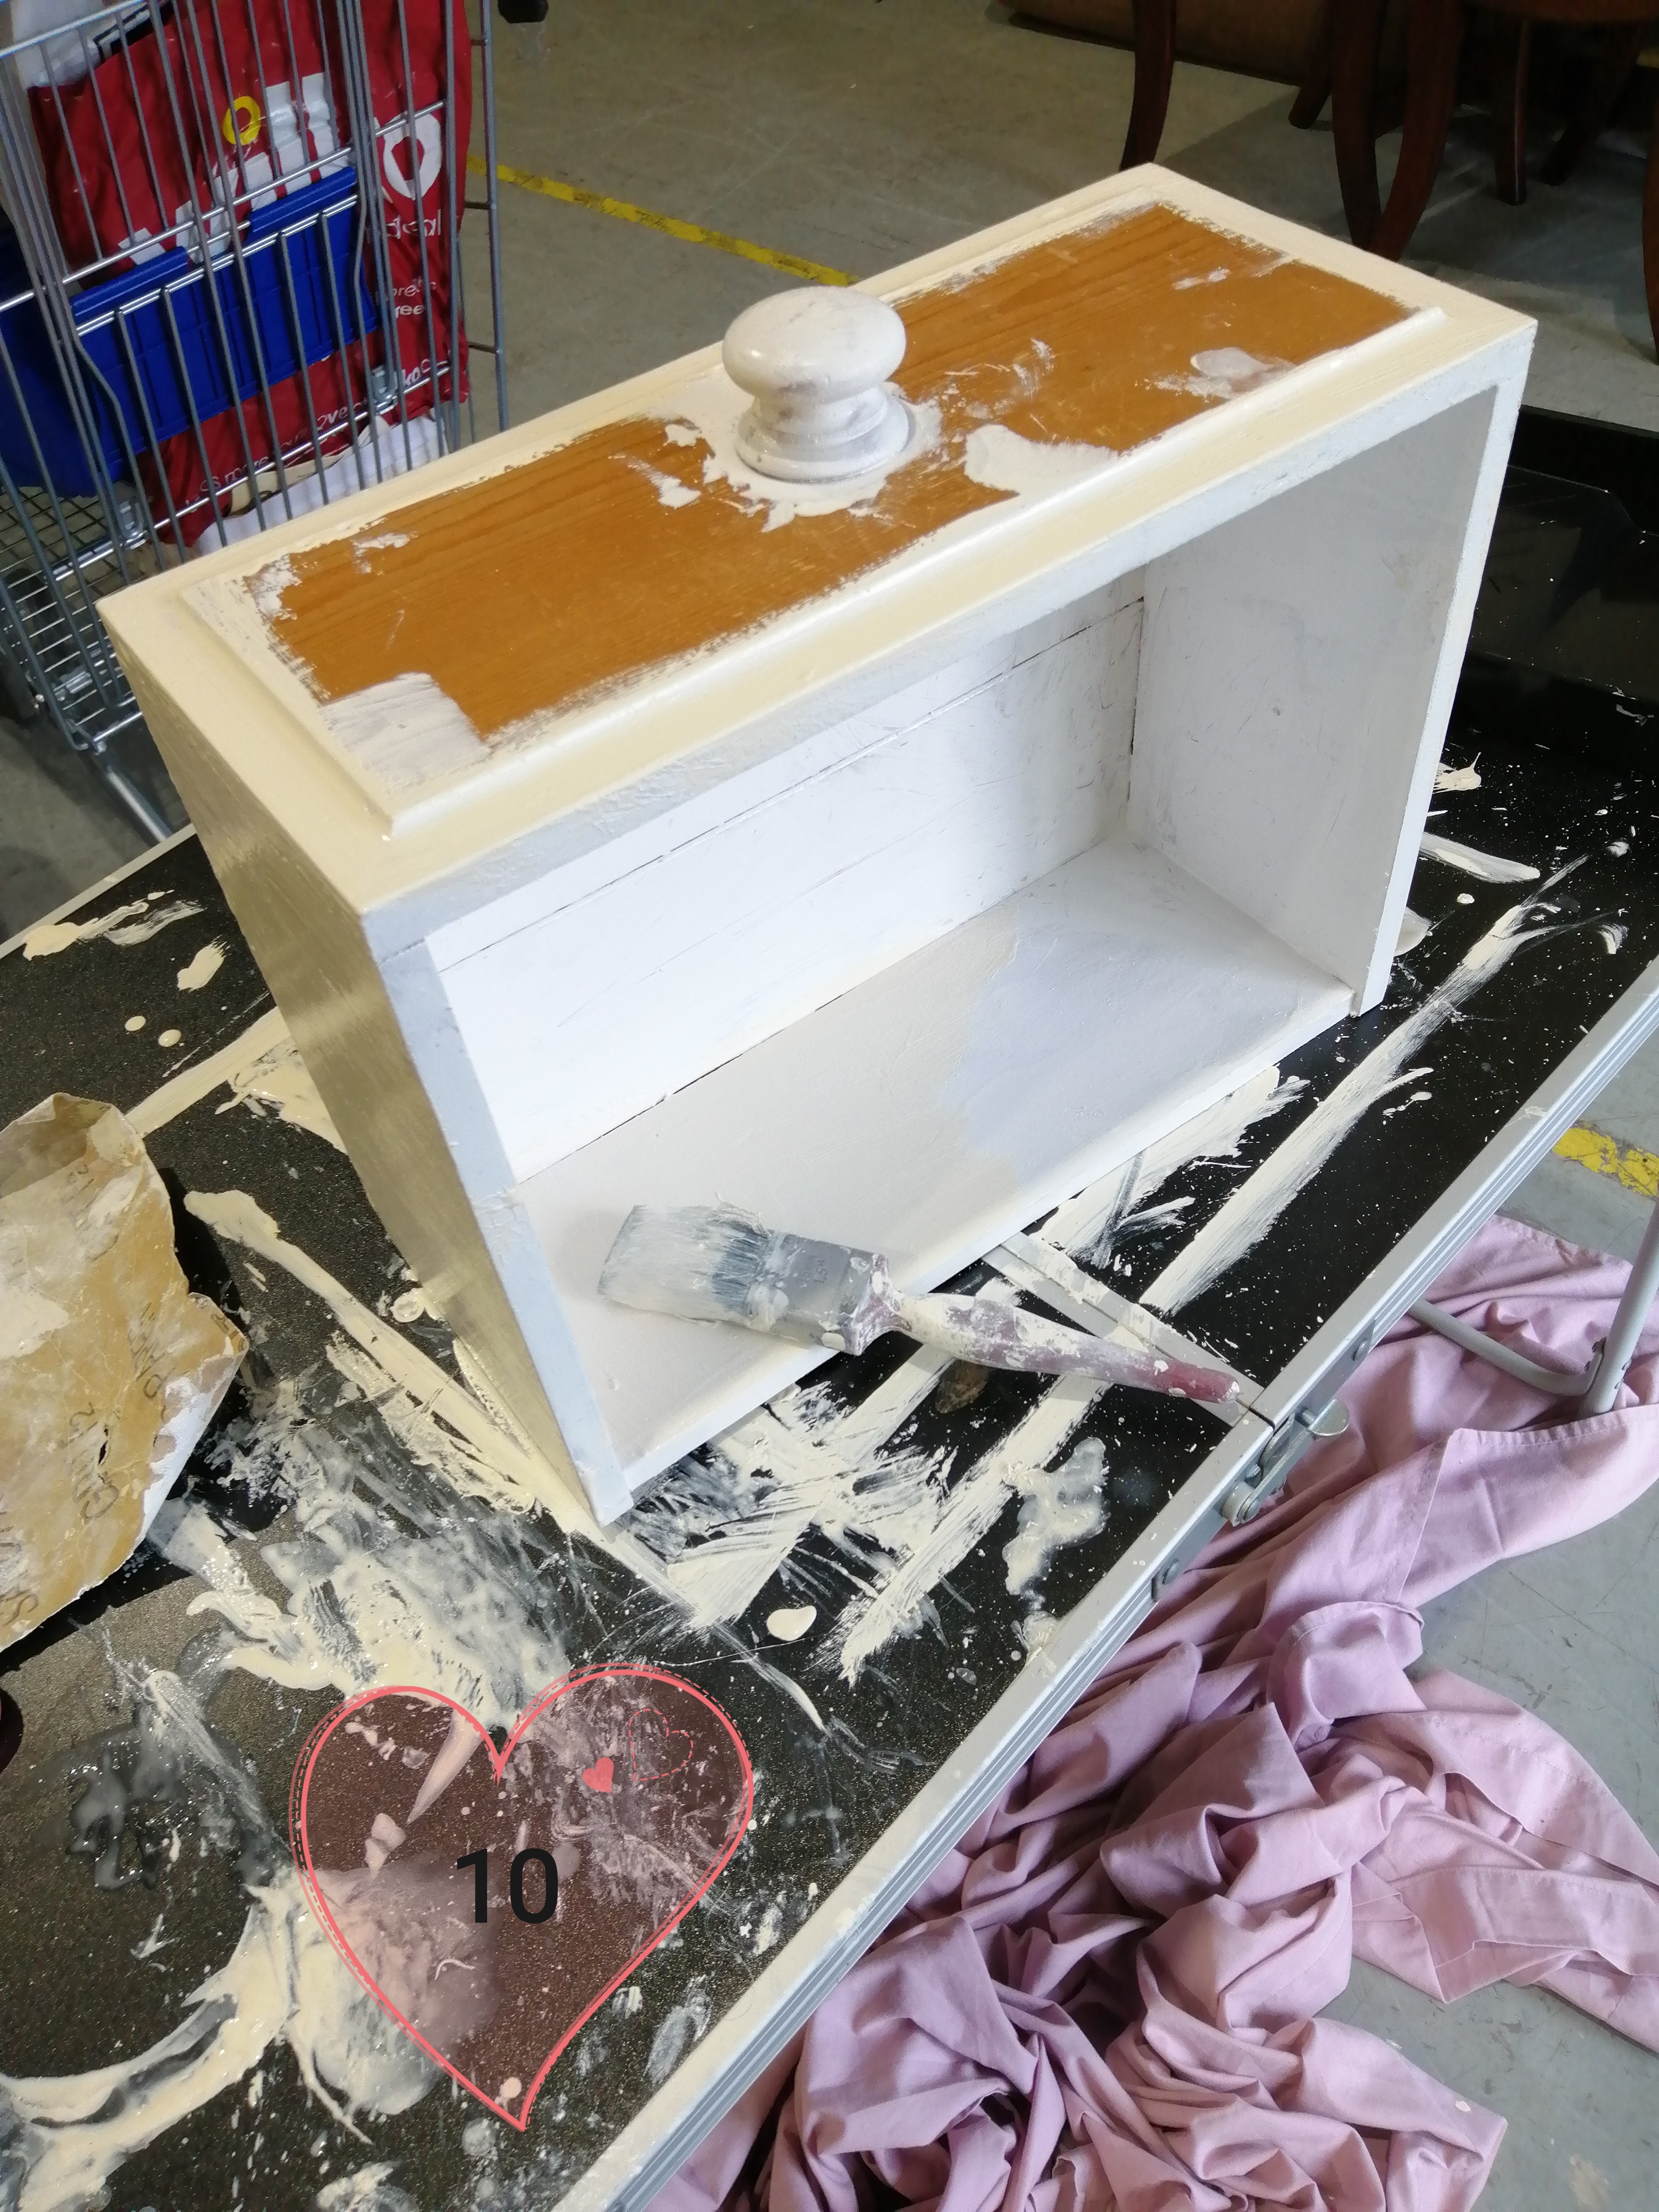
I started off by lightly sanding by hand. I painted the drinks trolley with a teal frenchic furniture paint (looks more emerald green in person). I painted a few layers. I made a mistake with the stencil at first, so had to repaint and wait to dry again. I then spray painted gold on the stencil in all four corners, and on the bottom level a different stencil in the centre. I had to be careful spray painting, I covered the rest of the trolley with taped down newspaper to avoid unwanted spillages. To finish, I used frenchic top coat to seal.

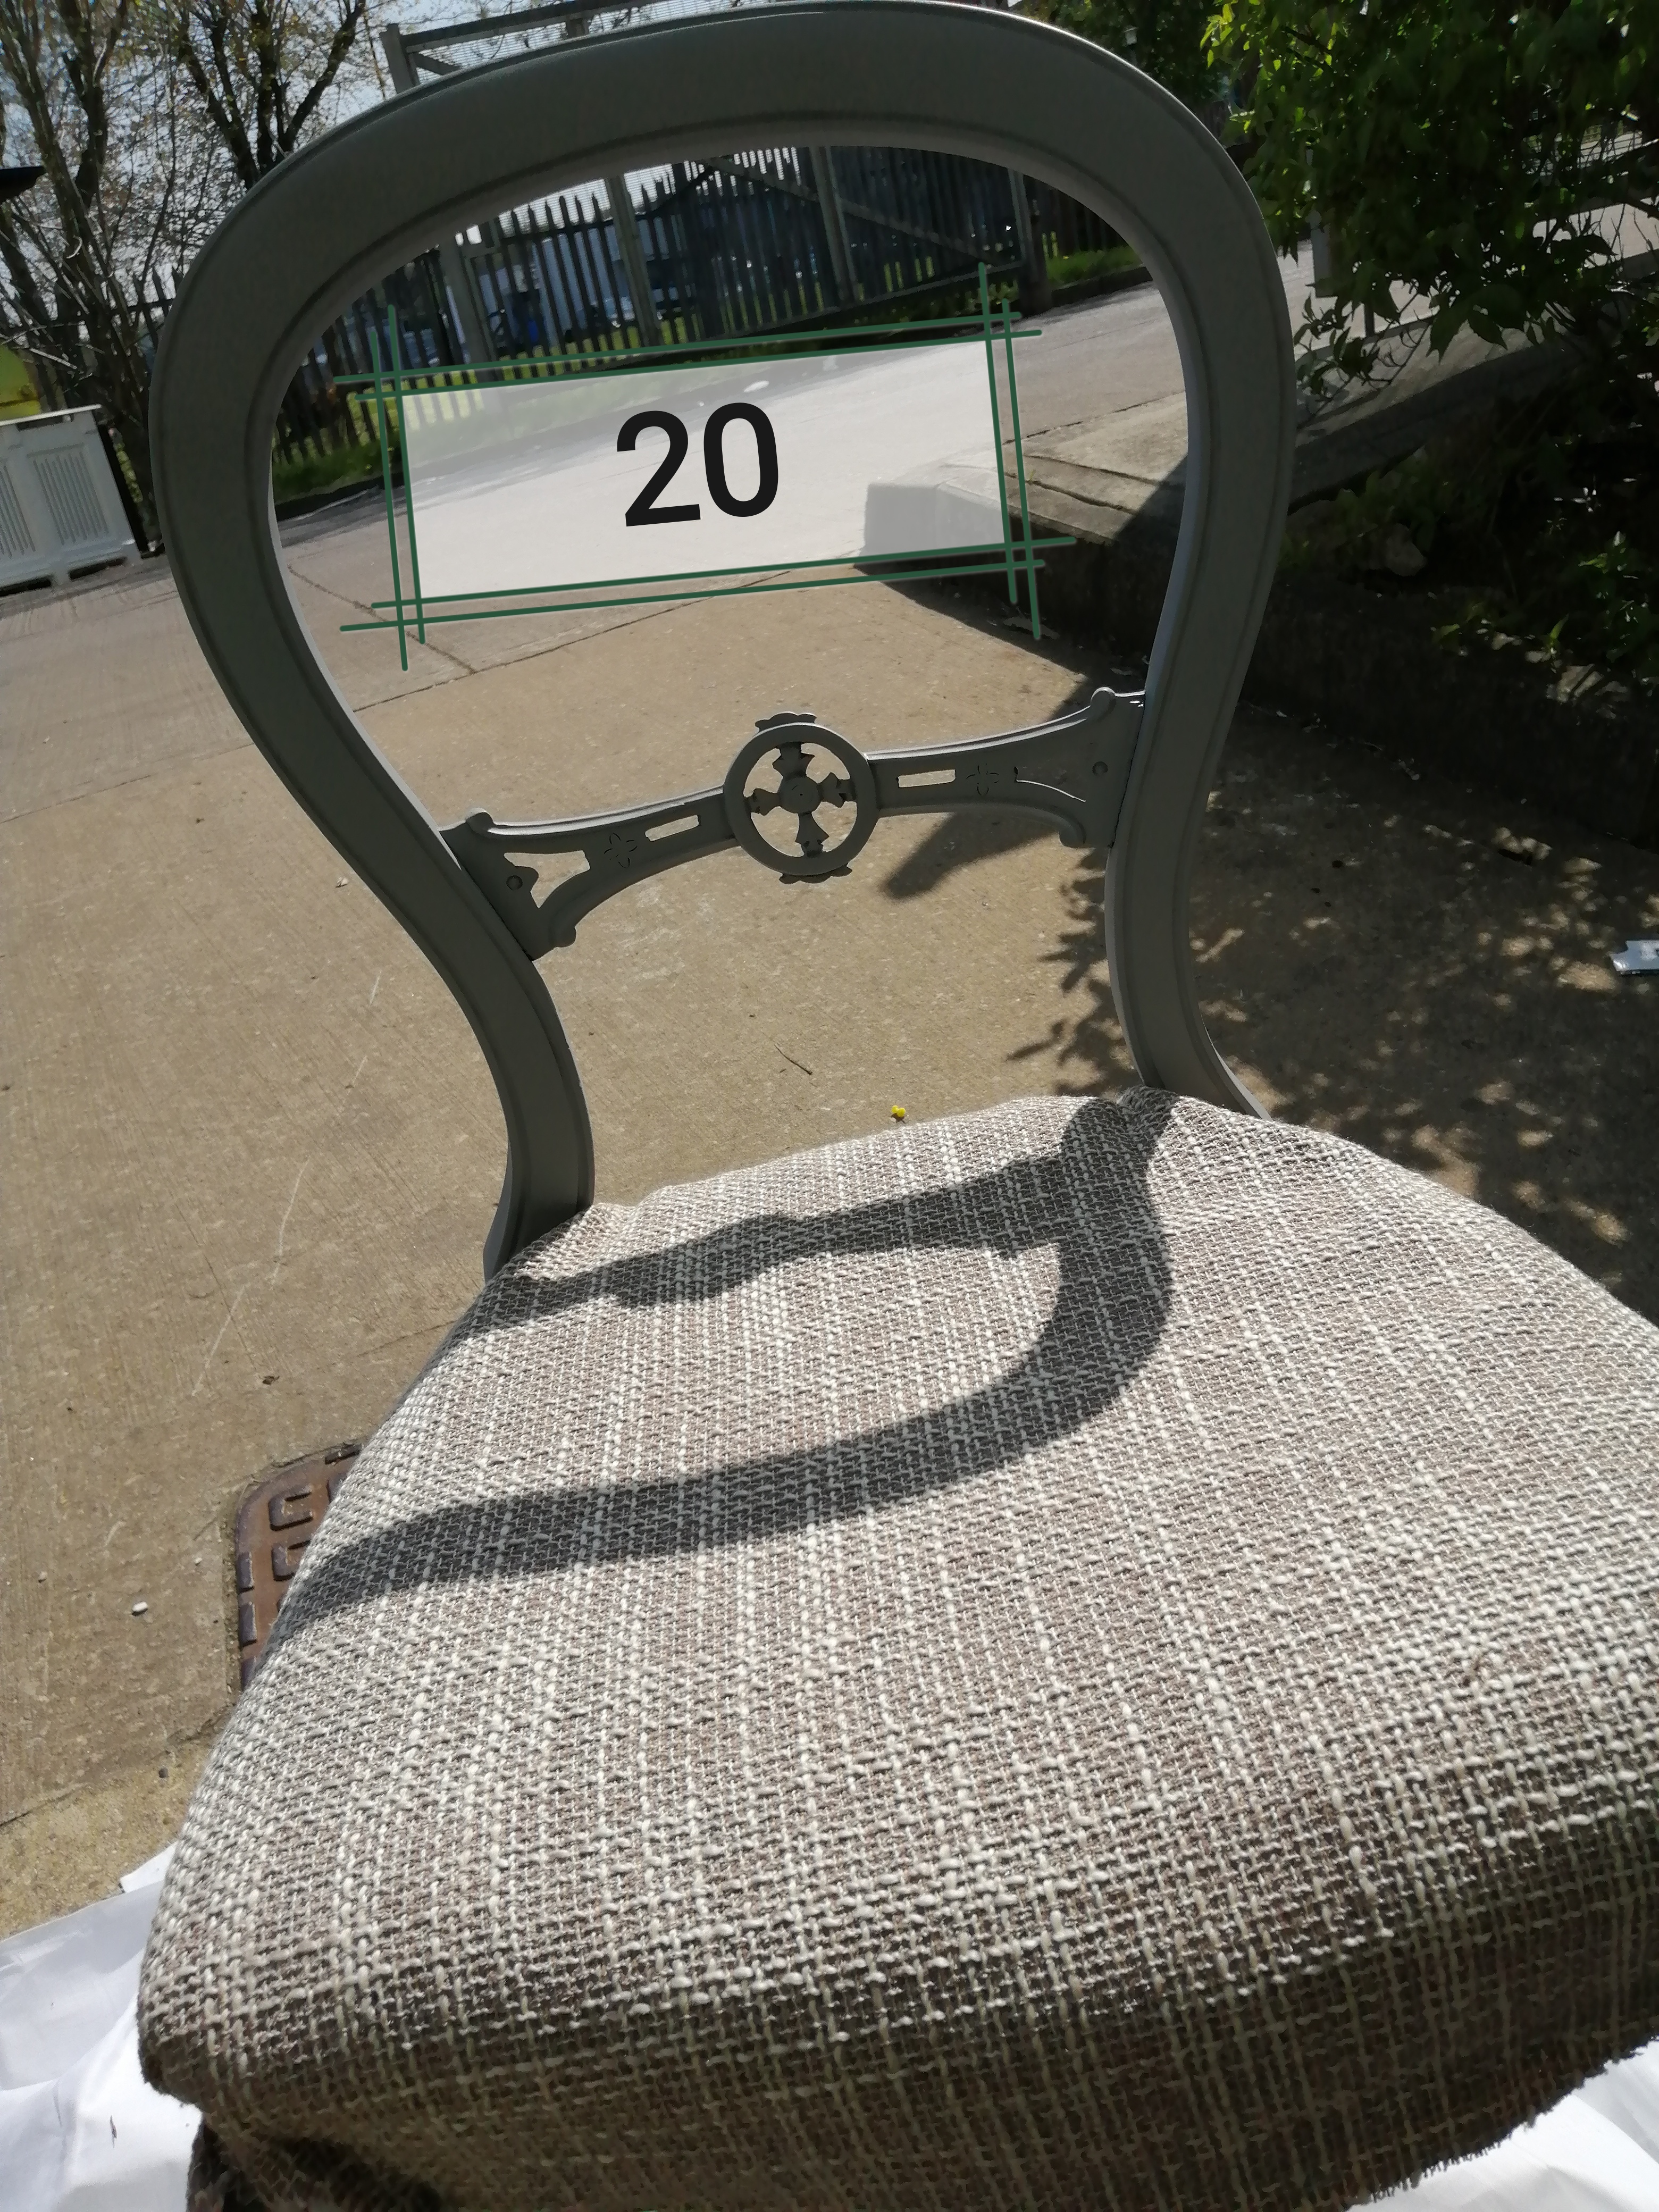
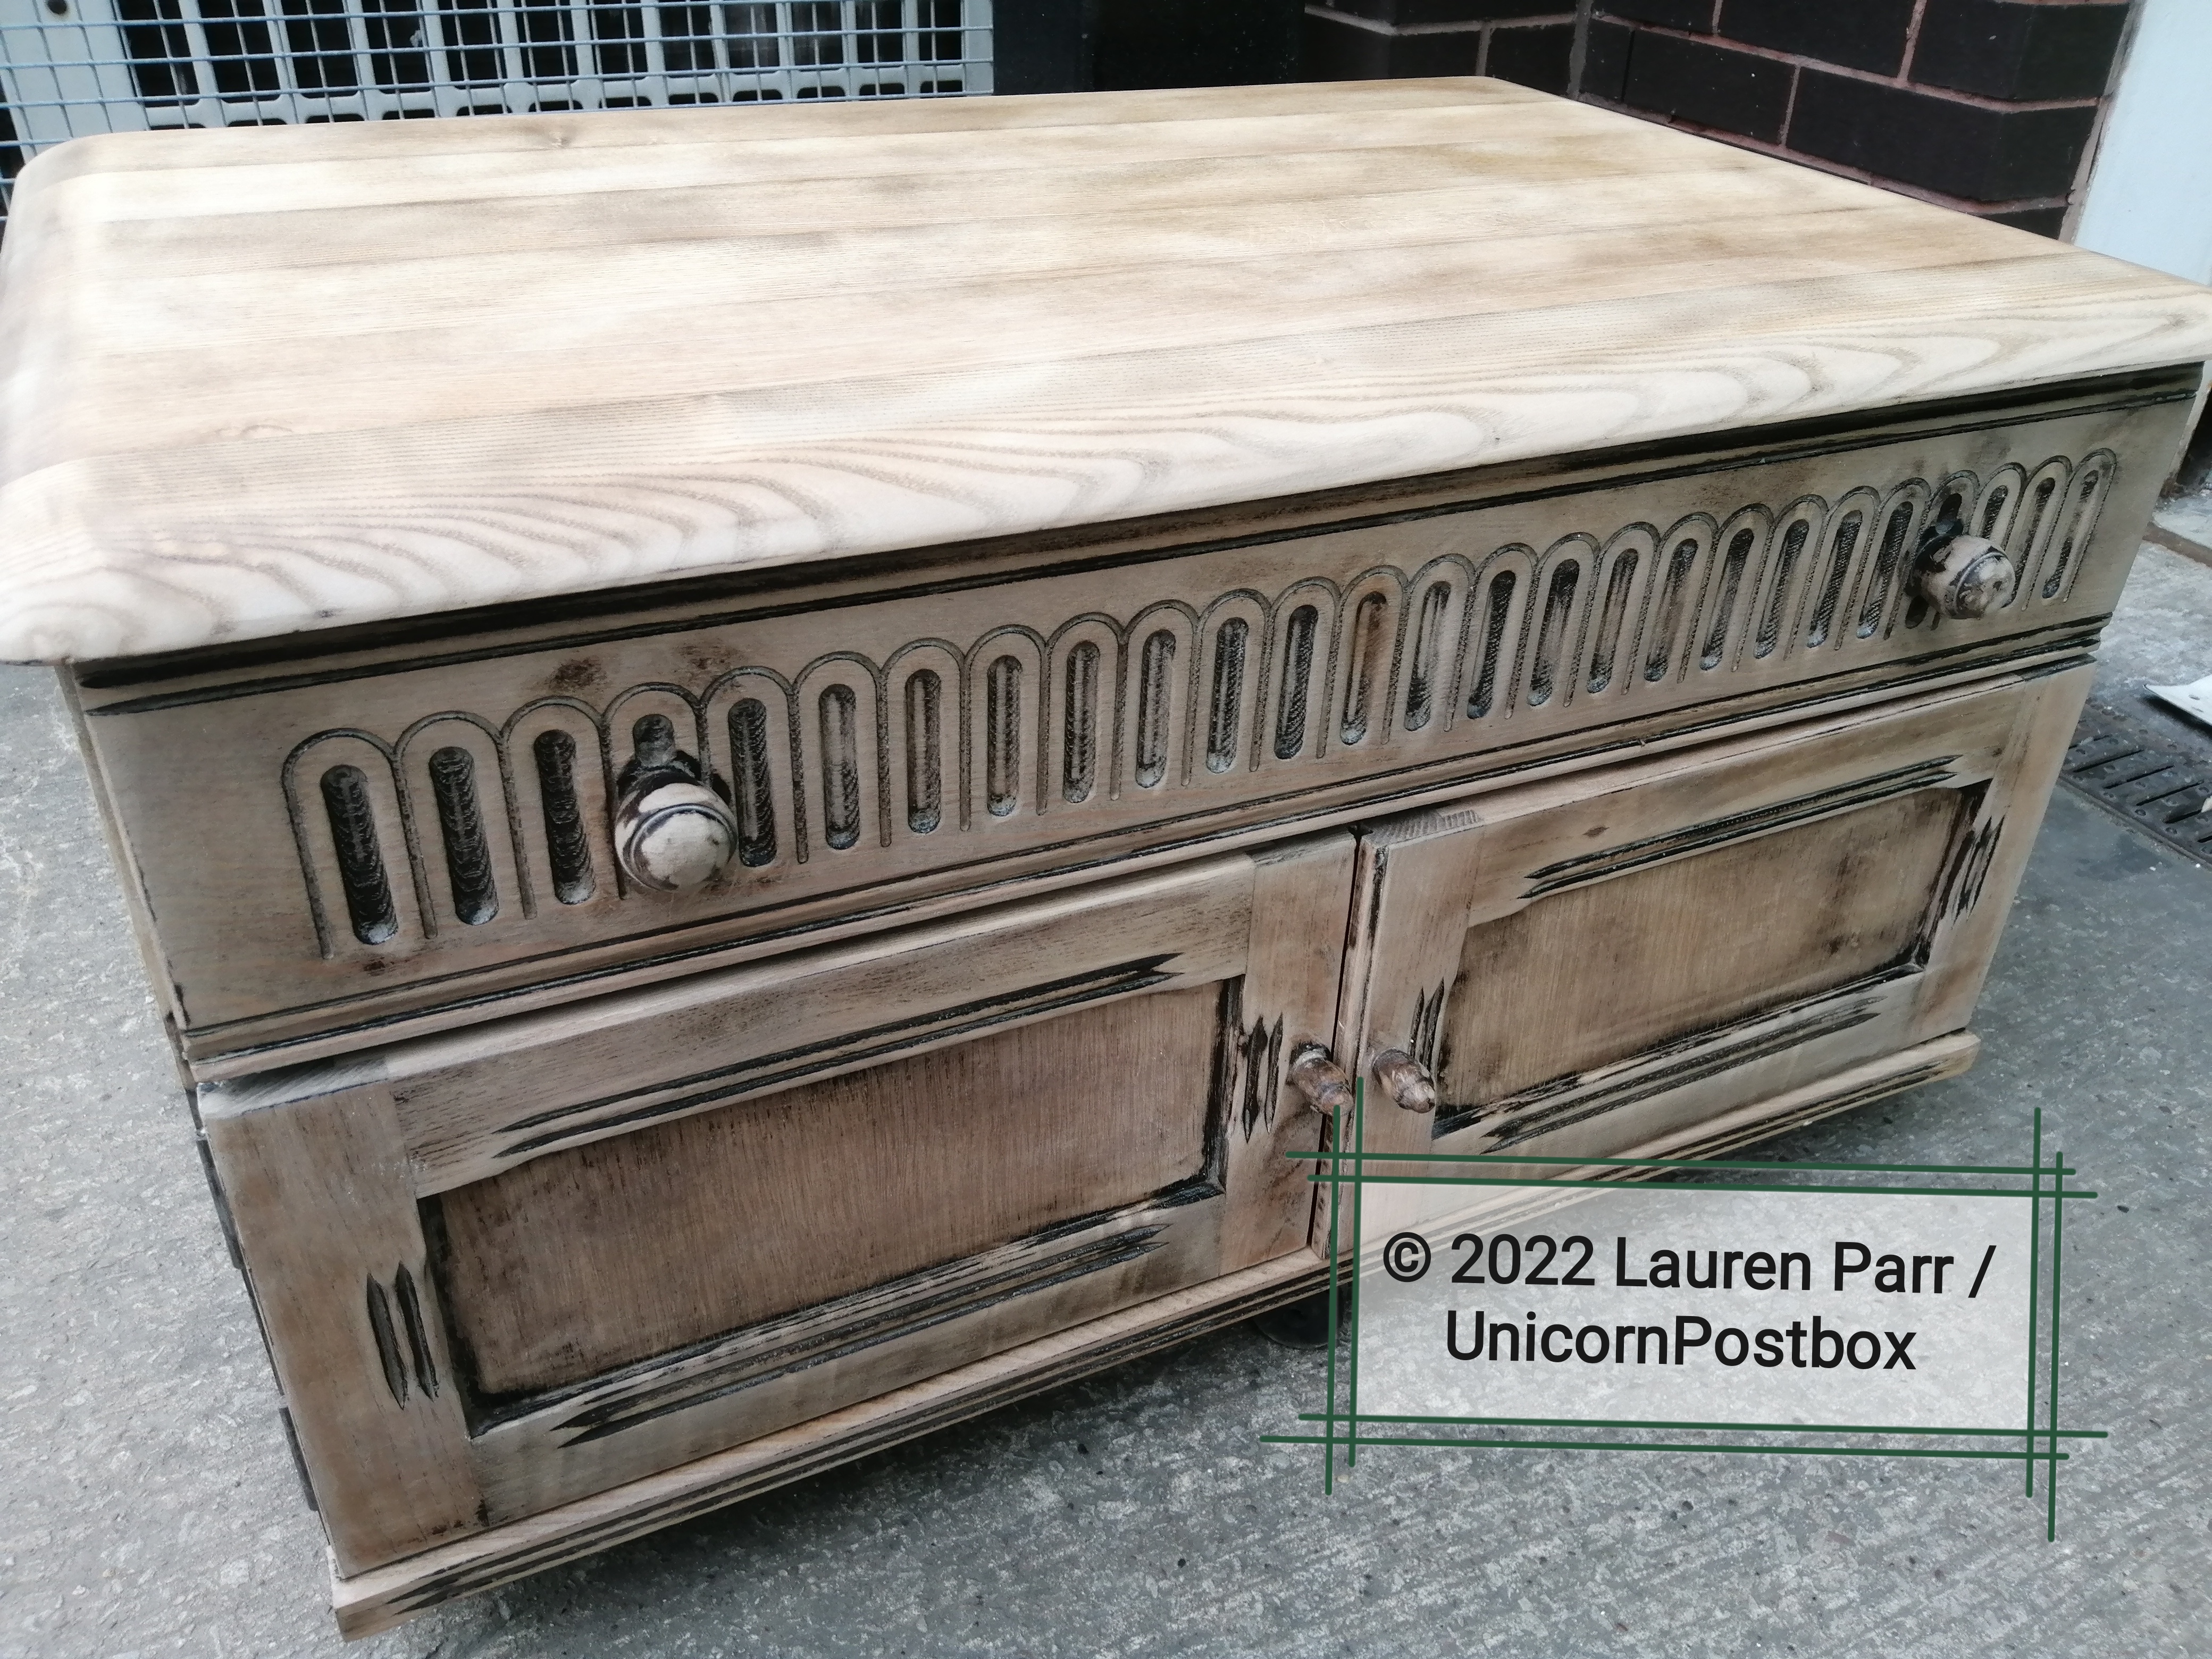
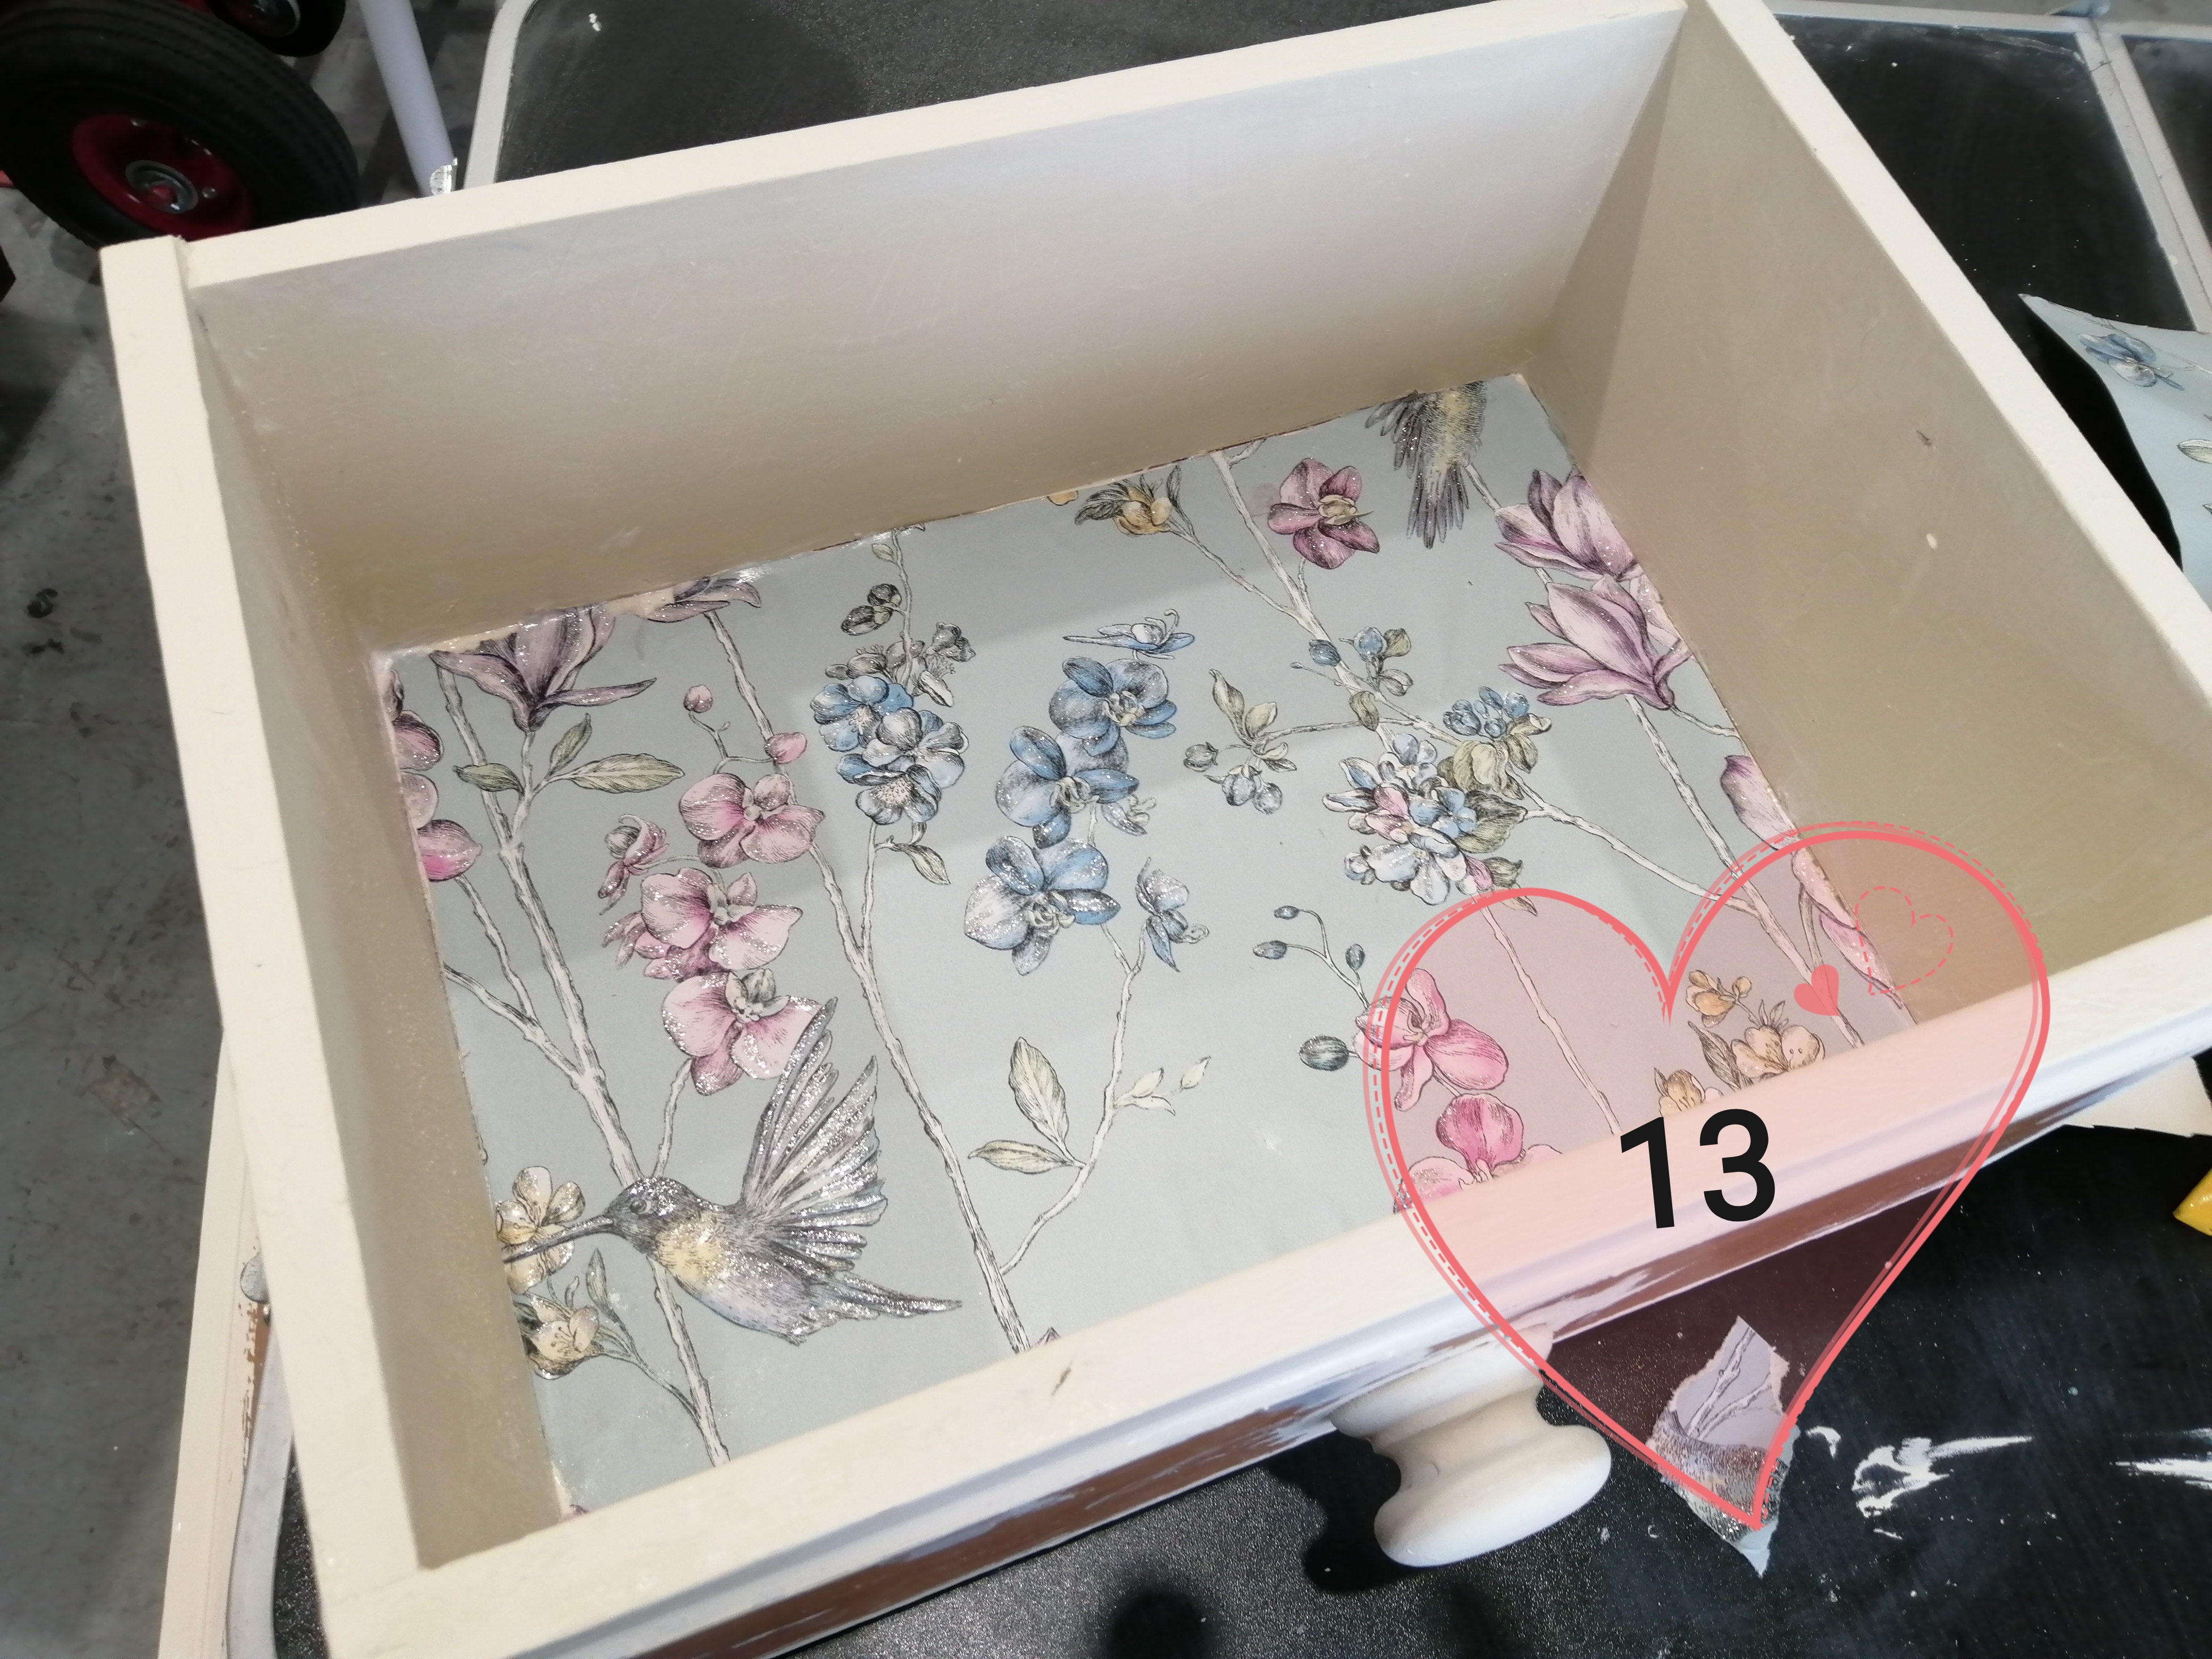
(The paint is still slightly wet in above pic). I am really pleased with how this one turned out. I love the colour and have had compliments on it, the stencils aren’t perfect but it’s impossible to achieve perfection. I think it looks really shabby chic and cool. The start this year of many more upcycling projects for the Children’s Air Ambulance, it’s been a while! Haha 😄 I’ve got a bit of a tan with working outside, despite wearing factor 50 suncream and a big floppy hat. Ha!
Thank you so much for reading/viewing 🙂 My next project, before more upcycling- I’m going pub painting with my friend on Tuesday, so keep a look out for another amateur acrylic painting!
Lots of love, Lauren xx
© 2023 Lauren Parr/ https://unicornpostbox.com


You must be logged in to post a comment.